Let’s admit it– in this day and age, living in this toxic world can be hazardous to your health.
Chemicals are everywhere, from the food we eat (love instant noodles? processed meat? corned beef in lead-laden cans?) to the very air we breathe (surveys reveal that people who live in the city are more at risk of getting cancer and other diseases compared to people living in less “developed” areas). these days, even if one doesn’t smoke or drink or abuse drugs, doesn’t mean s/he is spared from the risk of getting gravely sick.
So how do we protect ourselves? In my case, as a 34-year-old working wife and mother, with a 3-year-old daughter and parents who need me as breadwinner, it’s imperative that I live long and stay healthy. Vitamin supplements are cool but they’re still synthetic. Veggies and fruits are our best bet, but i’m not a fan of those. And then i discovered the smart art of juicing.
Juicing, quite simply, is turning solid fruits and vegetables into liquid juice with the help of an electric juicer/ juice extractor.
To be honest, i first got into it because i had wanted to lose weight, but along the way i realized that beyond those 3-day juice-only crash diet programs, juicing can actually become my lifelong healthy habit. it’s the perfect way to protect myself and my loved ones from this toxic, carcinogenic world. and the best thing about it is that, when turned into a juice mixture, fruits and vegetables ACTUALLY TASTE GOOD, even if you’re not a fruits-and-veggies lover.
And just to convince you a bit more, here are the BENEFITS OF JUICING, according to one juicing website i’m following:
- improves metabolism
- reduces hunger pangs
- reduces body fat
- with faster metabolism, less hunger pangs, and more burned body fat, HELPS YOU LOSE WEIGHT (yipee!)
- detoxifies your system
- balances hormones
- controls blood sugar
- reduces inflammation
Juicing has been kind of a fad these days, with celebrities turning on their juicers and going organic. Personally, I’m glad that I have influenced my husband and mother-in-law to get into juicing. Now I make juices not only for me, but for members of my family, too. (And I plan to buy my parents their own juicer soon so that they, too, can enjoy natural juices at home).
DETOX WITH LEMON!

I include LEMON in all of my juices– the pectin fiber in lemon reduces hunger, as well as detoxes the colon. Buildup of wastes in the colon can contribute to the risk of colon cancer. Lemon helps do “house-cleaning” by helping flush out the waste out of your bowels with greater frequency. I found that adding lemon to any recipe doesn’t affect the overall taste (it even enhances it!).
Many like their juices “pure” and concentrated, but I add water to mine. For economic purposes, yes (there’s three of us drinking and only so much juice! water becomes an “extender”. haha), and also because water combined with lemon helps do the colon-cleansing action better.
i’m sharing a few recipes i have grabbed from my favorite juicing websites, one of which is THIS, with a few tweaks and personalized additions. I have taken up a 30-day challenge to drink at least a glass of natural juice every single day for the next 30 days. i actually plan to go beyond 30 days. i want to drink juice every single day for the rest of my life. and i really hope more people will, too.
So here are four of my favorite beginner juicing recipes. Happy juicing!
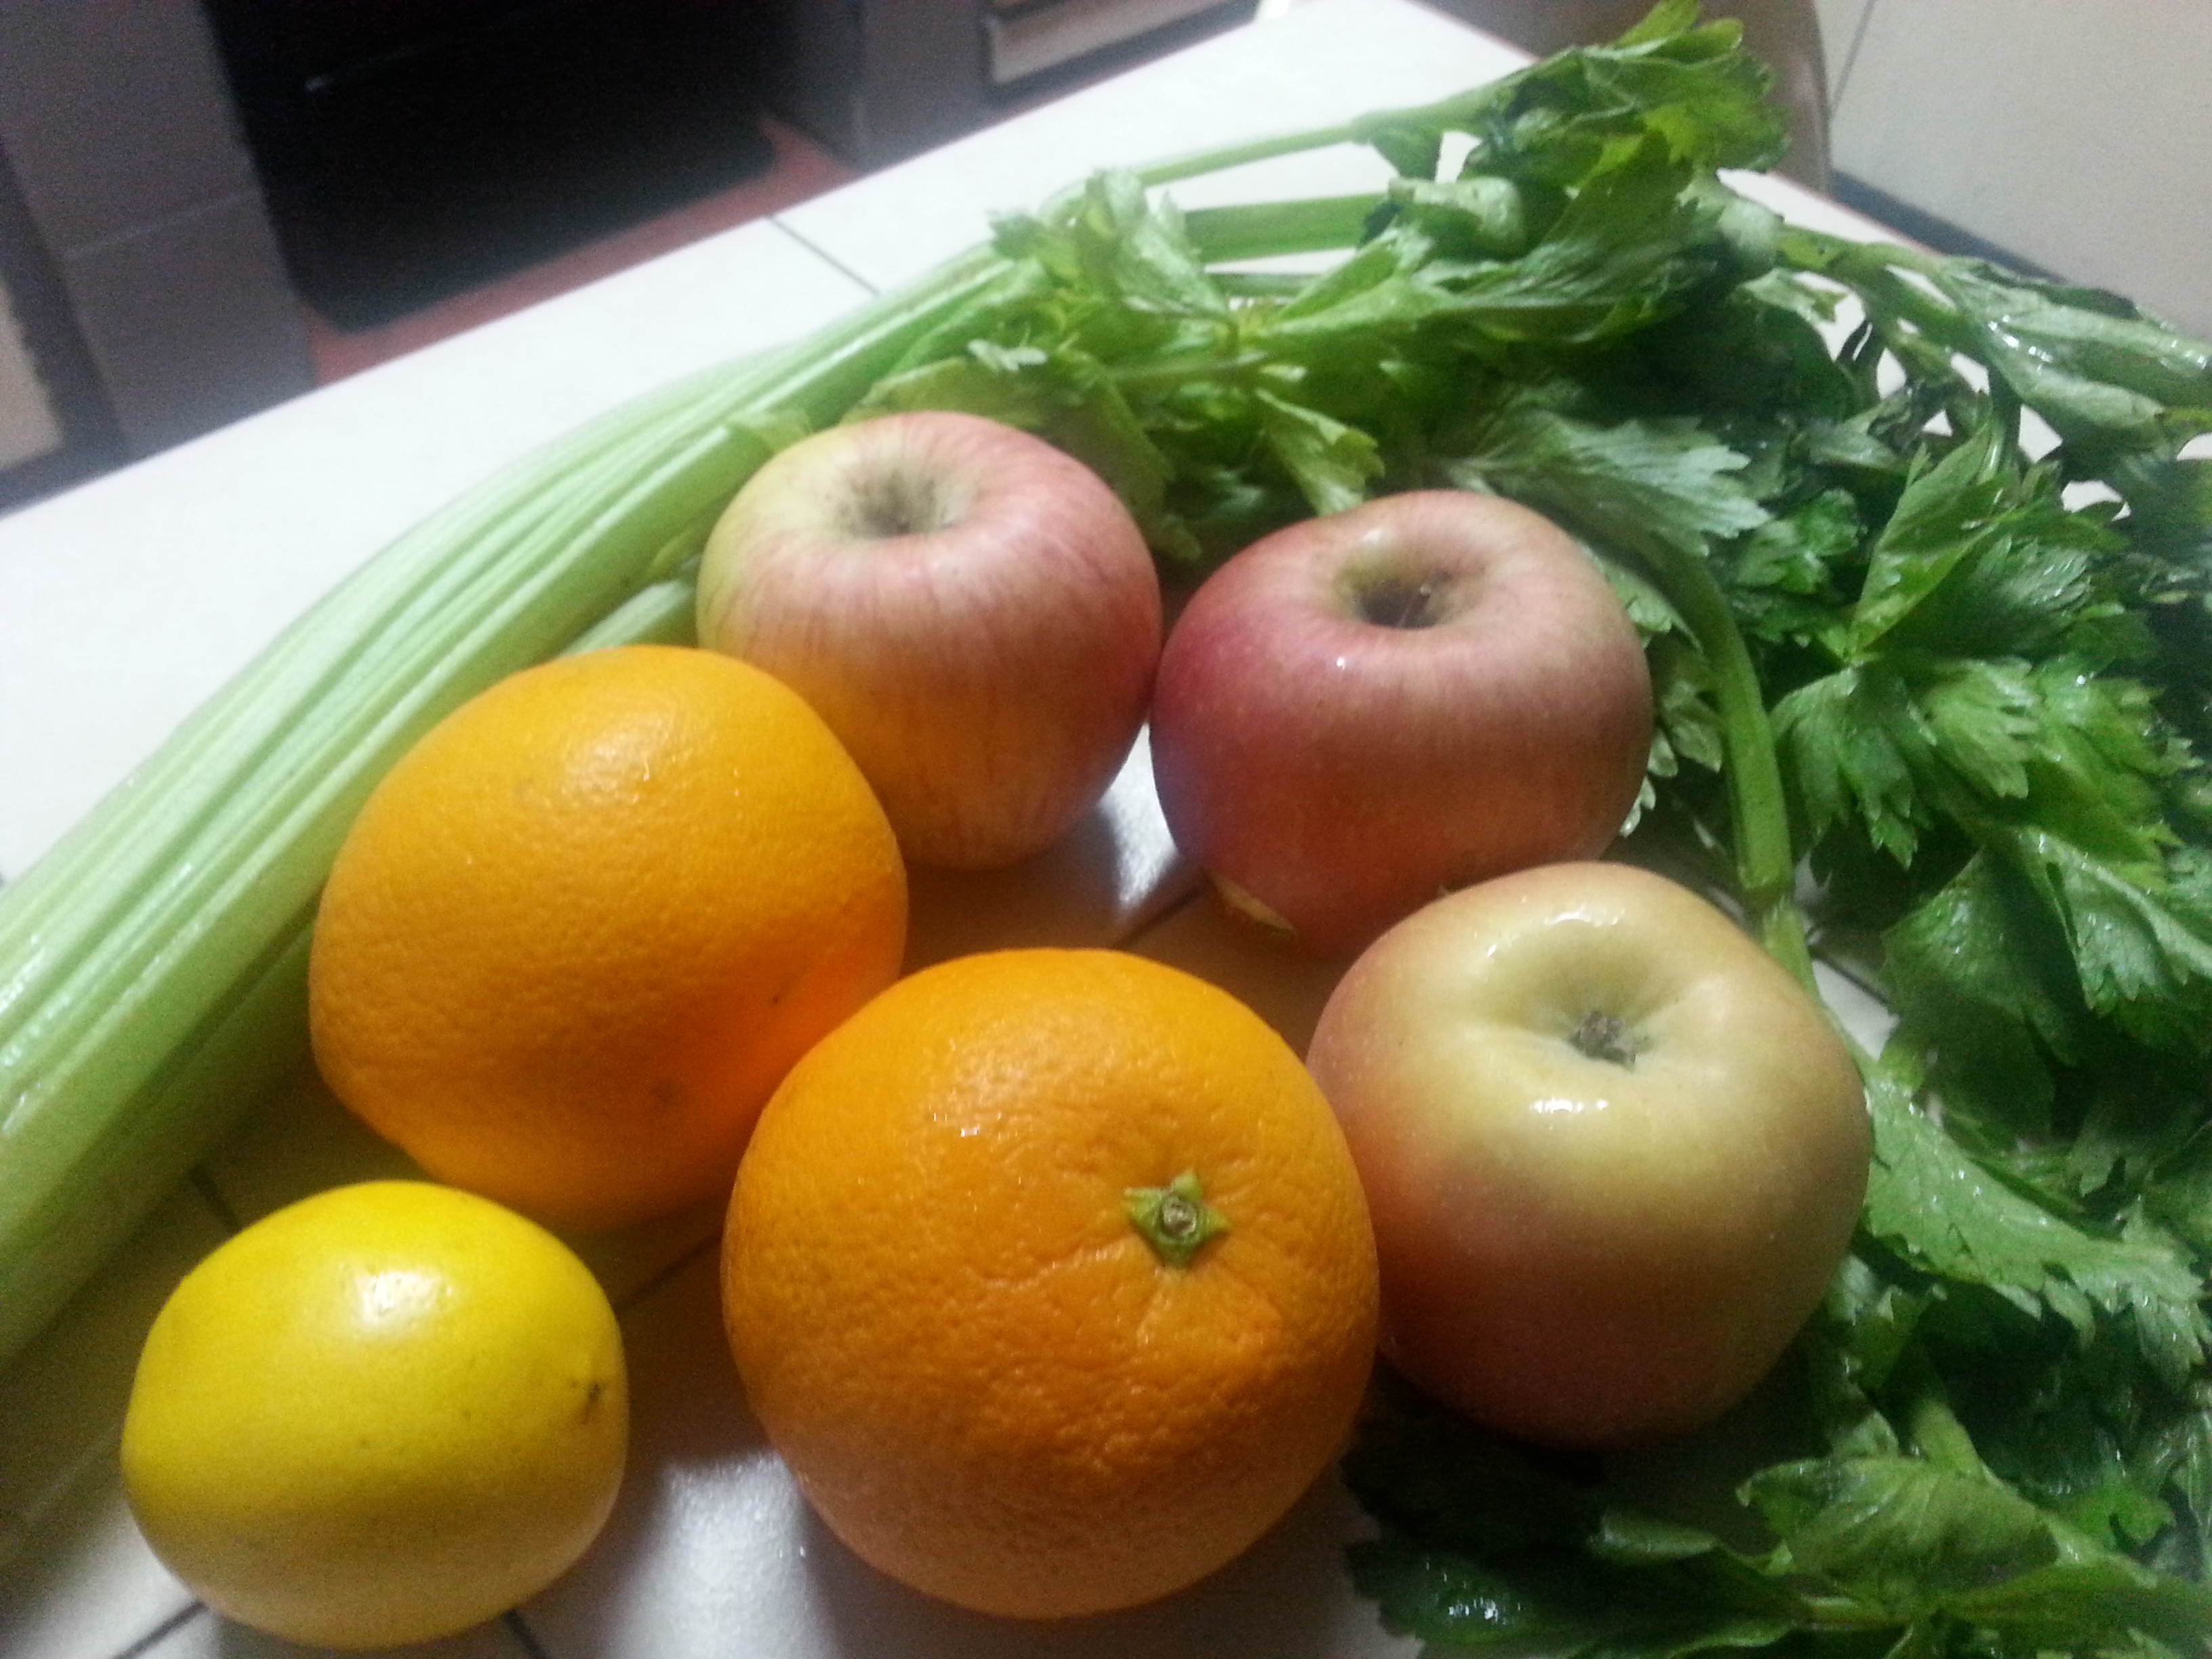
APPLE CRISP
Ingredients
- Apples – 5 medium (3″ dia)
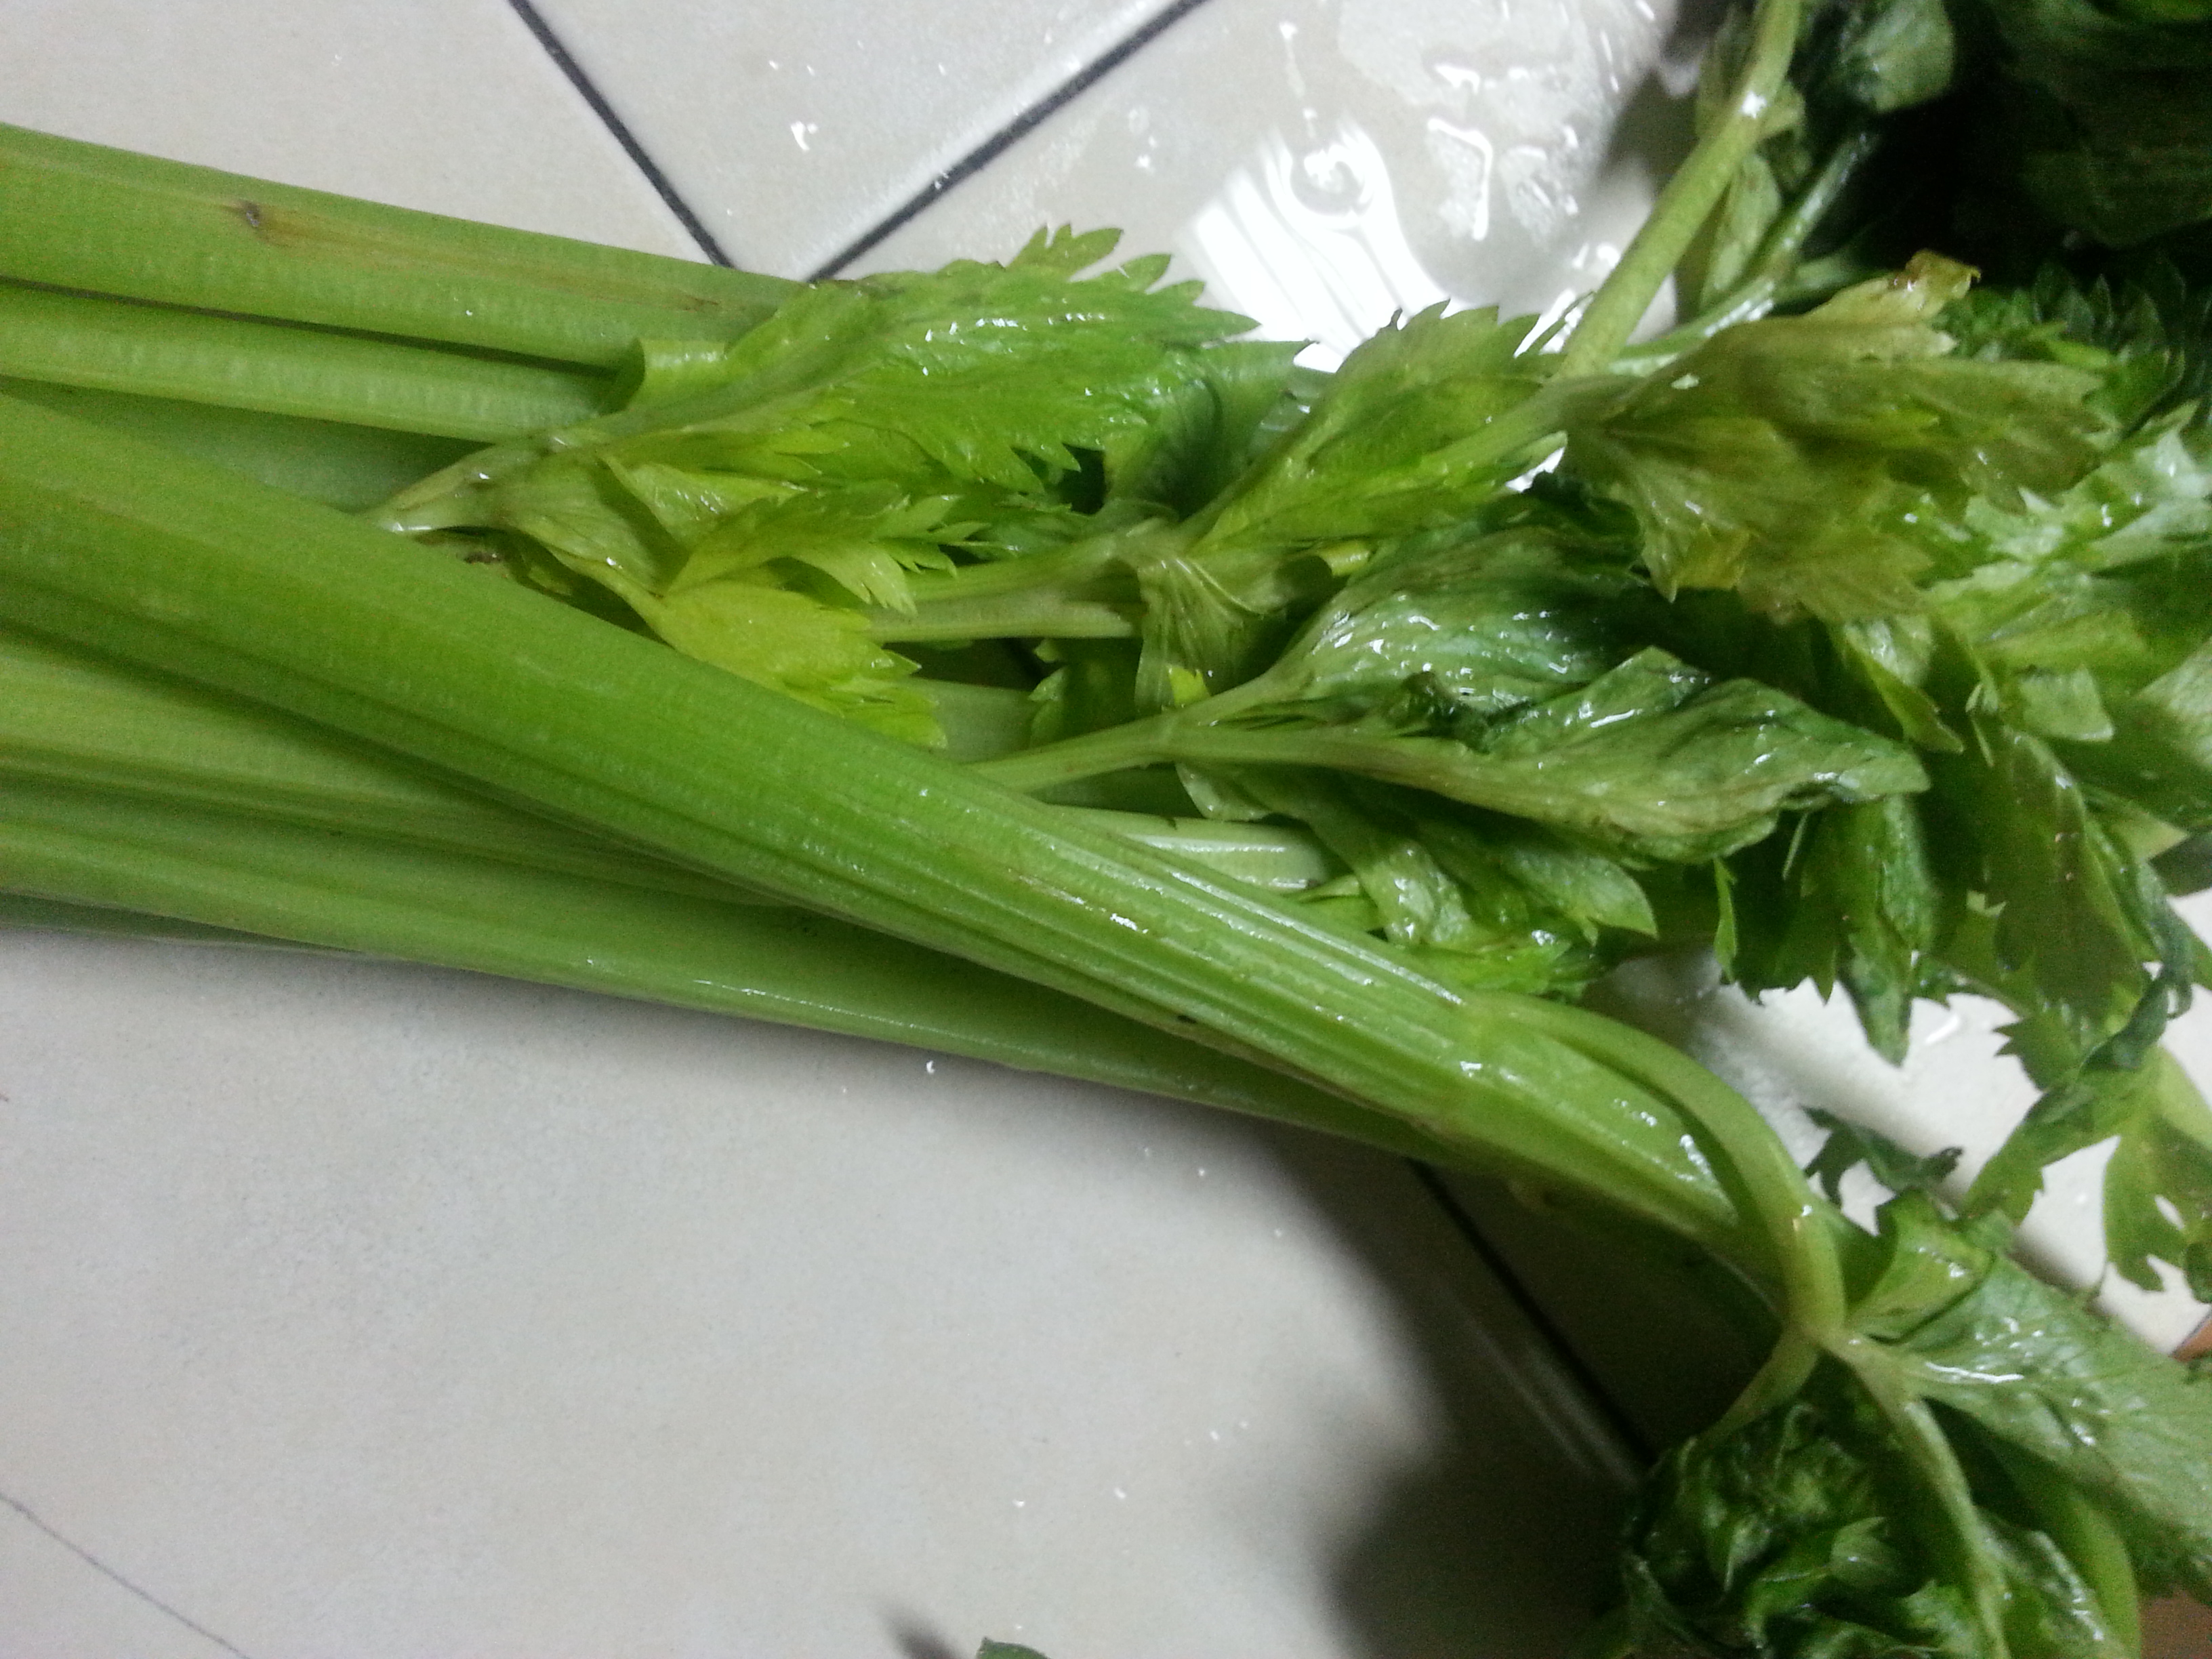
- Celery – 2 stalks, large (11″-12″ long)
- Oranges (peeled) – 2 fruits (2-5/8″ dia)
- Lemon (peeled) – 1 fruit medium
Directions
- Process all ingredients in a juicer, one ingredient at a time.
- You may add a 1/2 to 1 cup water to the mixture. If you want it concentrated, omit the water.
- Stir very well or shake. Put in the chiller or add ice cubes.
My notes
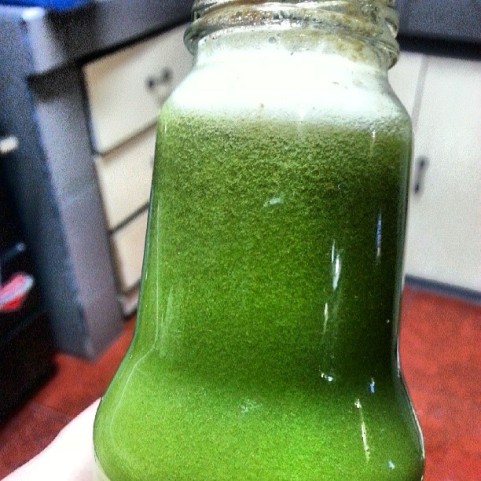
- At first I had thought adding celery to fruit juice would taste horrible. But I was wrong! This is actually a yummy basic recipe, with the the apples and oranges giving it a prevailing sweet taste, and the celery giving just a little bit of a tangy taste to it. 1 glass won’t be enough!
- Aside from lemon, you can also add ginger for a stronger punch (if you like ginger). I almost always add ginger to juices because of its antioxidant benefits.

BEGINNER GREEN
Ingredients
- Apples – 3 medium (3″ dia)
- Celery – 4 stalk, large (11″-12″ long) 256
- Ginger Root – 1/4 thumb (1″ dia) 6
- Lemon (with rind) – 1/2 fruit (2-1/8″ dia) 29
- Orange (peeled) – 1 large (3-1/16″ dia) 184
- Spinach – 5 handful 5g
Directions
- Peel everything except the apples and lemon.
- Slice up the ingredients and put in the juicer.
- Stir or shake well. Add ice cubes or put in the chiller
- You don’t have to peel the lemon, but make sure you peel the orange. The orange’s skin is very bitter and can ruin the flavor.
My notes
This is one of my favorite green recipes. You can add malunggay (moringa) and/or parsley to the gang for an extra dose of supernutrients (the more antioxidants, the better for me). Don’t worry, the added green taste will be offset by the sweetness of the apples.
TOXIN KILLER
Ingredients
- 3 apples
- 1 stick of celery
- Half a cucumber
- 1 handful of spinach
- 1 handful of lettuce
Directions
- Peel the cucumber. Keep the apple unpeeled (there’s a load of nutritious stuff in them!).
- Slice up all the ingredients. Put in the juicer one at a time.
- Stir well or shake. Put ice or put in the chiller.
My Notes
- You will notice that the ingredients are almost exclusively veggies except for the apples. The apples will provide the “yummy” factor; the veggies (especially the leafy greens!) will give you the nutrients that you need. Try adding ginger to it– it gives an extra tangy taste, which I personally love.
- This recipe is best for those who are looking to detox. Add 2 whole lemons for more detox action — lemon helps cleanse the colon.
RAINBOW BRITE
Ingredients
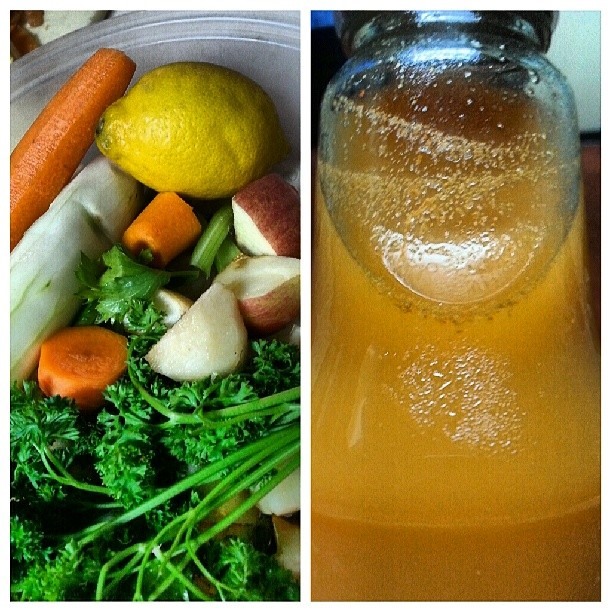
- Apple – 1 medium (3″ dia) 182g
- Carrots – 5 medium 305g
- Cucumber – 1 cucumber (8-1/4″) 301g
- Ginger Root – 1 thumb (1″ dia) 24g
- Lemon – 1 fruit (2-1/8″ dia) 58g
- Pear – 1 medium 178g
- Spinach – 2 handful 50g
Directions
Process all ingredients in a juicer, shake or stir and serve.
My Notes
I added parsley to the artillery. It gave the drink more green punch (which gave me the feeling of being full) plus the extra benefits of having more greens. Also experimented with malunggay on this. Not so bad! You ought to try it!
More recipes to come as I continue my 30-day juicing journey!


.jpg)