|
| tiramisu cake recipe |
If you're a chocolate and coffee lover, you are probably a fan of Tiramisu cake. A marriage of two distinct flavors (coffee+chocolate), laced with a hint of coffee liqueur and filled with creamy Italian mascarpone cheese in between its moist, rich layers-- it's one of Italy's sweetest legacies to the world.
This recipe from one of my favorite baking gurus, captures the spirit of Tiramisu cake as I know it. You will need at least the entire afternoon to make it but I tell you-- it would be worth it.
So put on your apron and prepare for battle. Let's do the Tiramisu!
TIRAMISU CAKE
For the cake layers:
- 2 cups (255 grams) cake flour
- 2 teaspoons (10 grams) baking powder
- 1/8 teaspoon baking soda
- 1/4 teaspoon salt
- 10 tablespoons (140 grams)) unsalted butter, room temperature
- 1 cup (200 grams) sugar
- 3 large eggs
- 1 large egg yolk
- 1 1/2 teaspoons (8 ml) pure vanilla extract
- 3/4 cup (175 ml) buttermilk
For the espresso extract:
- 2 tablespoons instant espresso powder (I used strong powdered instant coffee as substitute)
- 2 tablespoons (30 ml) boiling water
For the espresso syrup:
- 1/2 cup (120 ml) water
- 1/3 cup (65 grams) sugar
- 1 tablespoon (15 ml) amaretto, Kahlua, or brandy (I used Kahlua)
For the filling and frosting:
- 1 8-ounce (225 grams) container mascarpone (mascarpone is hard to find in Manila - so I used a substitute recipe from allrecipes.com instead)
- 1/2 cup (60 grams) confectioners’ sugar, sifted
- 1 1/2 teaspoons (8 ml) pure vanilla extract
- 1 tablespoon (15 ml) amaretto, Kahlua, or brandy (I used Kahlua)
- 1 cup (235 ml) cold heavy cream
- 2 1/2 ounces (70 grams) bittersweet or semisweet chocolate, finely chopped, or about 1/2 cup store-bought mini chocolate chips
- Chocolate-covered espresso beans, for decoration (optional)
- Cocoa powder, for dusting
Directions:
Getting the utensils ready
Center a rack in the oven and preheat the oven to 350 degrees F (175 degrees C).
Butter two 9×2 inch round cake pans, dust the insides with flour, tap out the excess, and line the bottoms of the pans with parchment or wax paper. Put the pans on a baking sheet.
Making the cake
Sift together the cake flour, baking powder, baking soda, and salt.
Working with a stand mixer, preferably fitted with a paddle attachment, or with a hand mixer in a large bowl, beat the butter on medium speed until soft and creamy. (I used a hand mixer. More labor, more love)
Add the sugar and beat for another 3 minutes.
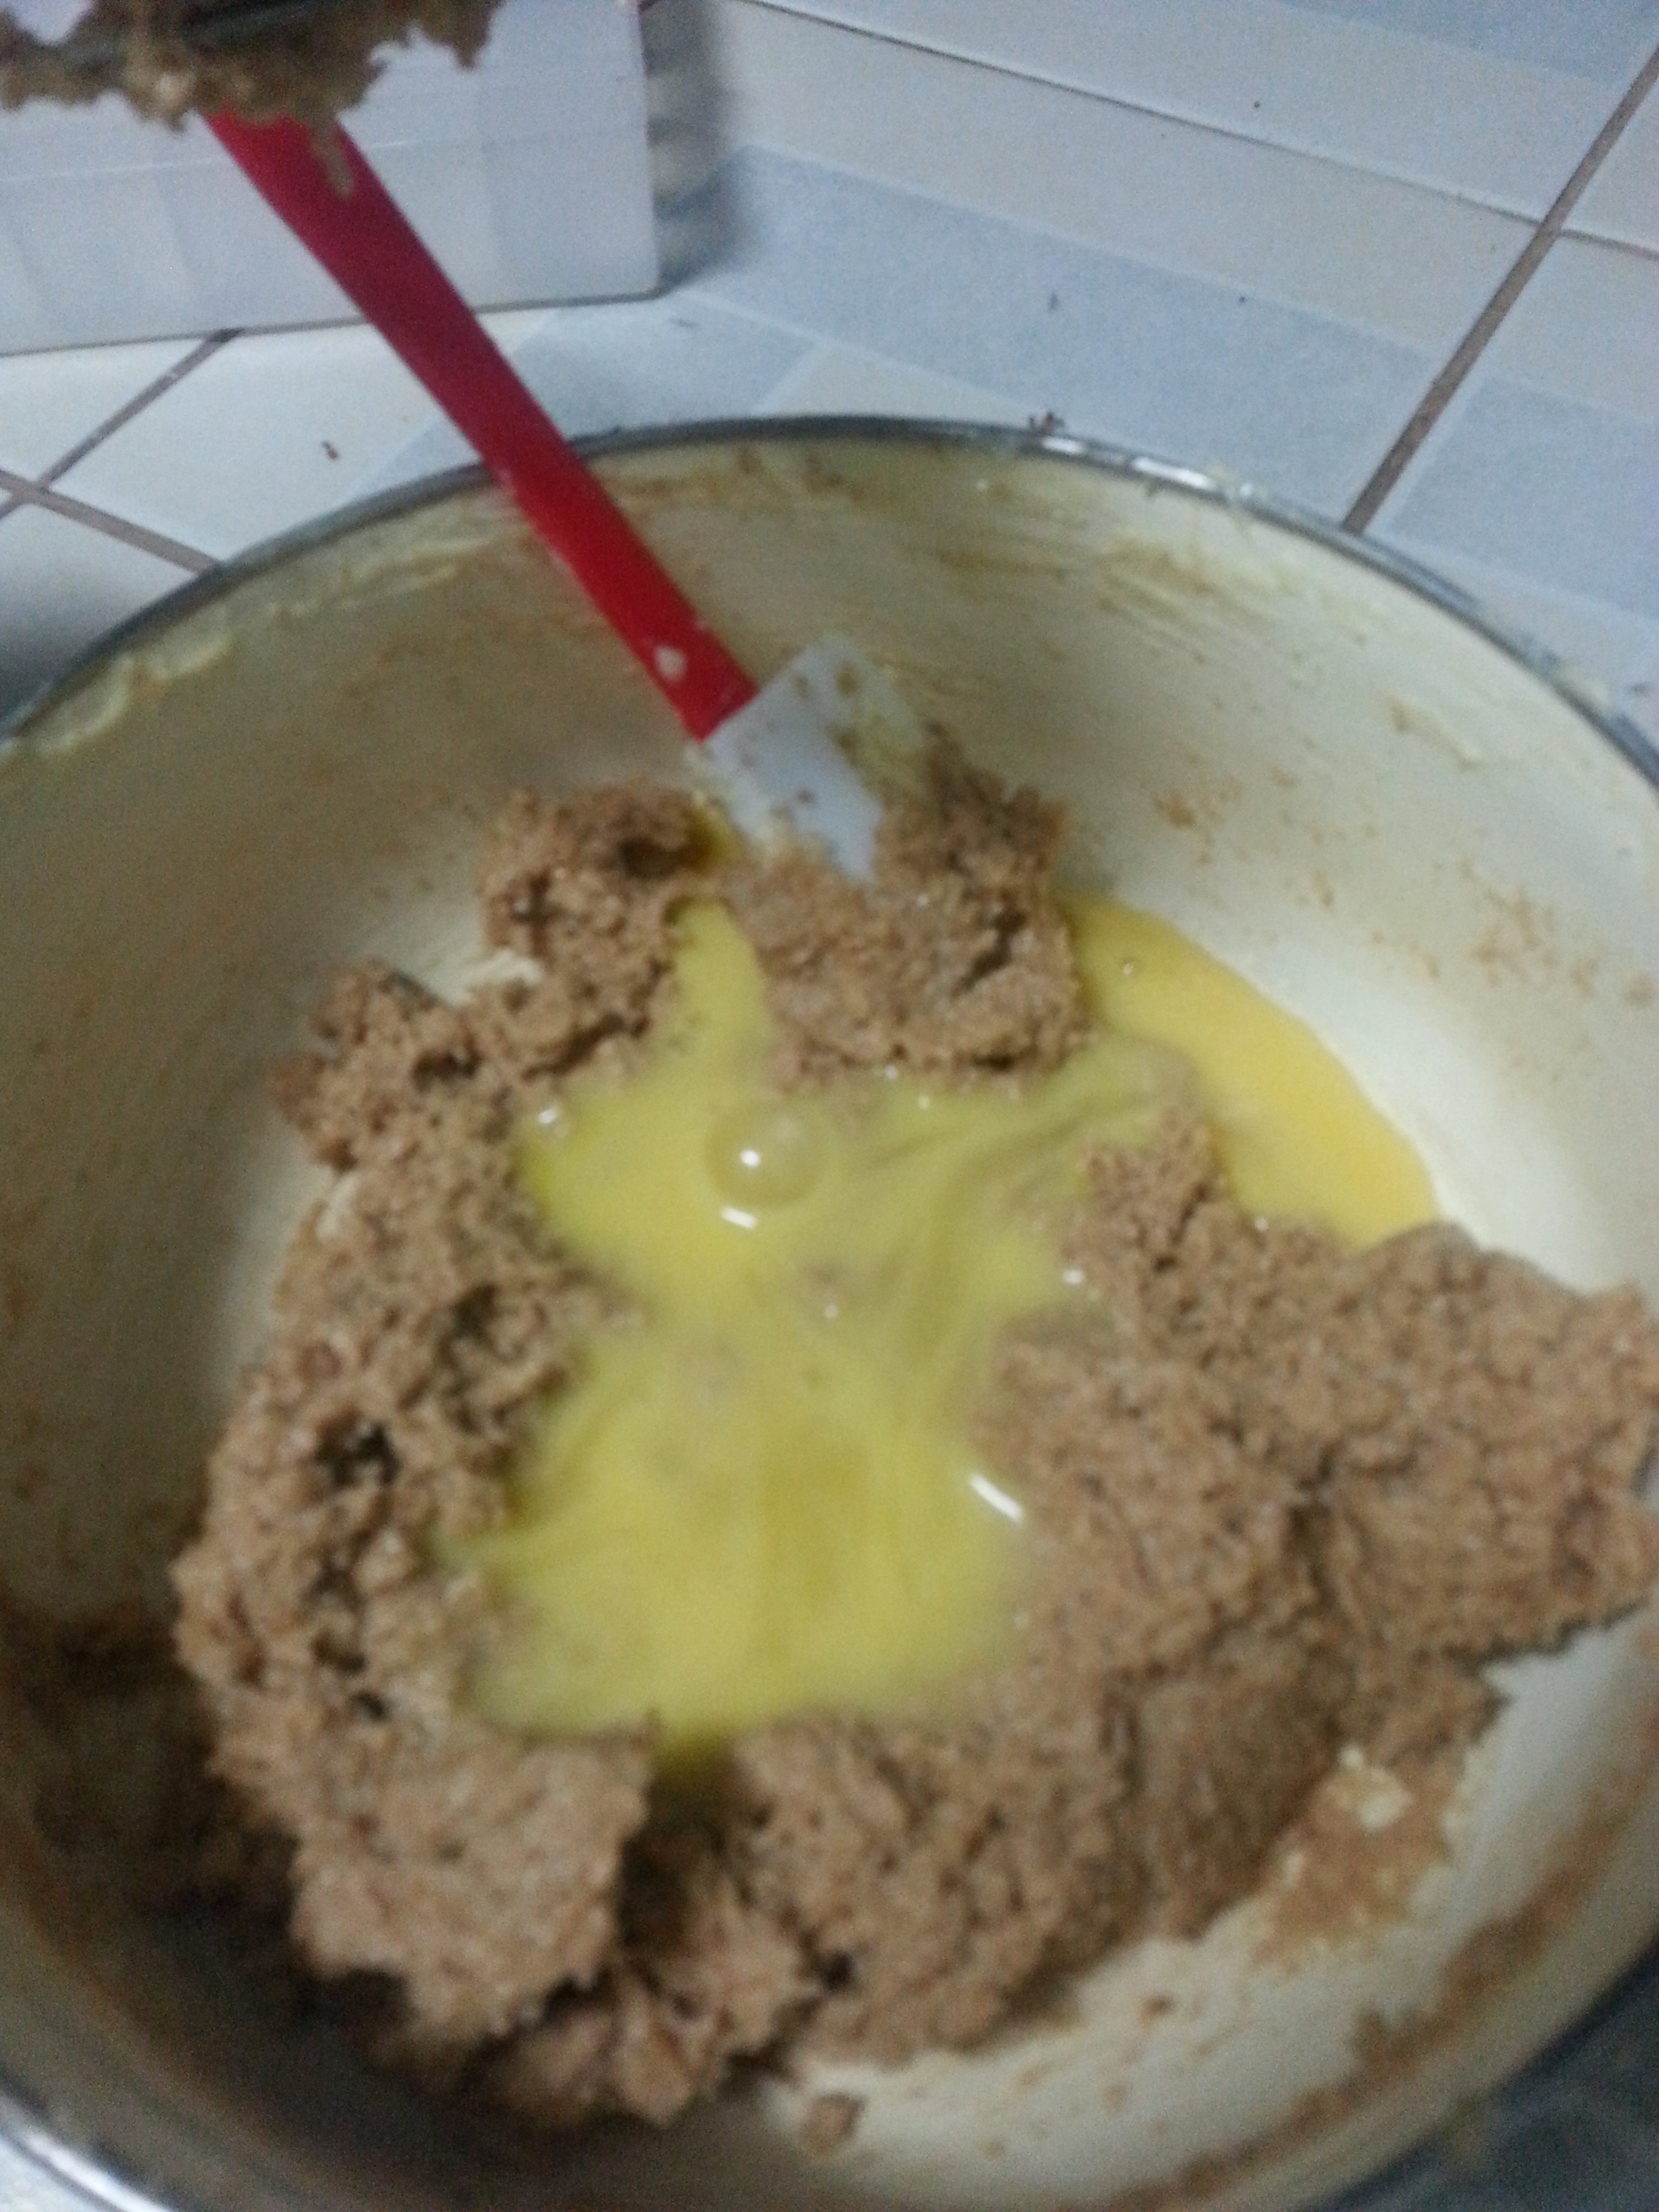
Add the eggs one by one, and then the yolk, beating for 1 minute after each addition.
Beat in the vanilla; don’t be concerned if the mixture looks curdled.
Reduce the mixer speed to low and add the dry ingredients alternately with the buttermilk, adding the dry ingredients in 3 additions and the milk in 2 (begin and end with the dry ingredients); scrape down the sides of the bowl as needed and mix only until the ingredients disappear into the batter.
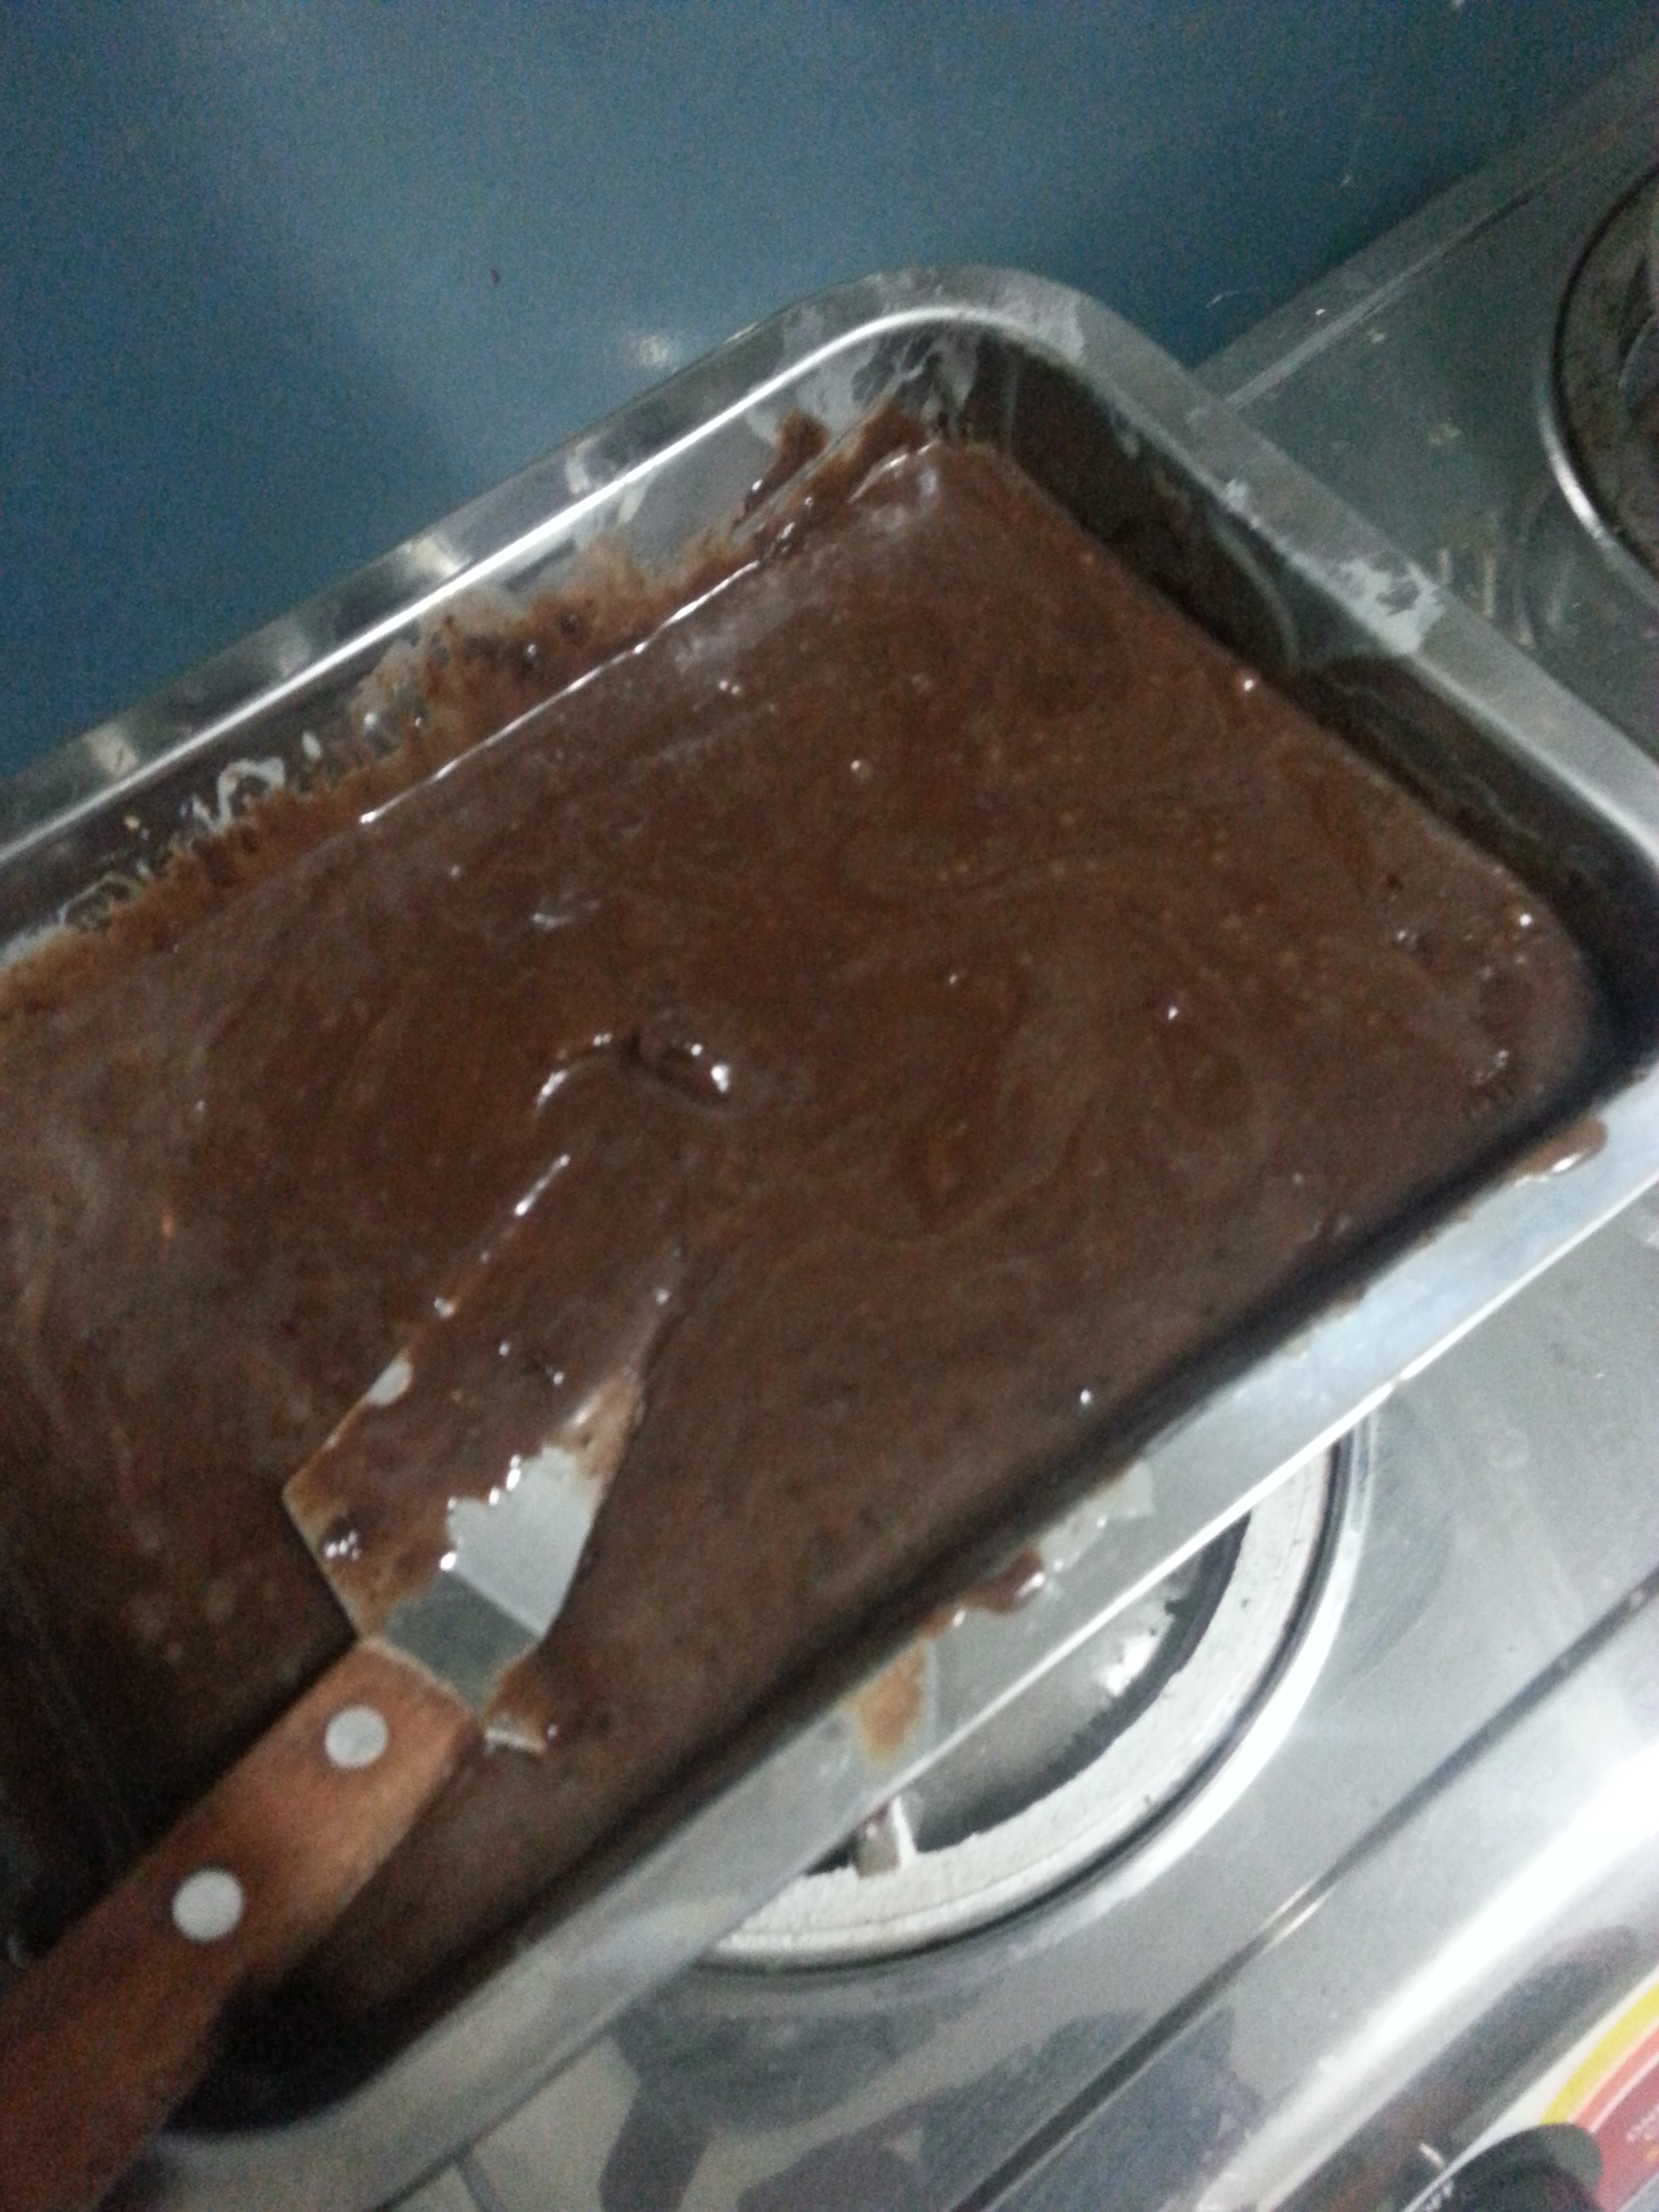
Divide the batter evenly between the two pans and smooth the tops with a rubber spatula.
Bake for 28 to 30 minutes, rotating the pans at the midway point.
When fully baked, the cakes will be golden and springy to the touch and a thin knife inserted into the centers will come out clean.
Transfer the cakes to a rack and cool for about 5 minutes, then run a knife around the sides of the cakes, unmold them, and peel off the paper liners. Invert and cool to room temperature right-side up.
To make the extract
Stir the espresso powder and boiling water together in a small cup until blended. Set aside.
To make the syrup
Stir the water and sugar together in a small saucepan and bring just to a boil.
Pour the syrup into a small heatproof bowl and stir in 1 tablespoon of the espresso extract and the liqueur or brandy; set aside.
To make the filling and frosting
Put the mascarpone, sugar, vanilla, and liqueur in a large bowl and whisk just until blended and smooth.
Working with the stand mixer with the whisk attachment or with a hand mixer, whip the heavy cream until it holds firm peaks. Switch to a rubber spatula and stir about one quarter of the whipped cream into the mascarpone. Fold in the rest of the whipped cream with a light touch.
To assemble the cake
If the tops of the cake layers have crowned, use a long serrated knife and a gentle sawing motion to even them. Place one layer right-side up on a cardboard round or a cake plate protected with strips of wax or parchment paper.
Using a pastry brush or a small spoon, soak the layer with about one third of the espresso syrup. Smooth some of the mascarpone cream over the layer – user about 1 1/4 cups – and gently press the chopped chocolate into the filling.
Put the second cake layer on the counter and soak the top of it with half the remaining espresso syrup, then turn the layer over and position it, soaked side down, over the filling. Soak the top of the cake with the remaining syrup.
For the frosting, whisk 1 to 1 1/2 tablespoons of the remaining espresso extract into the remaining mascarpone filling. Taste the frosting as you go to decide how much extract you want to add. If the frosting looks as if it might be a little too soft to spread over the cake, press a piece of plastic wrap against its surface and refrigerate it for 15 minutes or so. Refrigerate the cake too.
With a long metal icing spatula, smooth the frosting around the sides of the cake and over the top. If you want to decorate the cake with chocolate-covered espresso beans, press them into the filling, making concentric circles of beans or just putting some beans in the center of the cake.
Refrigerate the cake for at least 3 hours (or for up to 1 day) before serving – the elements need time to meld.
Just before serving, dust the top of the cake with cocoa. Decorate as you wish with thinly-chopped chocolate shavings, chocolate chips, and/or frosting.
I used Lady Finger biscuits (or "Broas", as we call it here in the Philippines) to decorate the edges of my Tiramisu cake. Then for the centerpiece, I frosted a heap of icing (using a giant frosting tip) at the center of the cake and planted a pile of chocolate shavings (thinly-chopped) on top.