baking. juicing. cooking. food tripping.

baking. juicing. cooking. food tripping.
Showing posts with label healthy recipes. Show all posts

Saturday, May 17, 2014

Pumpkin Soup Recipe

I don't like eating pumpkins. I can tolerate them, but I'm not a fan. But if we're talking about soups, well that's a different story. I LOVE pumpkin on my soup!
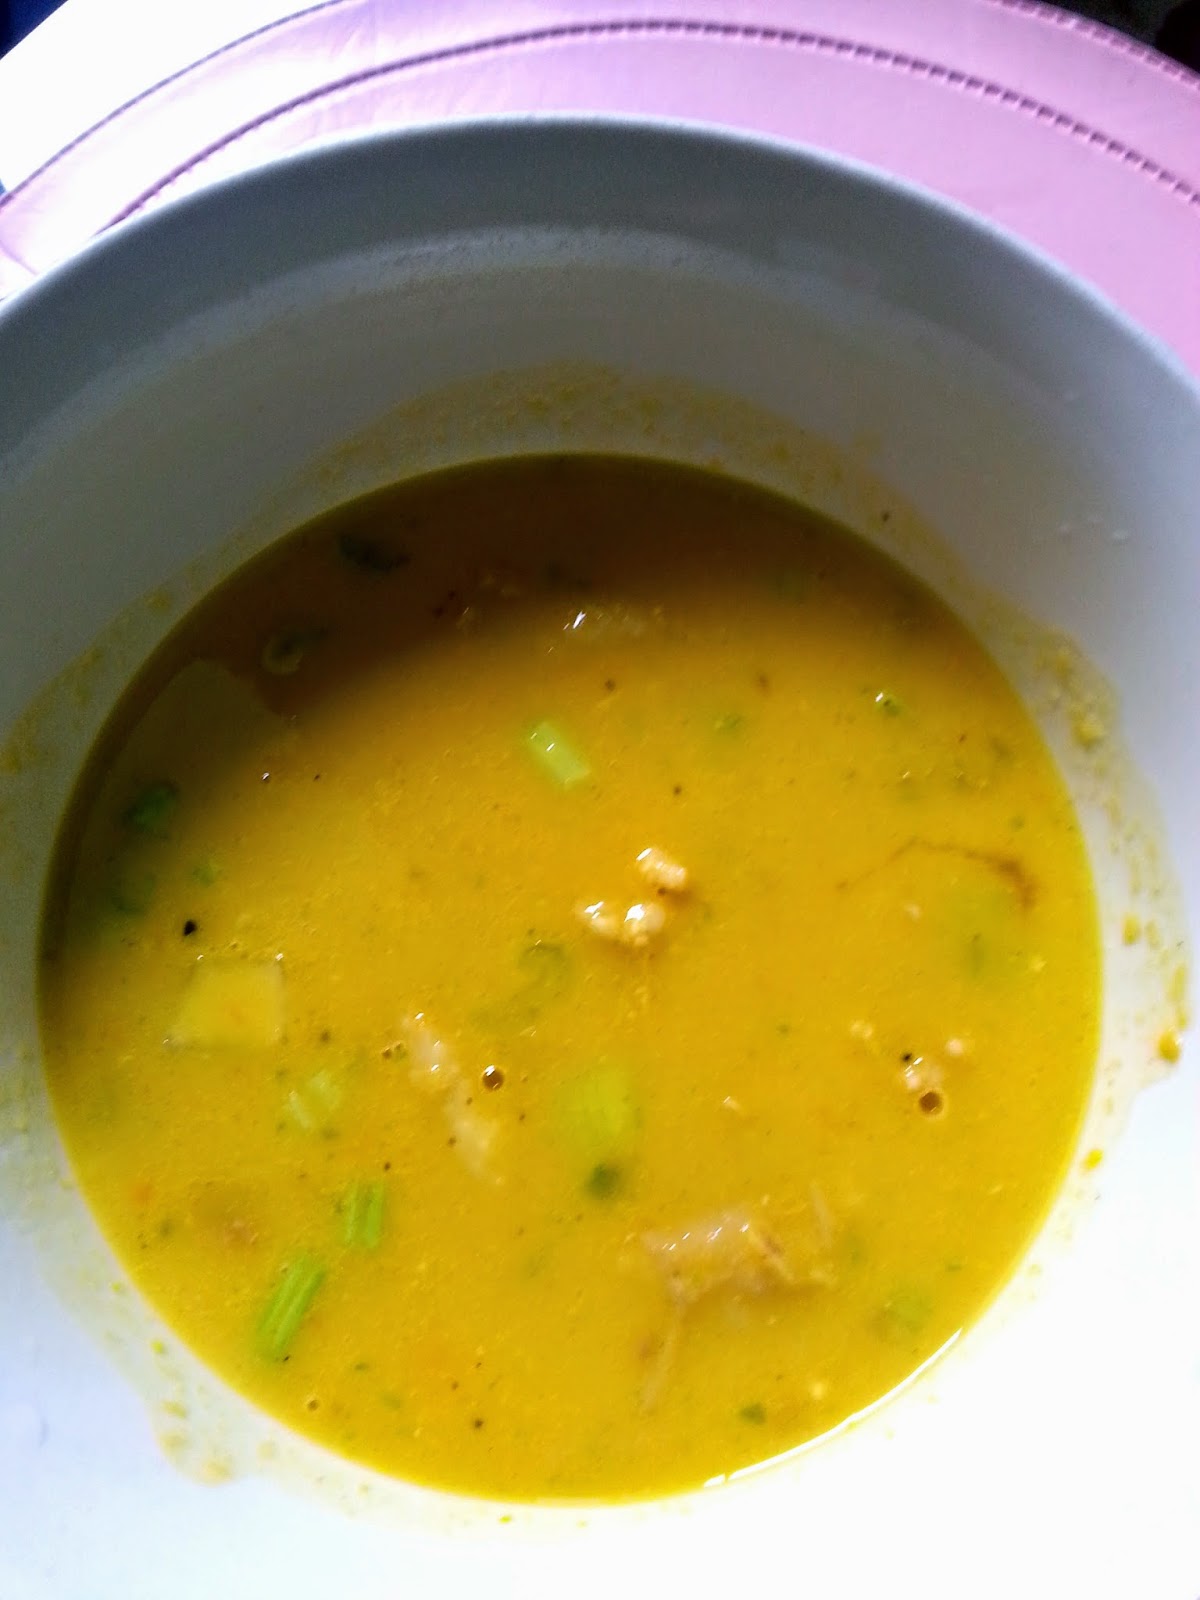


I like it paired with carrots, chicken, and a whole cast of spices. I like it swirling in cream and chicken stock. I like it thick and richly flavored, that appetizing natural orange color beckoning me to take a spoonful. And before I know it, I’m done with an entire bowl.


I got inspired to learn to make pumpkin soup when our daughter Audrey was about a year old. I discovered that she, too, loved soups, and not only is pumpkin soup yummy, it’s also very nutritious. It’s a complete meal in liquid form---perfect for babies.  True enough, Audrey loved her Mama’s pumpkin soup (but now that she’s 3, it’s taken a backseat to oat fudge bars).

I added a potato for extra soup thickness, and cheese for extra creaminess. But the real key to get the rich chicken flavor is in the chicken boiling process -- don't use too much water. The less the water, the more concentrated chicken flavor you get. The more flavorful your soup is. 

Let me brag a little: I have gotten compliments from my very picky husband and my amazing cook of a mother-in-law for this pumpkin soup! Even my very picky friend Joy seems to have liked it enough to want to ask for the recipe (being a vegan, though, she had wanted to omit the chicken). So I’m sharing this little crowd-pleaser, hoping that your family and friends would love them as much as mine did.  Happy cooking!

PUMPKIN SOUP

Ingredients:
16 oz (2 cups) squash or pumpkin, peeled
2 medium carrots, peeled
1 medium potato, peeled
1/2 stalk celery, finely chopped
1 large red onion, finely chopped
1 chicken breast
4 oz (½ cup) cooking cream or all purpose cream
1 chicken cube
4 oz (1/2 cup) chopped cooked ham or fried bacon bits (optional)
Parsley (optional)
Salt and pepper to taste

Instructions:

In a large pot, boil the squash/pumpkin, potatoes, carrots, and chicken breast in water. (You may boil the chicken breast separately, but to save time, I boil them together in one large pot). Make sure that the water is just enough that the ingredients are barely immersed in it (you will be using this water as chicken stock later, so the lesser the water, the better). 


Note the water level in this picture. Just enough to immerse the ingredients

Remove from heat when all the ingredients are well-cooked.  Set aside the water used to boil the chicken.

Voila! You just made chicken and vegetable stock!
2   When the boiled chicken has cooled, take the meat off the bone and shred into thin strips. (I use my fingers in this process; just make sure you have clean hands)


Pumpkin soup: boiled chicken shredded into thin strips

3.      Puree the boiled vegetables in a blender. You may add ½ cup of the chicken stock (the water you used to boil the chicken) and a dash of salt and pepper.

pumpkin soup: mashing the veggies with a blender
      If a blender is not available, you may manually mash the vegetables using a fork until there are practically no solid chunks remaining.

pumpkin soup: i know i said "fork", but...you can use whatever you want,
so long as the veggies get mashed well
4.      Place the pureed vegetables back into the pot containing the water you used for boiling.   


   Add the cheese, chicken cube, celery, onions, and ham/bacon.  Simmer under low heat for 5-10 minutes. Stir well.


5  
Add the cream and mix until the cream is well integrated into the soup. Season with salt and pepper. 


 Remove from heat. Garnish with pasley on top before serving. 

pumpkin soup: add parsley all over as a finishing touch


Wednesday, April 16, 2014

Tuna and Garlic Pasta Recipe

Here’s another quick and simple meat-less recipe for the Lenten Season— a legacy from my dear departed sister-in-law, who used to cook this for her half-Italian kids.


Garlic (lots of it!), tuna, and penne pasta are the basic ingredients. And 30-40 minutes is all the time you need to prepare this. I fell in love with this simple but flavorful recipe at first taste, I just had to learn to cook it—not a big feat,
as you will see, cause it’s so amazingly easy to do.


Thank you, Ate Jonna, for this recipe.  Each time I cook your tuna and garlic pasta, it’s always an homage to you.

TUNA AND GARLIC PASTA ALA JONNA 

Ingredients
  • 1 400 gram package penne pasta
  • 2-3 100 gram / 6 oz cans of tuna (I use Century Tuna flakes in vegetable oil or water)
  • 2 whole BULBS of garlic, diced  
  • 2-3 tbsps ground black pepper
  • 3-4 tbsps Salt  
  • 3 tbsps packaged basil (I use Mc Cormick basil that comes in bottles) or 5-6 leaves fresh basil      
  • A handful of Parsley
  • 2 cups Olive oil or vegetable oil
Directions 

To cook the pasta:
  •       Boil 4 cups of water
  •     Once the water is boiling, add the pasta. Water should be enough to cover your pasta by around 1 ½ inches.  Boil under high heat until it’s al dente (cooked and firm). 

  •     While pasta is cooking, add 2 tbsps of salt and 1 tbsp ground black pepper, for more flavor.   
  •       Don’t forget to stir the pasta every now and then while boiling so that pieces don’t stick to the bottom of the pot.

(How to know when pasta is cooked? Cut a piece in half; if the color inside (the pasta’s cross section) is the same as the outside, then it’s cooked. If the inside appears whiter than the outside, it’s still raw.)


  • Once the pasta is cooked, drain and set aside. Do not wash pasta with water. It will keep the flavors of the tuna and garlic sauce from being absorbed by the pasta.   


To cook the tuna and garlic mixture:
  • Saute diced garlic in olive or vegetable oil until under low heat, until slightly golden. Use a pan that’s big enough to accommodate the pasta.

  •          Add tuna to the garlic. Mix well while sauteeing.

  •          When the tuna is somehow tender, season with the remaining salt, pepper, and the basil.

  •          Finally, add the pasta to the sauteed tuna and garlic. Mix well under low heat.
     
  •          Add parsley for extra flavor (and design!)


Monday, April 14, 2014

Salmon and Egg Salad Recipe


Not a big salad fan? Here’s a salad recipe that might somehow change your mind— proven to please salad lovers and meat lovers alike. And since we have the rest of the Holy Week ahead of us, this salad recipe would be a nice addition to your no-meat Holy Week (salad) menu.

What makes the yummy difference: salmon belly.


Salmon got my interest when I read somewhere that it’s one of the world’s most nutritious foods. So instead of the usual canned tuna in my salad, I did a little experiment and used salmon instead.

And the result was unexpectedly delicious.  Soft, pink, flavorful salmon belly, mixed with your fresh greens. Combine it with eggs, and a customized fusion of condiments, you’d be done with your plateful of salad before you know it. At least that’s what happened to me. And to my husband, who by the way, is not a big fan of fish or veggies, and is the pickiest adult eater I know.

This one is very easy and quick to prepare. If you want a healthier version, poach or steam the salmon instead of frying (I opted to fry it so because I don’t like the overwhelmingly fishy flavor,  and frying reduces the fishy-ness by half). Use vinegrette or parmesan cheese instead of thousand island dressing.


Have a blessed Holy Week! Hope you enjoy eating your Salmon and Egg salad as much as we did!

SALMON AND EGG SALAD


Ingredients
  • 2 handfuls Romaine Lettuce (you can add more, if you like lettuce)
  • At least 100 grams Salmon belly (or more)
  • 2 large Eggs, soft or hardboiled, sliced
  • ½ of a medium sized bulb of Red Onion
  • 1 large Tomato, sliced (optional)
  • 1-2 teaspoons Vinegar
  • ½ teaspoon Salt
  • A dollop of Thousand island salad dressing  
  • Ground black pepper
  • Vegetable oil for frying
  • Ginger (optional)
  • Garlic (optional)

Instructions
  • Boil the eggs.

  • Thaw the frozen salmon belly in water.  Then massage salt and pepper into the fish meat. You may add ginger and/or garlic for extra flavor. Leave alone for at least 10 minutes.

  • While letting the flavor sink into the fish, toss the lettuce, onion, and tomato together.

  • Fry the salmon belly under low heat. Fry until the meat is just about cooked (do not deep fry).

  • Slice the cooked salmon into small bits.
  • Cut the boiled eggs into thin slices.
  • Mix the cooked salmon and eggs with the rest of the salad.

  • Season with thousand island salad, pepper, and salt to taste. Toss well and serve.


Wednesday, April 9, 2014

Juicing, Anyone? (Consuming your Fruits and Veggies the Liquid Way -- and Enjoying Them, Too)


Image


Let’s admit it– in this day and age, living in this toxic world can be hazardous to your health. 
Chemicals are everywhere, from the food we eat (love instant noodles? processed meat? corned beef in lead-laden cans?) to the very air we breathe (surveys reveal that people who live in the city are more at risk of getting cancer and other diseases compared to people living in less “developed” areas). these days, even if one doesn’t smoke or drink or abuse drugs, doesn’t mean s/he is spared from the risk of getting gravely sick.
So how do we protect ourselves? In my case, as a 34-year-old working wife and mother, with a 3-year-old daughter and parents who need me as breadwinner, it’s imperative that I live long and stay healthy. Vitamin supplements are cool but they’re still synthetic. Veggies and fruits are our best bet, but i’m not a fan of those. And then i discovered the smart art of juicing.
Juicing, quite simply, is turning solid fruits and vegetables into liquid juice with the help of an electric juicer/ juice extractor.
To be honest, i first got into it because i had wanted to lose weight, but along the way i realized that beyond those 3-day juice-only crash diet programs, juicing can actually become my lifelong healthy habit. it’s the perfect way to protect myself and my loved ones from this toxic, carcinogenic world. and the best thing about it is that, when turned into a juice mixture, fruits and vegetables ACTUALLY TASTE GOOD, even if you’re not a fruits-and-veggies lover.
Image
And just to convince you a bit more, here are the BENEFITS OF JUICING, according to one juicing website i’m following:
  • improves metabolism
  • reduces hunger pangs
  • reduces body fat
  • with faster metabolism, less hunger pangs, and more burned body fat, HELPS YOU LOSE WEIGHT (yipee!)
  • detoxifies your system
  • balances hormones
  • controls blood sugar
  • reduces inflammation
 Juicing has been kind of a fad these days, with celebrities turning on their juicers and going organic. Personally, I’m glad that I have influenced my husband and mother-in-law to get into juicing. Now I make juices not only for me, but for members of my family, too. (And I plan to buy my parents their own juicer soon so that they, too, can enjoy natural juices at home).

DETOX WITH LEMON!
Image

I include LEMON in all of my juices– the pectin fiber in lemon reduces hunger, as well as detoxes the colon. Buildup of wastes in the colon can contribute to the risk of colon cancer. Lemon helps do “house-cleaning” by helping flush out the waste out of your bowels with greater frequency. I found that adding lemon to any recipe doesn’t affect the overall taste (it even enhances it!).
Many like their juices “pure” and concentrated, but I add water to mine. For economic purposes, yes (there’s three of us drinking and only so much juice! water becomes an “extender”. haha), and also because water combined with lemon helps do the colon-cleansing action better.

i’m sharing a few recipes i have grabbed from my favorite juicing websites, one of which is THIS, with a few tweaks and personalized additions. I have taken up a 30-day challenge to drink at least a glass of natural juice every single day for the next 30 days. i actually plan to go beyond 30 days. i want to drink juice every single day for the rest of my life. and i really hope more people will, too.

So here are four of my favorite beginner juicing recipes. Happy juicing!

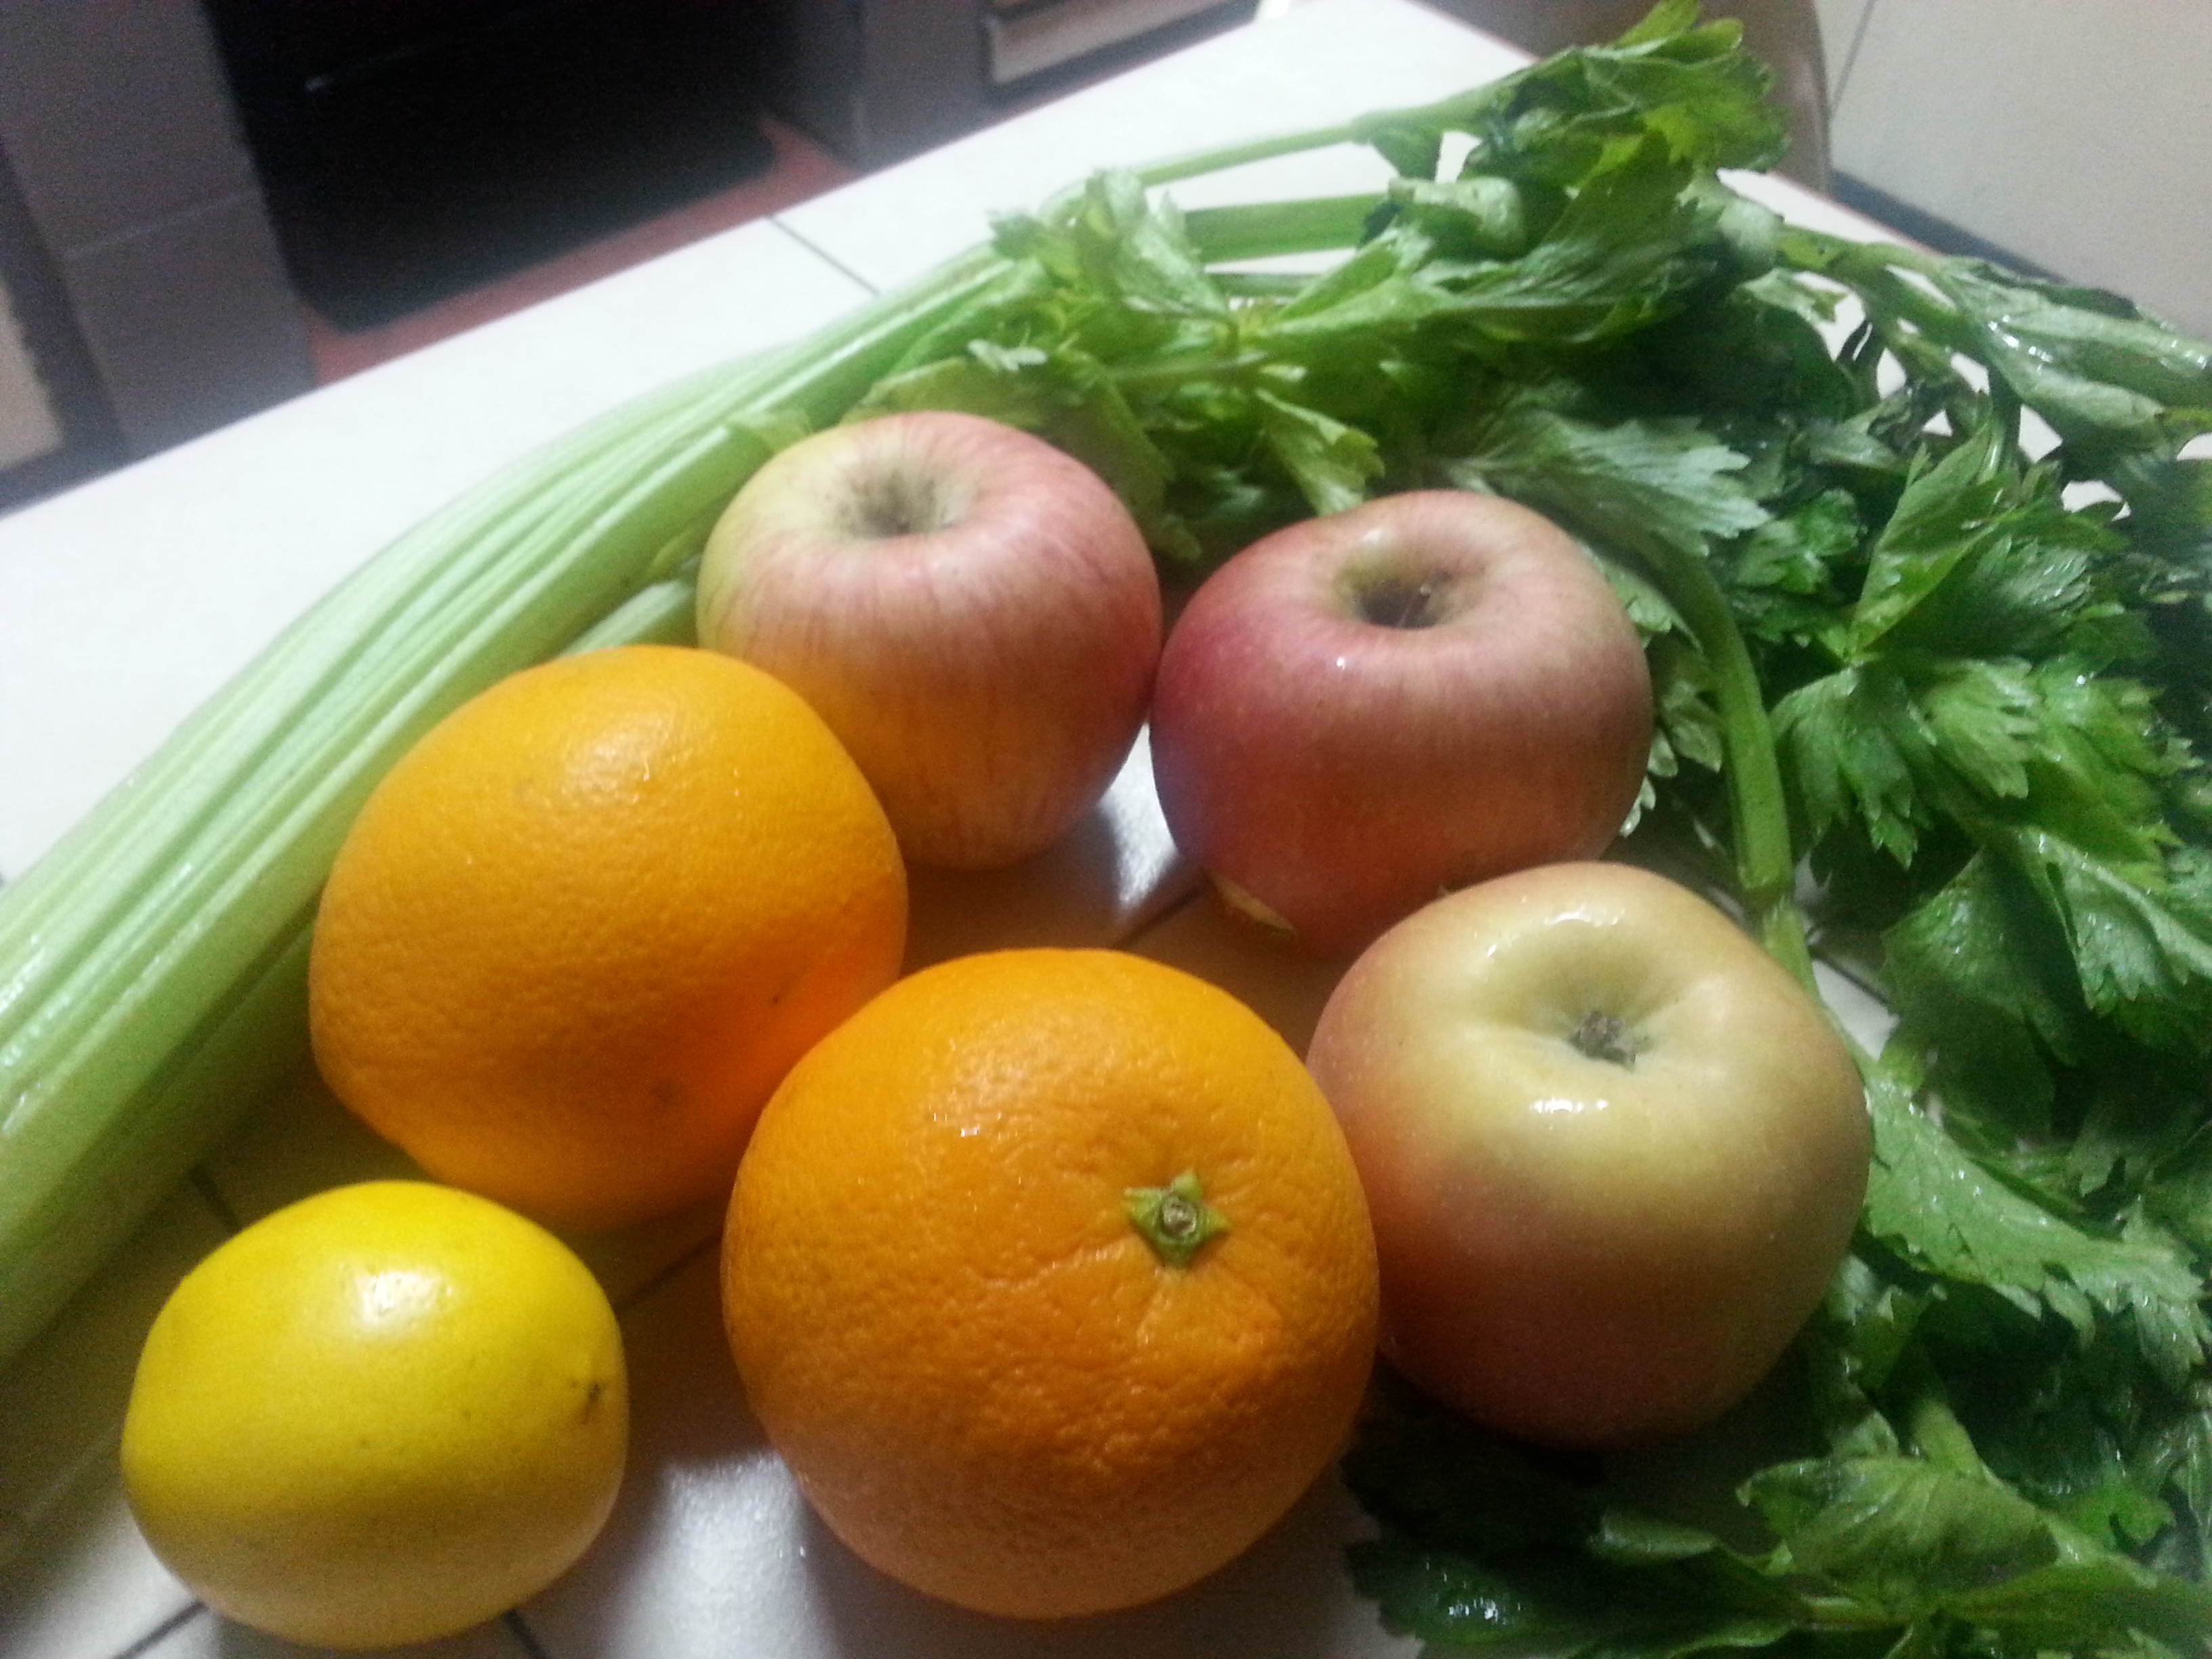
20140409_152958

APPLE CRISP

Ingredients
  • Apples – 5 medium (3″ dia) 
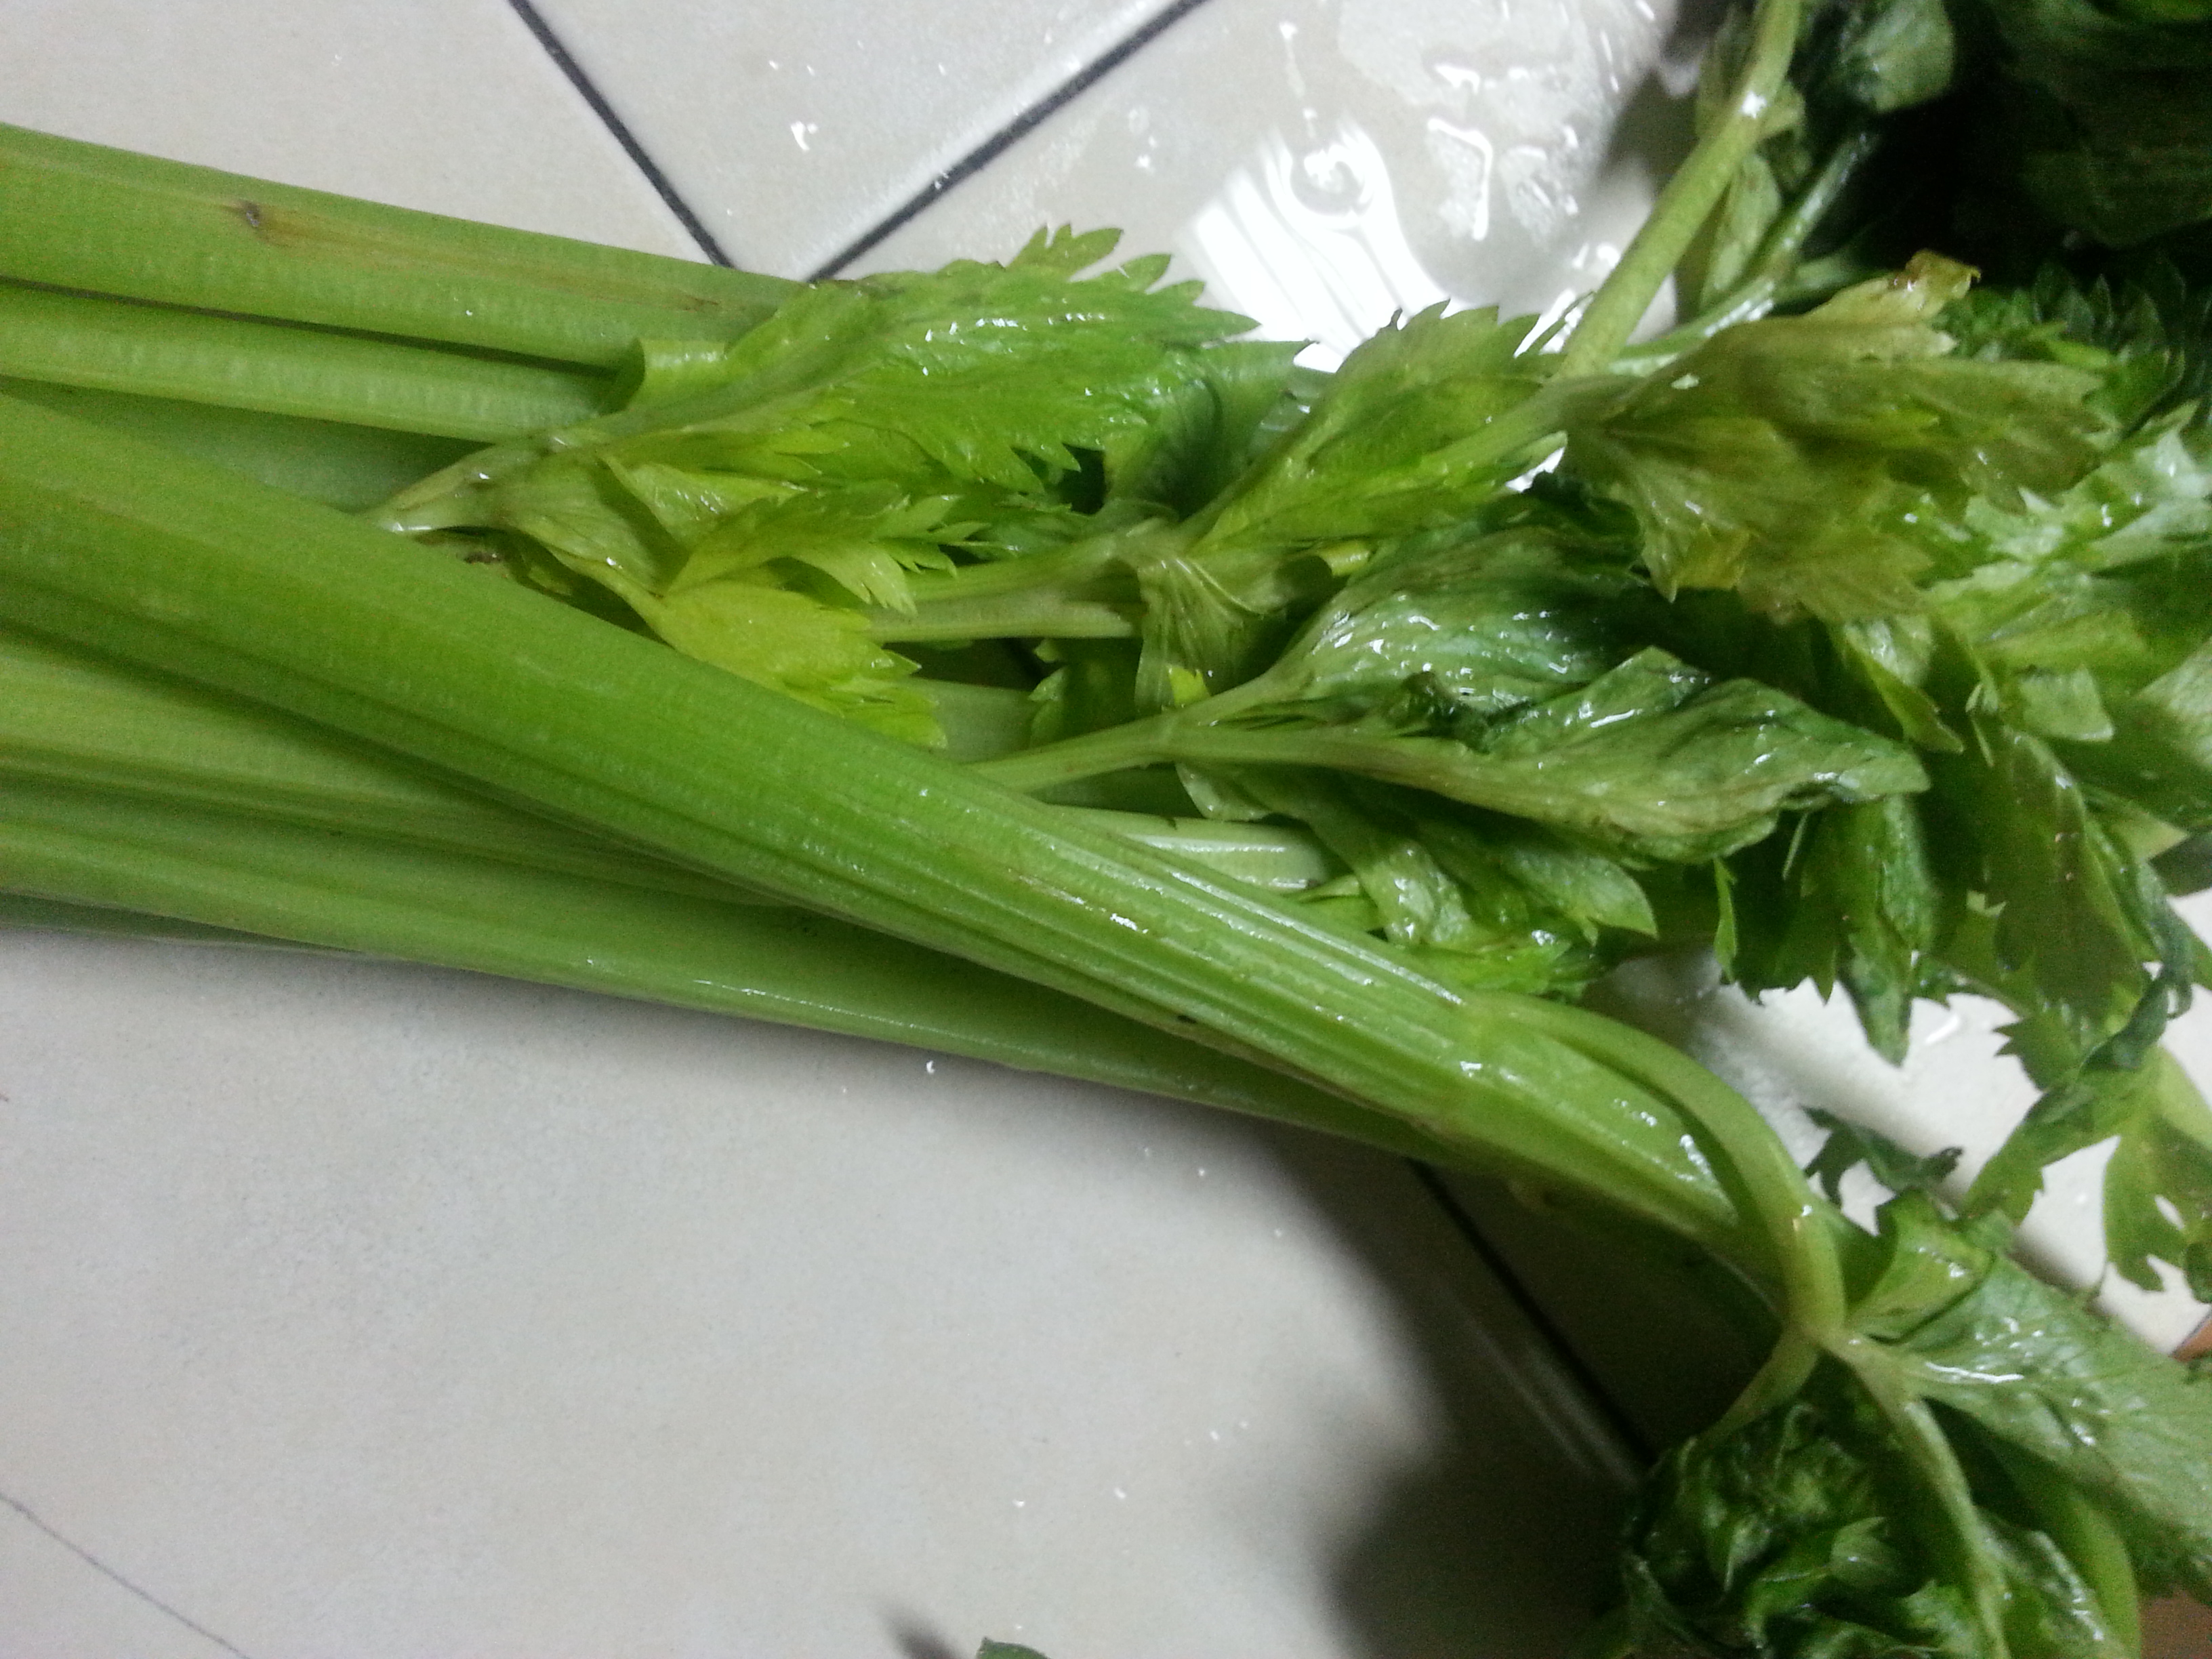
  • Celery – 2 stalks, large (11″-12″ long) 
  • Oranges (peeled) – 2 fruits (2-5/8″ dia)  
  • Lemon (peeled) – 1 fruit medium
Directions
  • Process all ingredients in a juicer, one ingredient at a time.
  • You may add a 1/2 to 1 cup water to the mixture. If you want it concentrated, omit the water.
  • Stir very well or shake. Put in the chiller or add ice cubes.
My notes
  • At first I had thought adding celery to fruit juice would taste horrible. But I was wrong! This is actually a yummy basic recipe, with the the apples and oranges giving it a prevailing sweet taste, and the celery giving just a little bit of a tangy taste to it.  1 glass won’t be enough!
  • Aside from lemon, you can also add ginger for a stronger punch (if you like ginger). I almost always add ginger to juices because of its antioxidant benefits.
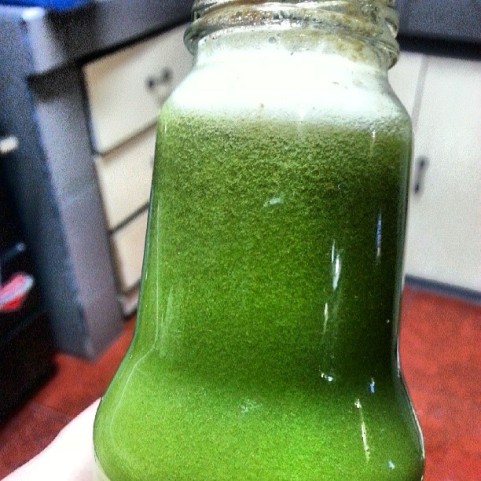
Image

BEGINNER GREEN

Ingredients


  • Apples – 3 medium (3″ dia) 
  • Celery – 4 stalk, large (11″-12″ long) 256
  • Ginger Root – 1/4 thumb (1″ dia) 6
  • Lemon (with rind) – 1/2 fruit (2-1/8″ dia) 29
  • Orange (peeled) – 1 large (3-1/16″ dia) 184
  • Spinach – 5 handful 5g

Directions

  • Peel everything except the apples and lemon.
  • Slice up the ingredients and put in the juicer.
  • Stir or shake well. Add ice cubes or put in the chiller
  • You don’t have to peel the lemon, but make sure you peel the orange. The orange’s skin is very bitter and can ruin the flavor.

My notes

This is one of my favorite green recipes. You can add malunggay (moringa) and/or parsley to the gang for an extra dose of supernutrients (the more antioxidants, the better for me). Don’t worry, the added green taste will be offset by the sweetness of the apples.

TOXIN KILLER

ImageImage

Ingredients

  • 3 apples
  • 1 stick of celery
  • Half a cucumber
  • 1 handful of spinach
  • 1 handful of lettuce

Directions

  • Peel the cucumber. Keep the apple unpeeled (there’s a load of nutritious stuff in them!).
  • Slice up all the ingredients. Put in the juicer one at a time.
  • Stir well or shake. Put ice or put in the chiller.
My Notes
  • You will notice that the ingredients are almost exclusively veggies except for the apples. The apples will provide the “yummy” factor; the veggies (especially the leafy greens!) will give you the nutrients that you need.  Try adding ginger to it– it gives an extra tangy taste, which I personally love.
  • This recipe is best for those who are looking to detox. Add 2 whole lemons for more detox action — lemon helps cleanse the colon.

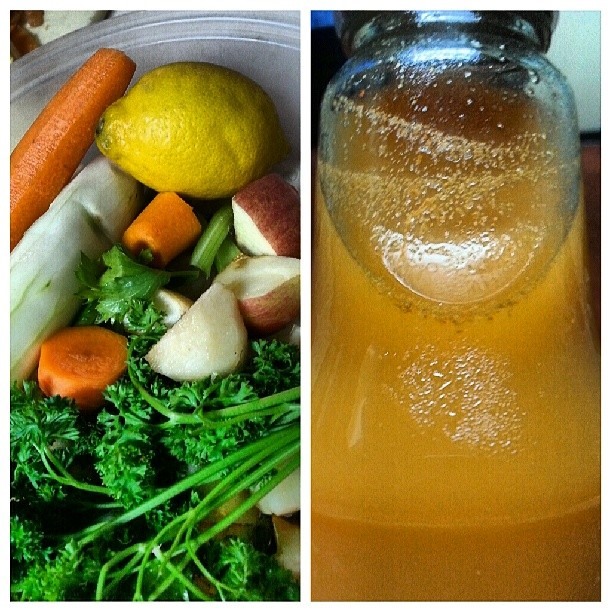
RAINBOW BRITE

Image

Ingredients

  • Apple – 1 medium (3″ dia) 182g
  • Carrots – 5 medium 305g
  • Cucumber – 1 cucumber (8-1/4″) 301g
  • Ginger Root – 1 thumb (1″ dia) 24g
  • Lemon – 1 fruit (2-1/8″ dia) 58g
  • Pear – 1 medium 178g
  • Spinach – 2 handful 50g

Directions

Process all ingredients in a juicer, shake or stir and serve.

My Notes

I added parsley to the artillery. It gave the drink more green punch (which gave me the feeling of being full) plus the extra benefits of having more greens. Also experimented with malunggay on this. Not so bad! You ought to try it!
 More recipes to come as I continue my 30-day juicing journey!