baking. juicing. cooking. food tripping.

baking. juicing. cooking. food tripping.

Wednesday, April 16, 2014

Tuna and Garlic Pasta Recipe

Here’s another quick and simple meat-less recipe for the Lenten Season— a legacy from my dear departed sister-in-law, who used to cook this for her half-Italian kids.


Garlic (lots of it!), tuna, and penne pasta are the basic ingredients. And 30-40 minutes is all the time you need to prepare this. I fell in love with this simple but flavorful recipe at first taste, I just had to learn to cook it—not a big feat,
as you will see, cause it’s so amazingly easy to do.


Thank you, Ate Jonna, for this recipe.  Each time I cook your tuna and garlic pasta, it’s always an homage to you.

TUNA AND GARLIC PASTA ALA JONNA 

Ingredients
  • 1 400 gram package penne pasta
  • 2-3 100 gram / 6 oz cans of tuna (I use Century Tuna flakes in vegetable oil or water)
  • 2 whole BULBS of garlic, diced  
  • 2-3 tbsps ground black pepper
  • 3-4 tbsps Salt  
  • 3 tbsps packaged basil (I use Mc Cormick basil that comes in bottles) or 5-6 leaves fresh basil      
  • A handful of Parsley
  • 2 cups Olive oil or vegetable oil
Directions 

To cook the pasta:
  •       Boil 4 cups of water
  •     Once the water is boiling, add the pasta. Water should be enough to cover your pasta by around 1 ½ inches.  Boil under high heat until it’s al dente (cooked and firm). 

  •     While pasta is cooking, add 2 tbsps of salt and 1 tbsp ground black pepper, for more flavor.   
  •       Don’t forget to stir the pasta every now and then while boiling so that pieces don’t stick to the bottom of the pot.

(How to know when pasta is cooked? Cut a piece in half; if the color inside (the pasta’s cross section) is the same as the outside, then it’s cooked. If the inside appears whiter than the outside, it’s still raw.)


  • Once the pasta is cooked, drain and set aside. Do not wash pasta with water. It will keep the flavors of the tuna and garlic sauce from being absorbed by the pasta.   


To cook the tuna and garlic mixture:
  • Saute diced garlic in olive or vegetable oil until under low heat, until slightly golden. Use a pan that’s big enough to accommodate the pasta.

  •          Add tuna to the garlic. Mix well while sauteeing.

  •          When the tuna is somehow tender, season with the remaining salt, pepper, and the basil.

  •          Finally, add the pasta to the sauteed tuna and garlic. Mix well under low heat.
     
  •          Add parsley for extra flavor (and design!)


Monday, April 14, 2014

Salmon and Egg Salad Recipe


Not a big salad fan? Here’s a salad recipe that might somehow change your mind— proven to please salad lovers and meat lovers alike. And since we have the rest of the Holy Week ahead of us, this salad recipe would be a nice addition to your no-meat Holy Week (salad) menu.

What makes the yummy difference: salmon belly.


Salmon got my interest when I read somewhere that it’s one of the world’s most nutritious foods. So instead of the usual canned tuna in my salad, I did a little experiment and used salmon instead.

And the result was unexpectedly delicious.  Soft, pink, flavorful salmon belly, mixed with your fresh greens. Combine it with eggs, and a customized fusion of condiments, you’d be done with your plateful of salad before you know it. At least that’s what happened to me. And to my husband, who by the way, is not a big fan of fish or veggies, and is the pickiest adult eater I know.

This one is very easy and quick to prepare. If you want a healthier version, poach or steam the salmon instead of frying (I opted to fry it so because I don’t like the overwhelmingly fishy flavor,  and frying reduces the fishy-ness by half). Use vinegrette or parmesan cheese instead of thousand island dressing.


Have a blessed Holy Week! Hope you enjoy eating your Salmon and Egg salad as much as we did!

SALMON AND EGG SALAD


Ingredients
  • 2 handfuls Romaine Lettuce (you can add more, if you like lettuce)
  • At least 100 grams Salmon belly (or more)
  • 2 large Eggs, soft or hardboiled, sliced
  • ½ of a medium sized bulb of Red Onion
  • 1 large Tomato, sliced (optional)
  • 1-2 teaspoons Vinegar
  • ½ teaspoon Salt
  • A dollop of Thousand island salad dressing  
  • Ground black pepper
  • Vegetable oil for frying
  • Ginger (optional)
  • Garlic (optional)

Instructions
  • Boil the eggs.

  • Thaw the frozen salmon belly in water.  Then massage salt and pepper into the fish meat. You may add ginger and/or garlic for extra flavor. Leave alone for at least 10 minutes.

  • While letting the flavor sink into the fish, toss the lettuce, onion, and tomato together.

  • Fry the salmon belly under low heat. Fry until the meat is just about cooked (do not deep fry).

  • Slice the cooked salmon into small bits.
  • Cut the boiled eggs into thin slices.
  • Mix the cooked salmon and eggs with the rest of the salad.

  • Season with thousand island salad, pepper, and salt to taste. Toss well and serve.


Wednesday, April 9, 2014

Tiramisu Cake Recipe


tiramisu cake recipe

If you're a chocolate and coffee lover, you are probably a fan of Tiramisu cake. A marriage of two distinct flavors (coffee+chocolate), laced with a hint of coffee liqueur and filled with creamy Italian mascarpone cheese in between its moist, rich layers-- it's one of Italy's sweetest legacies to the world.  

This recipe from one of my favorite baking gurus, captures the spirit of Tiramisu cake as I know it. You will need at least the entire afternoon to make it  but I tell you-- it would be worth it. 


So put on your apron and prepare for battle. Let's do the Tiramisu!
  

TIRAMISU CAKE


For the cake layers:
  • 2 cups (255 grams) cake flour
  • 2 teaspoons (10 grams) baking powder
  • 1/8 teaspoon baking soda
  • 1/4 teaspoon salt
  • 10 tablespoons (140 grams)) unsalted butter, room temperature
  • 1 cup (200 grams) sugar
  • 3 large eggs
  • 1 large egg yolk
  • 1 1/2 teaspoons (8 ml) pure vanilla extract
  • 3/4 cup (175 ml) buttermilk


For the espresso extract:
  • 2 tablespoons instant espresso powder (I used strong powdered instant coffee as substitute)
  • 2 tablespoons (30 ml) boiling water


For the espresso syrup:
  • 1/2 cup (120 ml) water
  • 1/3 cup (65 grams) sugar
  • 1 tablespoon (15 ml) amaretto, Kahlua, or brandy (I used Kahlua)


For the filling and frosting:
  • 1 8-ounce (225 grams) container mascarpone (mascarpone is hard to find in Manila - so I used a substitute recipe from allrecipes.com instead)
  • 1/2 cup (60 grams) confectioners’ sugar, sifted
  • 1 1/2 teaspoons (8 ml) pure vanilla extract
  • 1 tablespoon (15 ml) amaretto, Kahlua, or brandy (I used Kahlua)
  • 1 cup (235 ml) cold heavy cream
  • 2 1/2 ounces (70 grams) bittersweet or semisweet chocolate, finely chopped, or about 1/2 cup store-bought mini chocolate chips 
  • Chocolate-covered espresso beans, for decoration (optional)
  • Cocoa powder, for dusting


Directions:

Getting the utensils ready

Center a rack in the oven and preheat the oven to 350 degrees F (175 degrees C). 

Butter two 9×2 inch round cake pans, dust the insides with flour, tap out the excess, and line the bottoms of the pans with parchment or wax paper. Put the pans on a baking sheet.


Making the cake

Sift together the cake flour, baking powder, baking soda, and salt.

Working with a stand mixer, preferably fitted with a paddle attachment, or with a hand mixer in a large bowl, beat the butter on medium speed until soft and creamy.  (I used a hand mixer. More labor, more love)


Add the sugar and beat for another 3 minutes. 


Add the eggs one by one, and then the yolk, beating for 1 minute after each addition. 


Beat in the vanilla; don’t be concerned if the mixture looks curdled. 


Reduce the mixer speed to low and add the dry ingredients alternately with the buttermilk, adding the dry ingredients in 3 additions and the milk in 2 (begin and end with the dry ingredients); scrape down the sides of the bowl as needed and mix only until the ingredients disappear into the batter. 


Divide the batter evenly between the two pans and smooth the tops with a rubber spatula.


Bake for 28 to 30 minutes, rotating the pans at the midway point. 


When fully baked, the cakes will be golden and springy to the touch and a thin knife inserted into the centers will come out clean. 


Transfer the cakes to a rack and cool for about 5 minutes, then run a knife around the sides of the cakes, unmold them, and peel off the paper liners. Invert and cool to room temperature right-side up.


To make the extract

Stir the espresso powder and boiling water together in a small cup until blended. Set aside.


To make the syrup
Stir the water and sugar together in a small saucepan and bring just to a boil. 

Pour the syrup into a small heatproof bowl and stir in 1 tablespoon of the espresso extract and the liqueur or brandy; set aside.


To make the filling and frosting
Put the mascarpone, sugar, vanilla, and liqueur in a large bowl and whisk just until blended and smooth.

Working with the stand mixer with the whisk attachment or with a hand mixer, whip the heavy cream until it holds firm peaks. Switch to a rubber spatula and stir about one quarter of the whipped cream into the mascarpone. Fold in the rest of the whipped cream with a light touch.


To assemble the cake

If the tops of the cake layers have crowned, use a long serrated knife and a gentle sawing motion to even them. Place one layer right-side up on a cardboard round or a cake plate protected with strips of wax or parchment paper. 

Using a pastry brush or a small spoon, soak the layer with about one third of the espresso syrup. Smooth some of the mascarpone cream over the layer – user about 1 1/4 cups – and gently press the chopped chocolate into the filling. 


Put the second cake layer on the counter and soak the top of it with half the remaining espresso syrup, then turn the layer over and position it, soaked side down, over the filling. Soak the top of the cake with the remaining syrup.


For the frosting, whisk 1 to 1 1/2 tablespoons of the remaining espresso extract into the remaining mascarpone filling. Taste the frosting as you go to decide how much extract you want to add. If the frosting looks as if it might be a little too soft to spread over the cake, press a piece of plastic wrap against its surface and refrigerate it for 15 minutes or so. Refrigerate the cake too.


With a long metal icing spatula, smooth the frosting around the sides of the cake and over the top. If you want to decorate the cake with chocolate-covered espresso beans, press them into the filling, making concentric circles of beans or just putting some beans in the center of the cake.


Refrigerate the cake for at least 3 hours (or for up to 1 day) before serving – the elements need time to meld.


Just before serving, dust the top of the cake with cocoa. Decorate as you wish with thinly-chopped chocolate shavings, chocolate chips, and/or frosting. 


I used Lady Finger biscuits (or "Broas", as we call it here in the Philippines) to decorate the edges of my Tiramisu cake. Then for the centerpiece, I frosted a heap of icing (using a giant frosting tip) at the center of the cake and planted a pile of chocolate shavings (thinly-chopped) on top.


Juicing, Anyone? (Consuming your Fruits and Veggies the Liquid Way -- and Enjoying Them, Too)


Image


Let’s admit it– in this day and age, living in this toxic world can be hazardous to your health. 

Chemicals are everywhere, from the food we eat (love instant noodles? processed meat? corned beef in lead-laden cans?) to the very air we breathe (surveys reveal that people who live in the city are more at risk of getting cancer and other diseases compared to people living in less “developed” areas). these days, even if one doesn’t smoke or drink or abuse drugs, doesn’t mean s/he is spared from the risk of getting gravely sick.
So how do we protect ourselves? In my case, as a 34-year-old working wife and mother, with a 3-year-old daughter and parents who need me as breadwinner, it’s imperative that I live long and stay healthy. Vitamin supplements are cool but they’re still synthetic. Veggies and fruits are our best bet, but i’m not a fan of those. And then i discovered the smart art of juicing.
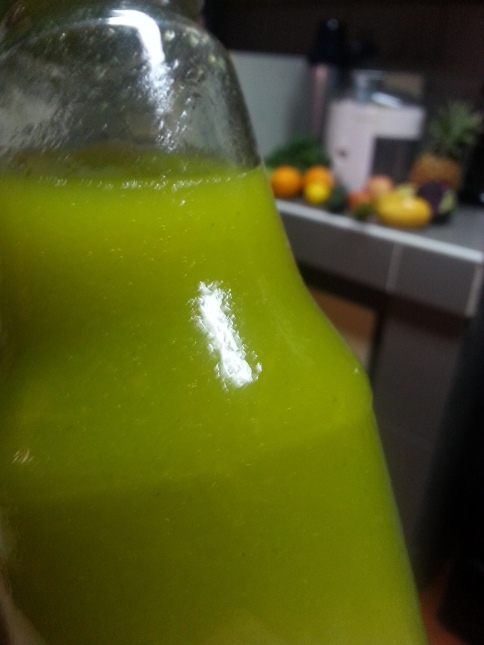
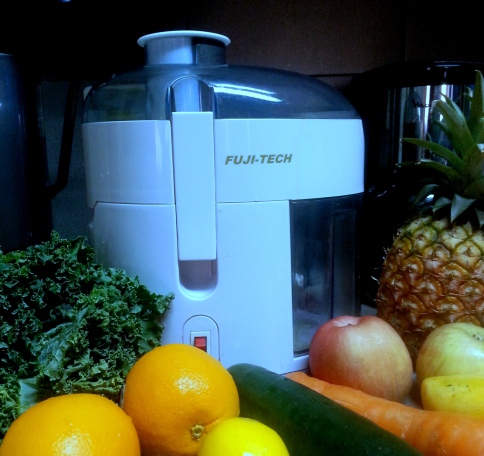
Juicing, quite simply, is turning solid fruits and vegetables into liquid juice with the help of an electric juicer/ juice extractor.
To be honest, i first got into it because i had wanted to lose weight, but along the way i realized that beyond those 3-day juice-only crash diet programs, juicing can actually become my lifelong healthy habit. it’s the perfect way to protect myself and my loved ones from this toxic, carcinogenic world. and the best thing about it is that, when turned into a juice mixture, fruits and vegetables ACTUALLY TASTE GOOD, even if you’re not a fruits-and-veggies lover.
Image
And just to convince you a bit more, here are the BENEFITS OF JUICING, according to one juicing website i’m following:
  • improves metabolism
  • reduces hunger pangs
  • reduces body fat
  • with faster metabolism, less hunger pangs, and more burned body fat, HELPS YOU LOSE WEIGHT (yipee!)
  • detoxifies your system
  • balances hormones
  • controls blood sugar
  • reduces inflammation
 Juicing has been kind of a fad these days, with celebrities turning on their juicers and going organic. Personally, I’m glad that I have influenced my husband and mother-in-law to get into juicing. Now I make juices not only for me, but for members of my family, too. (And I plan to buy my parents their own juicer soon so that they, too, can enjoy natural juices at home).

DETOX WITH LEMON!
Image

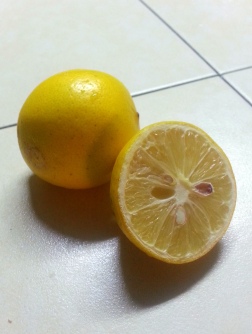
I include LEMON in all of my juices– the pectin fiber in lemon reduces hunger, as well as detoxes the colon. Buildup of wastes in the colon can contribute to the risk of colon cancer. Lemon helps do “house-cleaning” by helping flush out the waste out of your bowels with greater frequency. I found that adding lemon to any recipe doesn’t affect the overall taste (it even enhances it!).
Many like their juices “pure” and concentrated, but I add water to mine. For economic purposes, yes (there’s three of us drinking and only so much juice! water becomes an “extender”. haha), and also because water combined with lemon helps do the colon-cleansing action better.

i’m sharing a few recipes i have grabbed from my favorite juicing websites, one of which is THIS, with a few tweaks and personalized additions. I have taken up a 30-day challenge to drink at least a glass of natural juice every single day for the next 30 days. i actually plan to go beyond 30 days. i want to drink juice every single day for the rest of my life. and i really hope more people will, too.

So here are four of my favorite beginner juicing recipes. Happy juicing!

20140409_152958

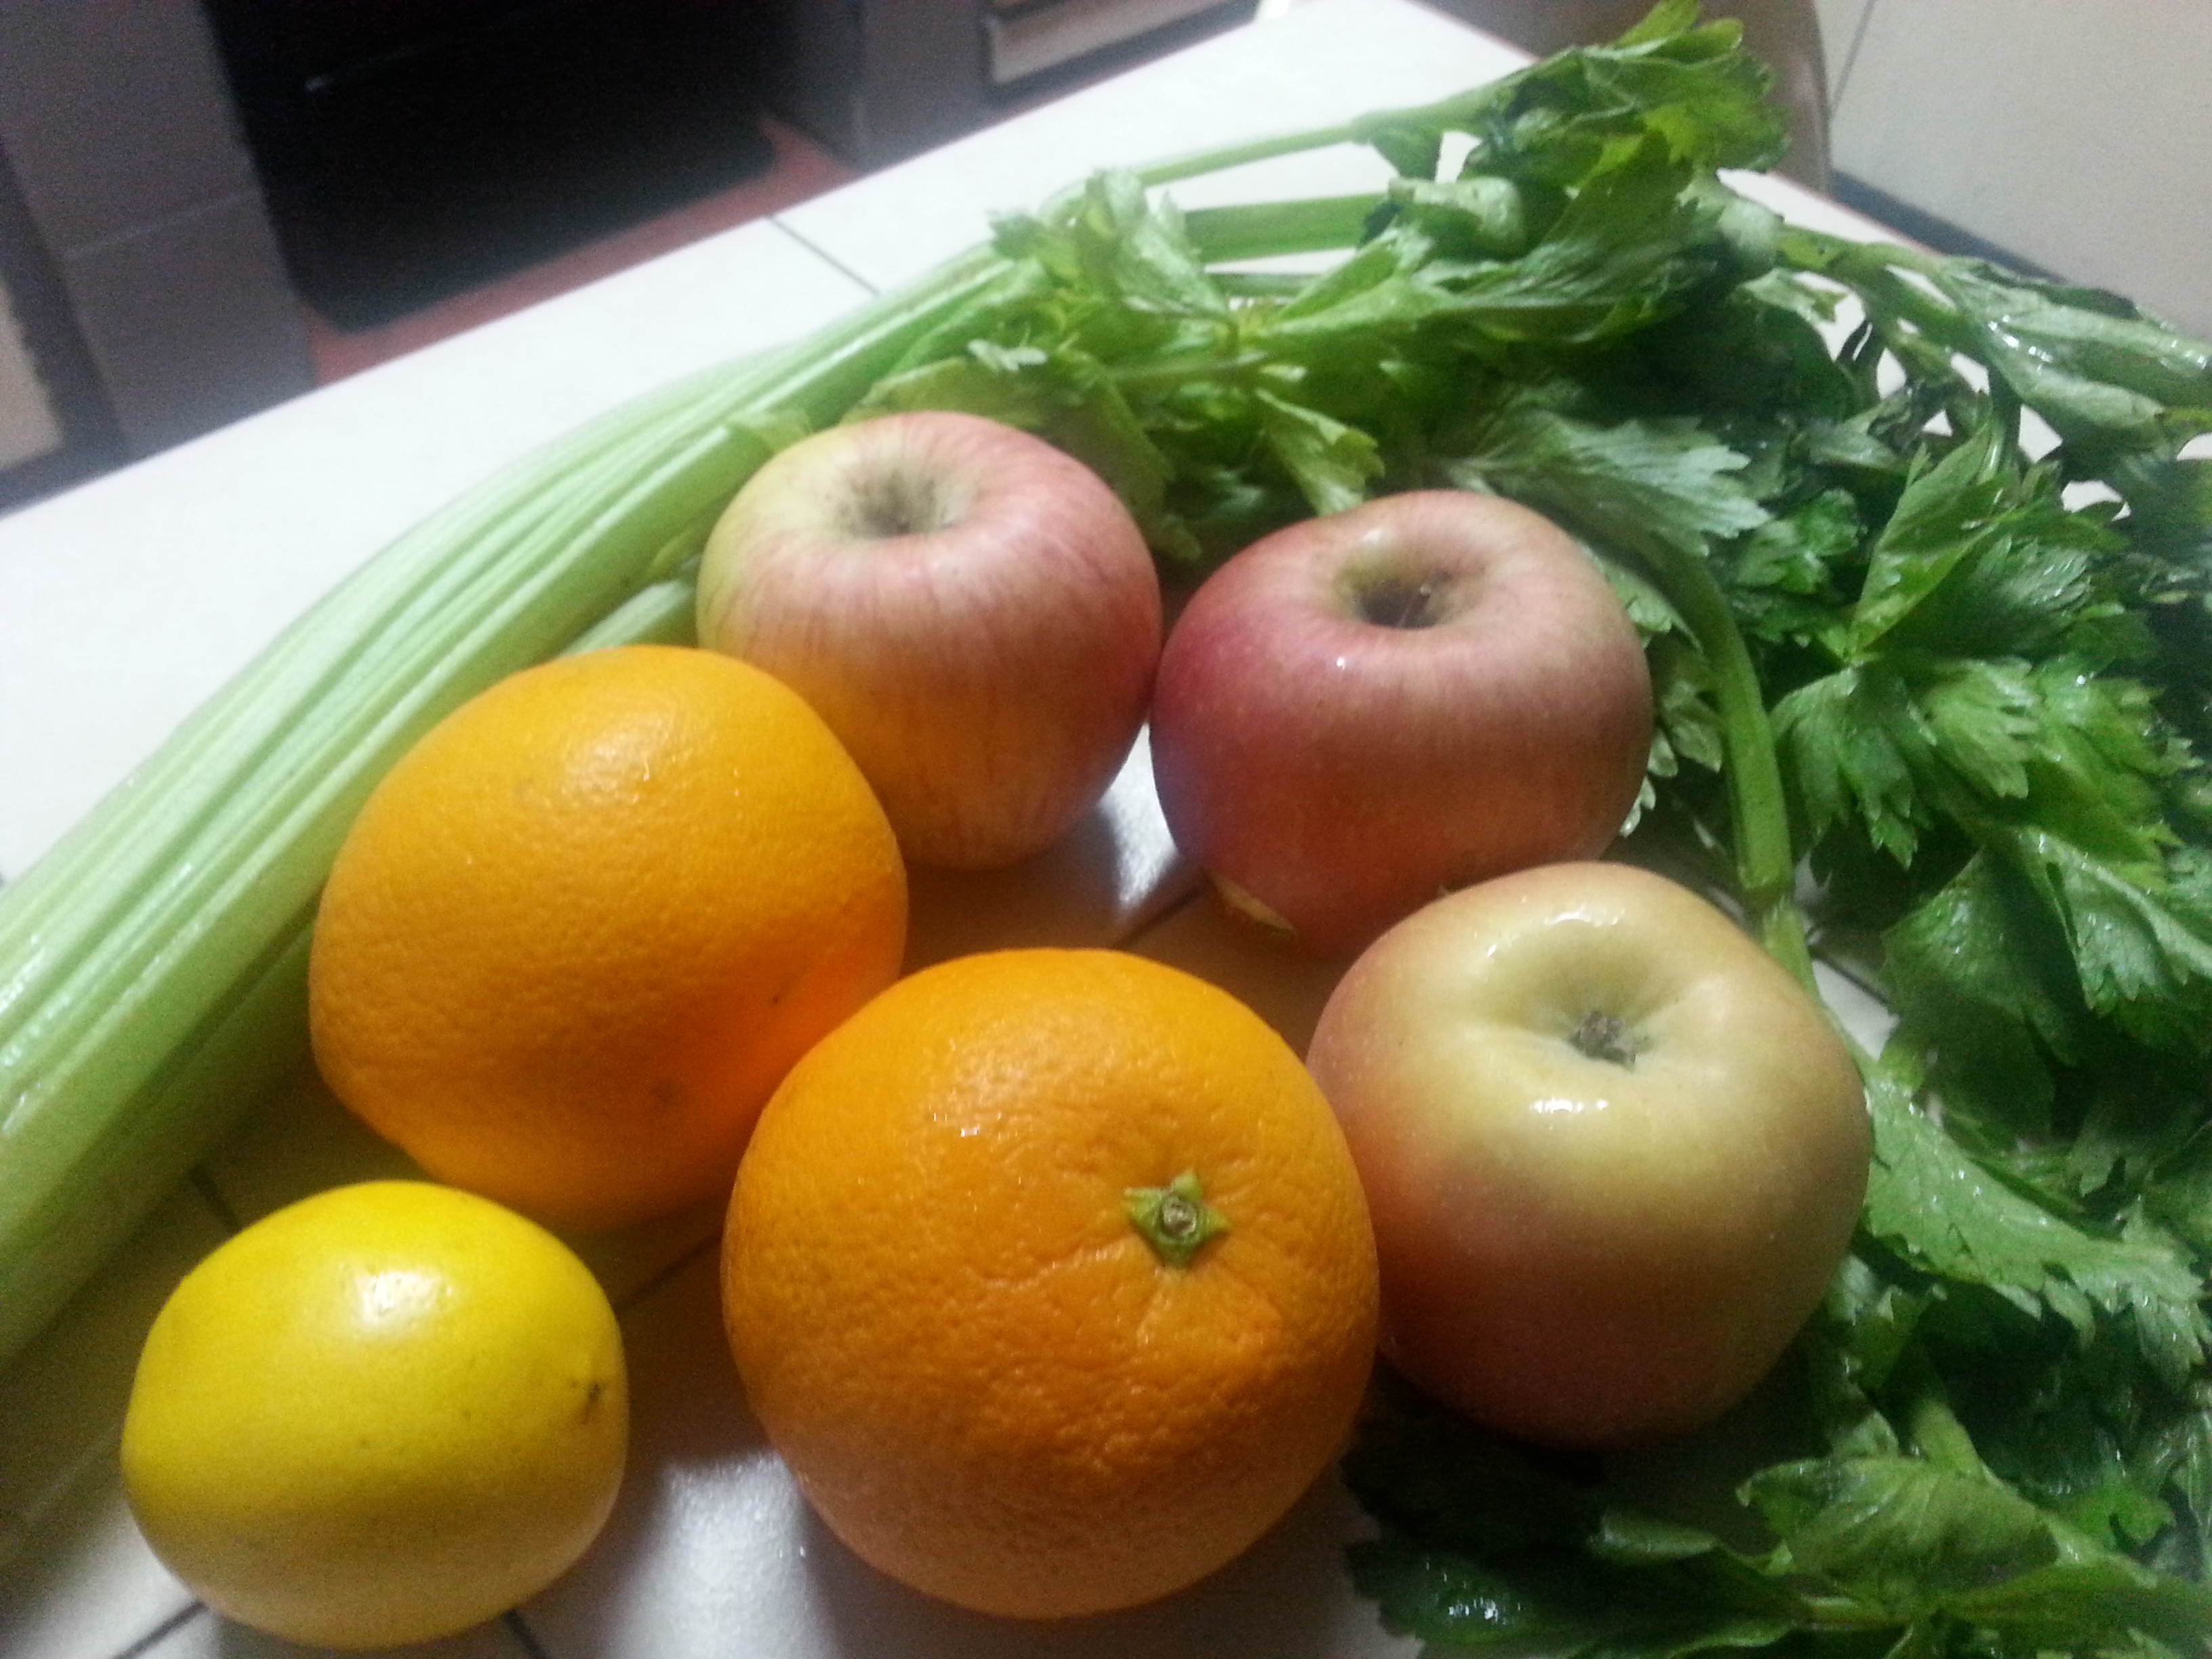
APPLE CRISP

Ingredients
  • Apples – 5 medium (3″ dia) 
  • Celery – 2 stalks, large (11″-12″ long) 
  • Oranges (peeled) – 2 fruits (2-5/8″ dia)  
  • Lemon (peeled) – 1 fruit medium
Directions
  • Process all ingredients in a juicer, one ingredient at a time.
  • You may add a 1/2 to 1 cup water to the mixture. If you want it concentrated, omit the water.
  • Stir very well or shake. Put in the chiller or add ice cubes.
My notes
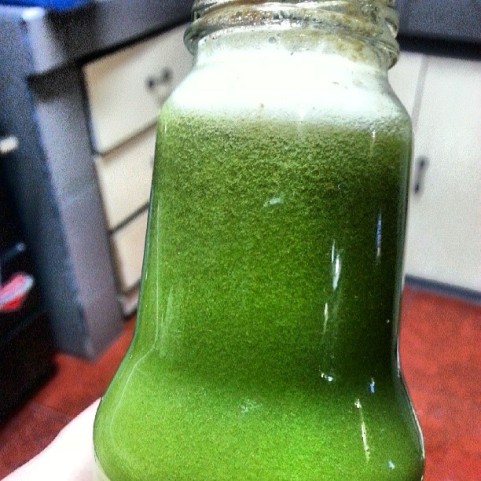
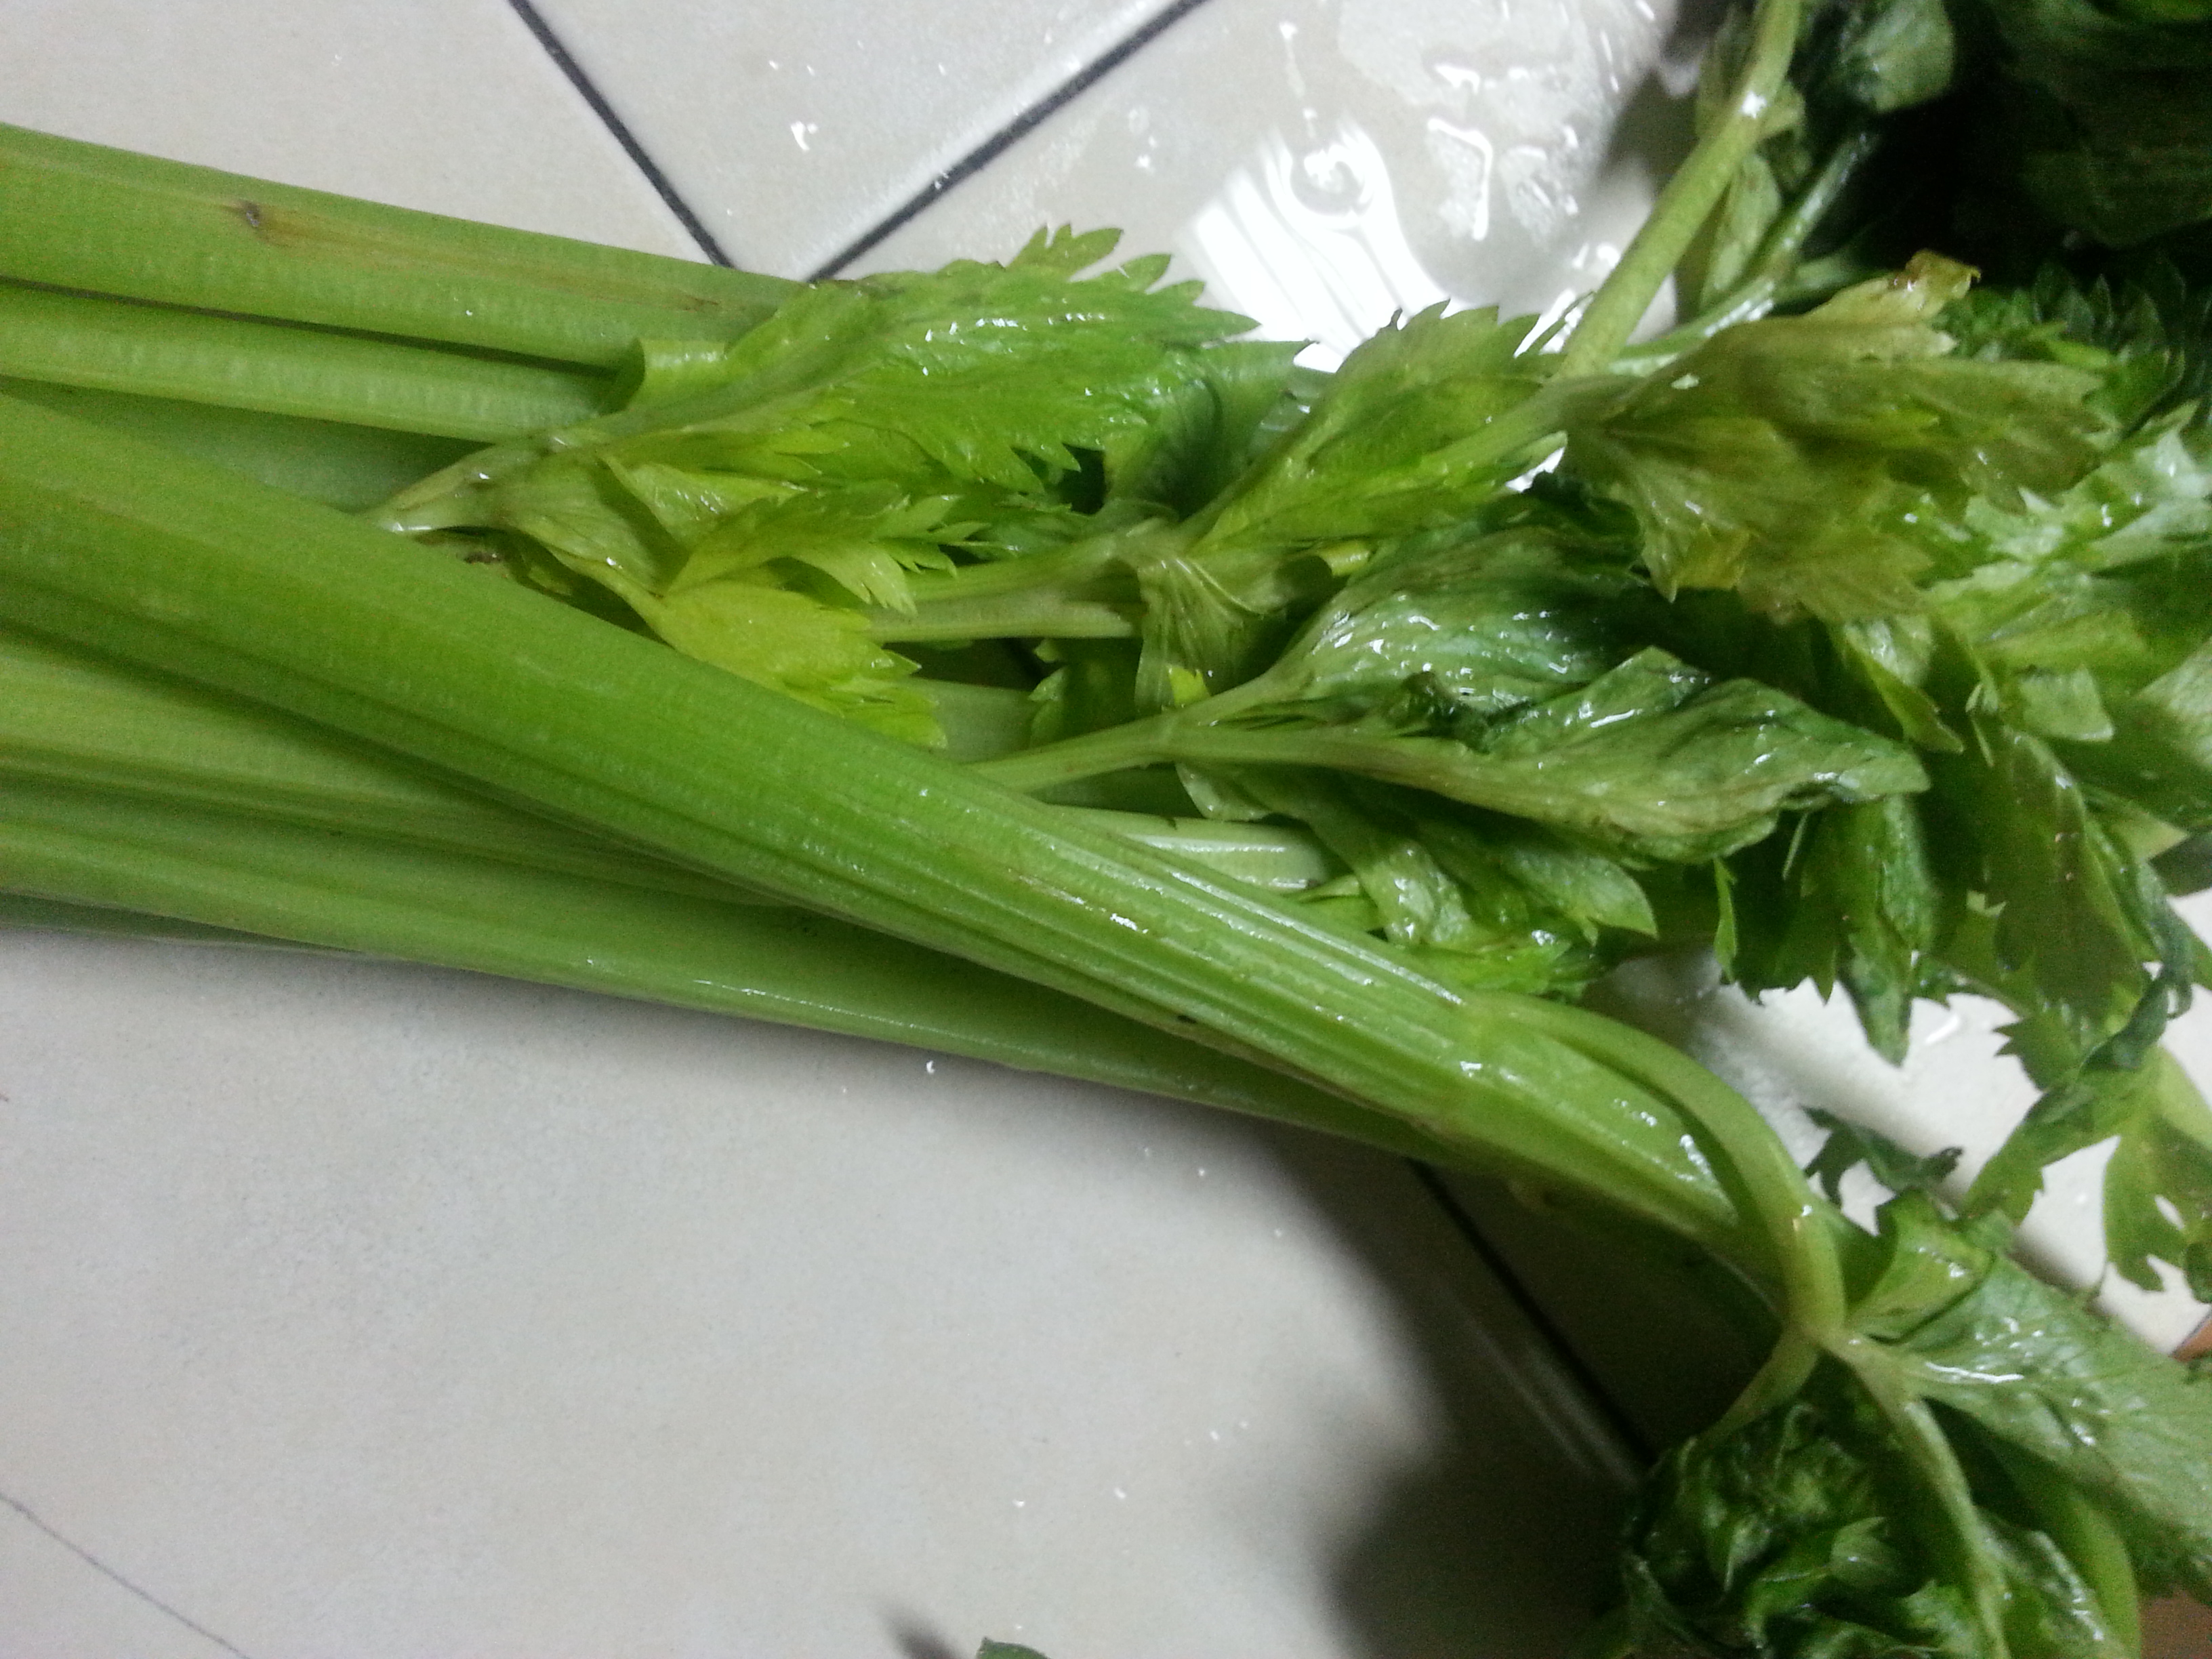
  • At first I had thought adding celery to fruit juice would taste horrible. But I was wrong! This is actually a yummy basic recipe, with the the apples and oranges giving it a prevailing sweet taste, and the celery giving just a little bit of a tangy taste to it.  1 glass won’t be enough!
  • Aside from lemon, you can also add ginger for a stronger punch (if you like ginger). I almost always add ginger to juices because of its antioxidant benefits.
Image

BEGINNER GREEN

Ingredients


  • Apples – 3 medium (3″ dia) 
  • Celery – 4 stalk, large (11″-12″ long) 256
  • Ginger Root – 1/4 thumb (1″ dia) 6
  • Lemon (with rind) – 1/2 fruit (2-1/8″ dia) 29
  • Orange (peeled) – 1 large (3-1/16″ dia) 184
  • Spinach – 5 handful 5g

Directions

  • Peel everything except the apples and lemon.
  • Slice up the ingredients and put in the juicer.
  • Stir or shake well. Add ice cubes or put in the chiller
  • You don’t have to peel the lemon, but make sure you peel the orange. The orange’s skin is very bitter and can ruin the flavor.

My notes

This is one of my favorite green recipes. You can add malunggay (moringa) and/or parsley to the gang for an extra dose of supernutrients (the more antioxidants, the better for me). Don’t worry, the added green taste will be offset by the sweetness of the apples.

TOXIN KILLER

ImageImage

Ingredients

  • 3 apples
  • 1 stick of celery
  • Half a cucumber
  • 1 handful of spinach
  • 1 handful of lettuce

Directions

  • Peel the cucumber. Keep the apple unpeeled (there’s a load of nutritious stuff in them!).
  • Slice up all the ingredients. Put in the juicer one at a time.
  • Stir well or shake. Put ice or put in the chiller.
My Notes
  • You will notice that the ingredients are almost exclusively veggies except for the apples. The apples will provide the “yummy” factor; the veggies (especially the leafy greens!) will give you the nutrients that you need.  Try adding ginger to it– it gives an extra tangy taste, which I personally love.
  • This recipe is best for those who are looking to detox. Add 2 whole lemons for more detox action — lemon helps cleanse the colon.

RAINBOW BRITE

Image

Ingredients

  • Apple – 1 medium (3″ dia) 182g
  • Carrots – 5 medium 305g
  • Cucumber – 1 cucumber (8-1/4″) 301g
  • Ginger Root – 1 thumb (1″ dia) 24g
  • Lemon – 1 fruit (2-1/8″ dia) 58g
  • Pear – 1 medium 178g
  • Spinach – 2 handful 50g

Directions

Process all ingredients in a juicer, shake or stir and serve.

My Notes

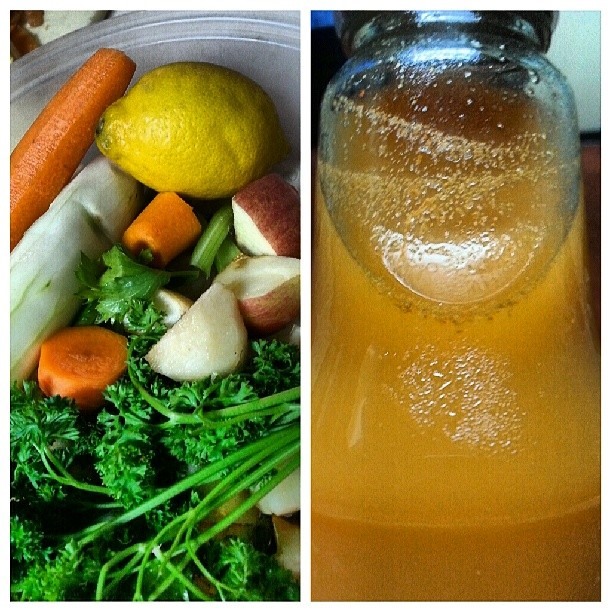
I added parsley to the artillery. It gave the drink more green punch (which gave me the feeling of being full) plus the extra benefits of having more greens. Also experimented with malunggay on this. Not so bad! You ought to try it!
 More recipes to come as I continue my 30-day juicing journey!

Monday, April 7, 2014

Chewy Chocolate Chip Macadamia Cookies Recipe

Nothing like homemade! The first time I tried this recipe which I got from Sally
I was instantly in love.  Soft, chewy, thick, and rich in chocolate chips, 
it’s every cookie lover’s dream.

20131124_185437
20131124_185555


Made an addition of macadamia nuts to add to the chewy choco chip cookie experience (if you don’t like nuts, you can simply exclude them from your recipe), and instead of chocolate chunks I used mini chocolate chips (you can use either or BOTH, for extra yumyum points!).
20140318_135728
Using REAL butter is a MUST for best results (when you’re buying, read labels carefully–  skip the butter compounds or worse, the margarine. But if you absolutely have no choice, use them. But this recipe works best with real butter). And the proportions of the ingredient must be accurate (less butter / less vanilla extract will result in harder, drier, less chewy cookies).
20131124_185514
I’ve passed this around friends and co-workers– it’s a crowd favorite. I kept getting requests to bake these again, and at least one or two have volunteered to pay for them! Ain’t that cool? :-)
So without further blah-blah, here’s the recipe! Enjoy, fellow bakers!

CHEWY CHOCOLATE CHIP AND MACADAMIA COOKIES

Ingredients:

  • 2 and 1/4 cups all-purpose flour, measured correctly
  • 1 teaspoon baking soda
  • 1 and 1/2 teaspoons cornstarch (this adds chewiness to the cookie!)
  • 1/2 teaspoon salt
  • 3/4 cup (1.5 sticks or 170 grams) unsalted butter, melted
  • 3/4 cup (150 grams) light brown sugar, loosely packed (dark brown sugar will also do)
  • 1/2 cup (100 grams) granulated sugar
  • 1 large egg + 1 egg yolk (the extra yolk add to the thickness)
  • 2 teaspoons vanilla extract
  • 1 cup (180 grams) chocolate chips or chocolate chunks
  • 1/2 cup macadamia nuts, chopped
Directions:

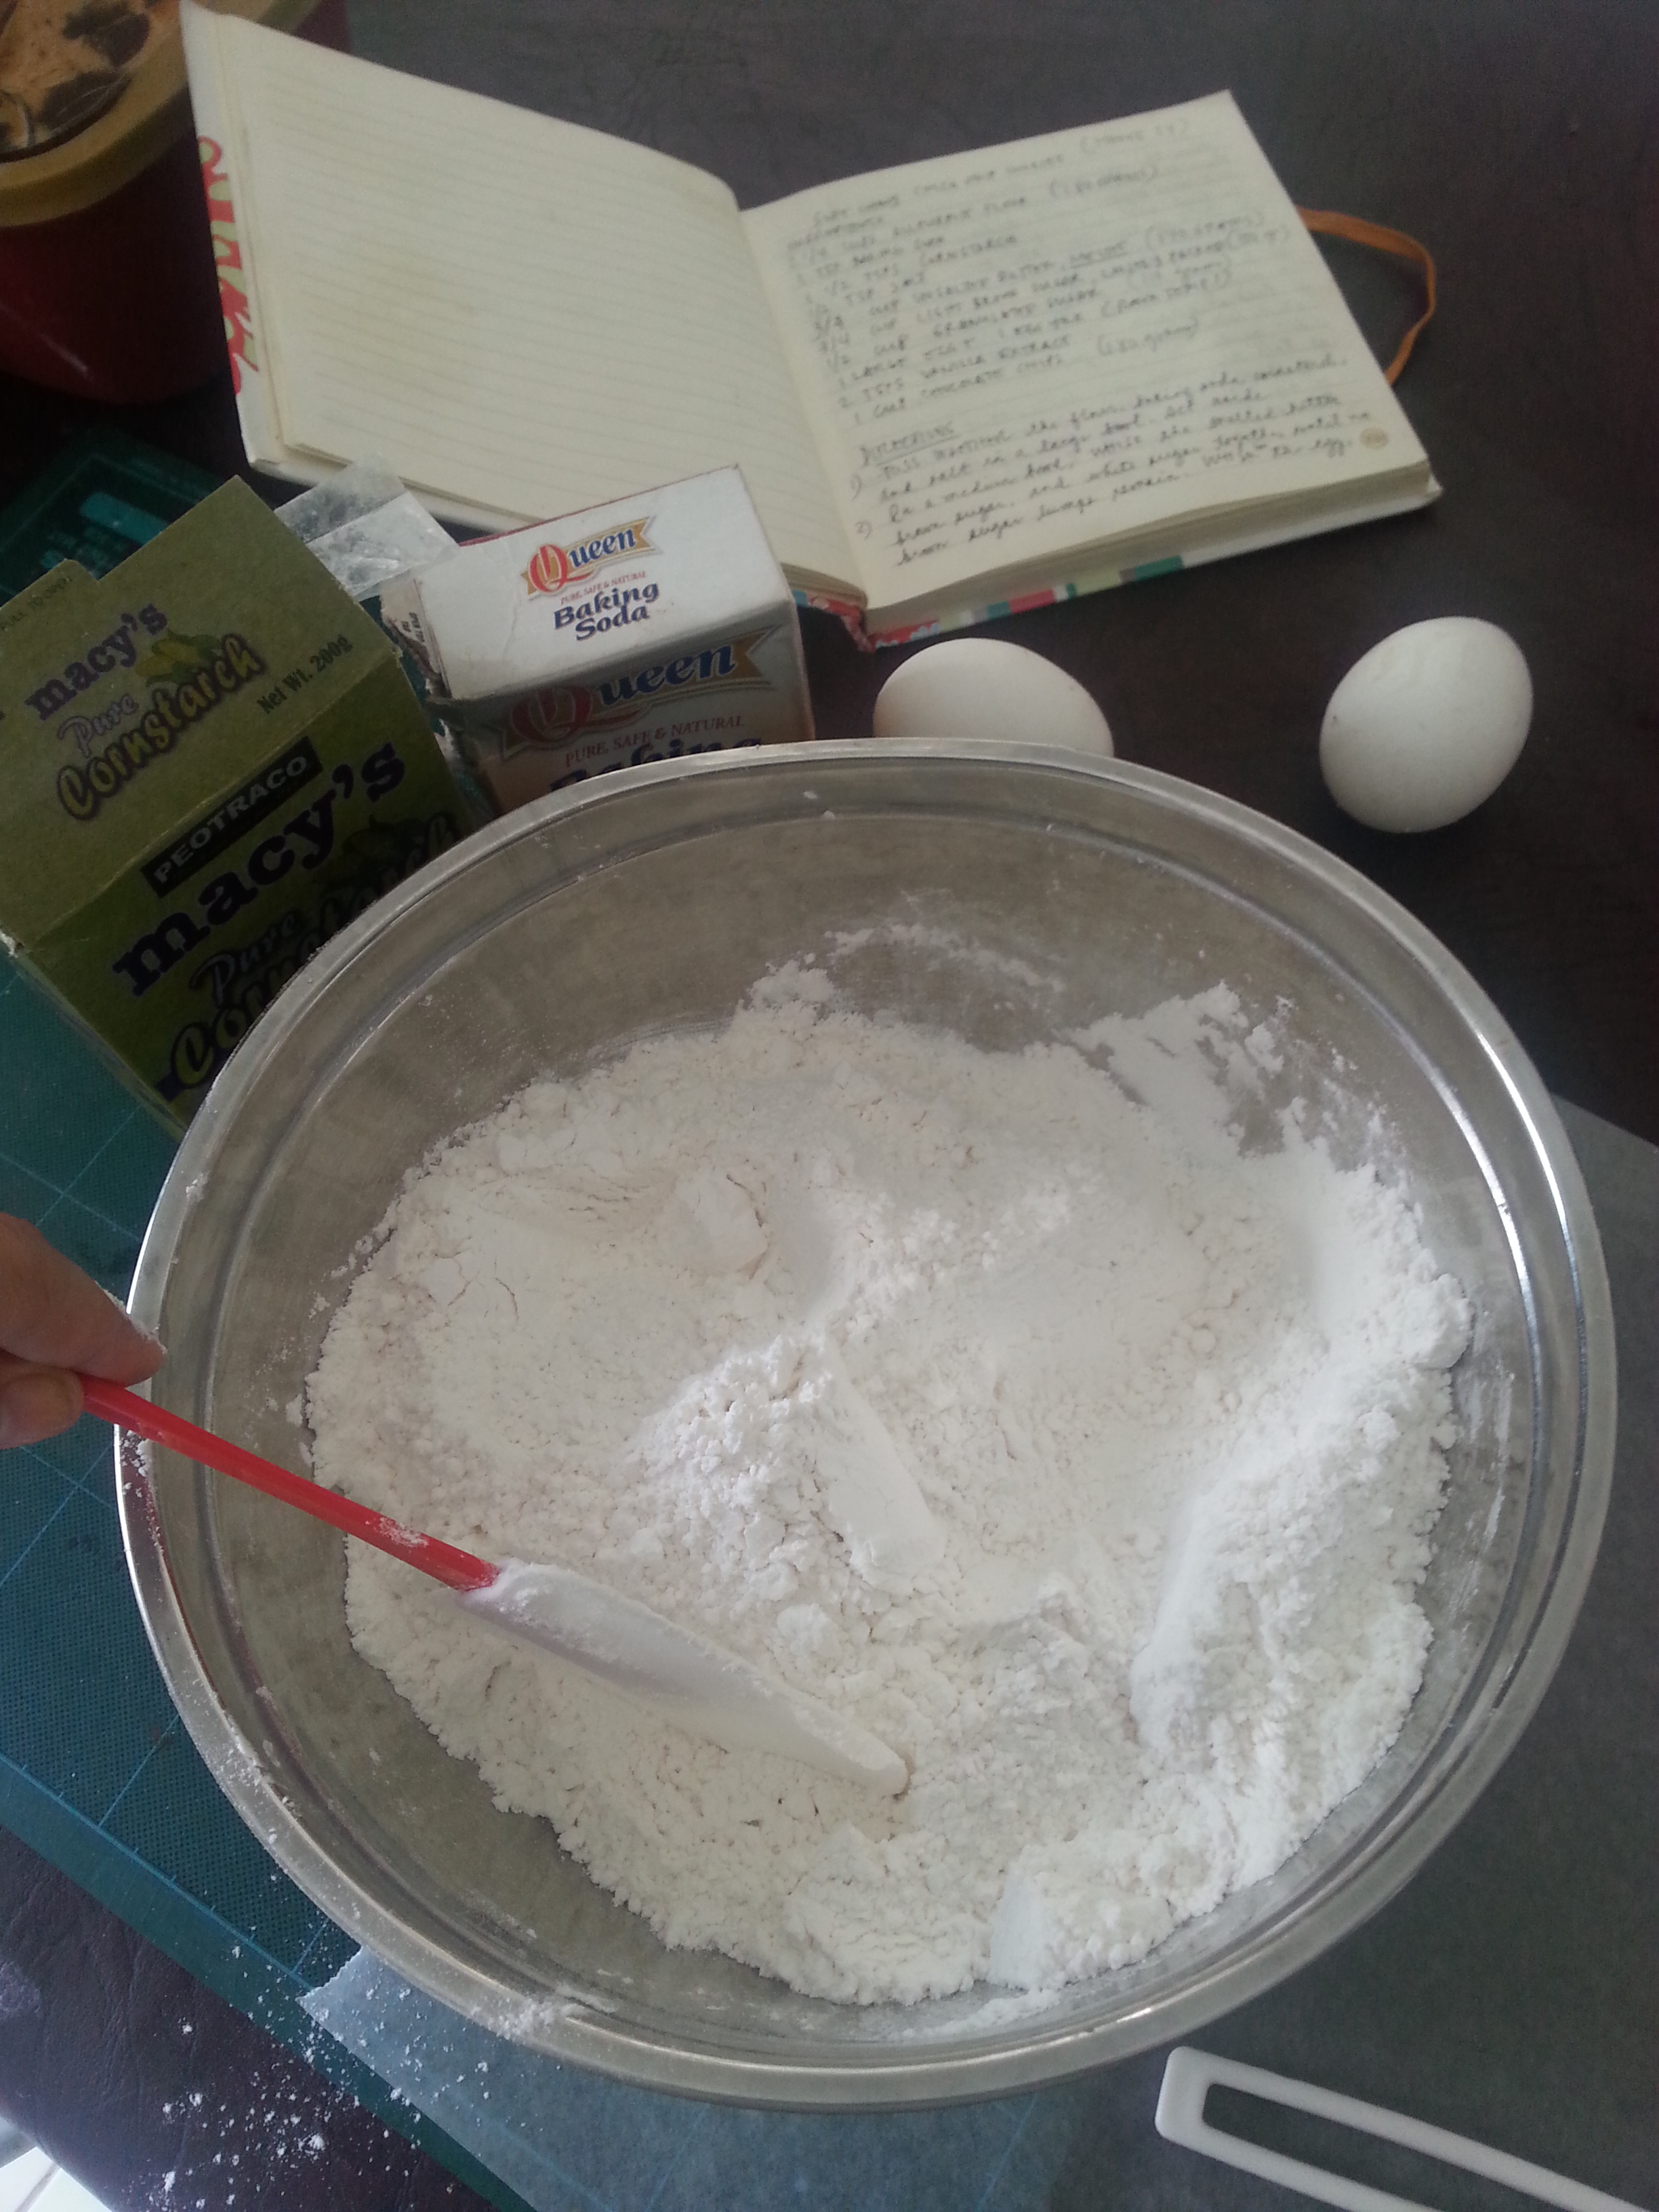
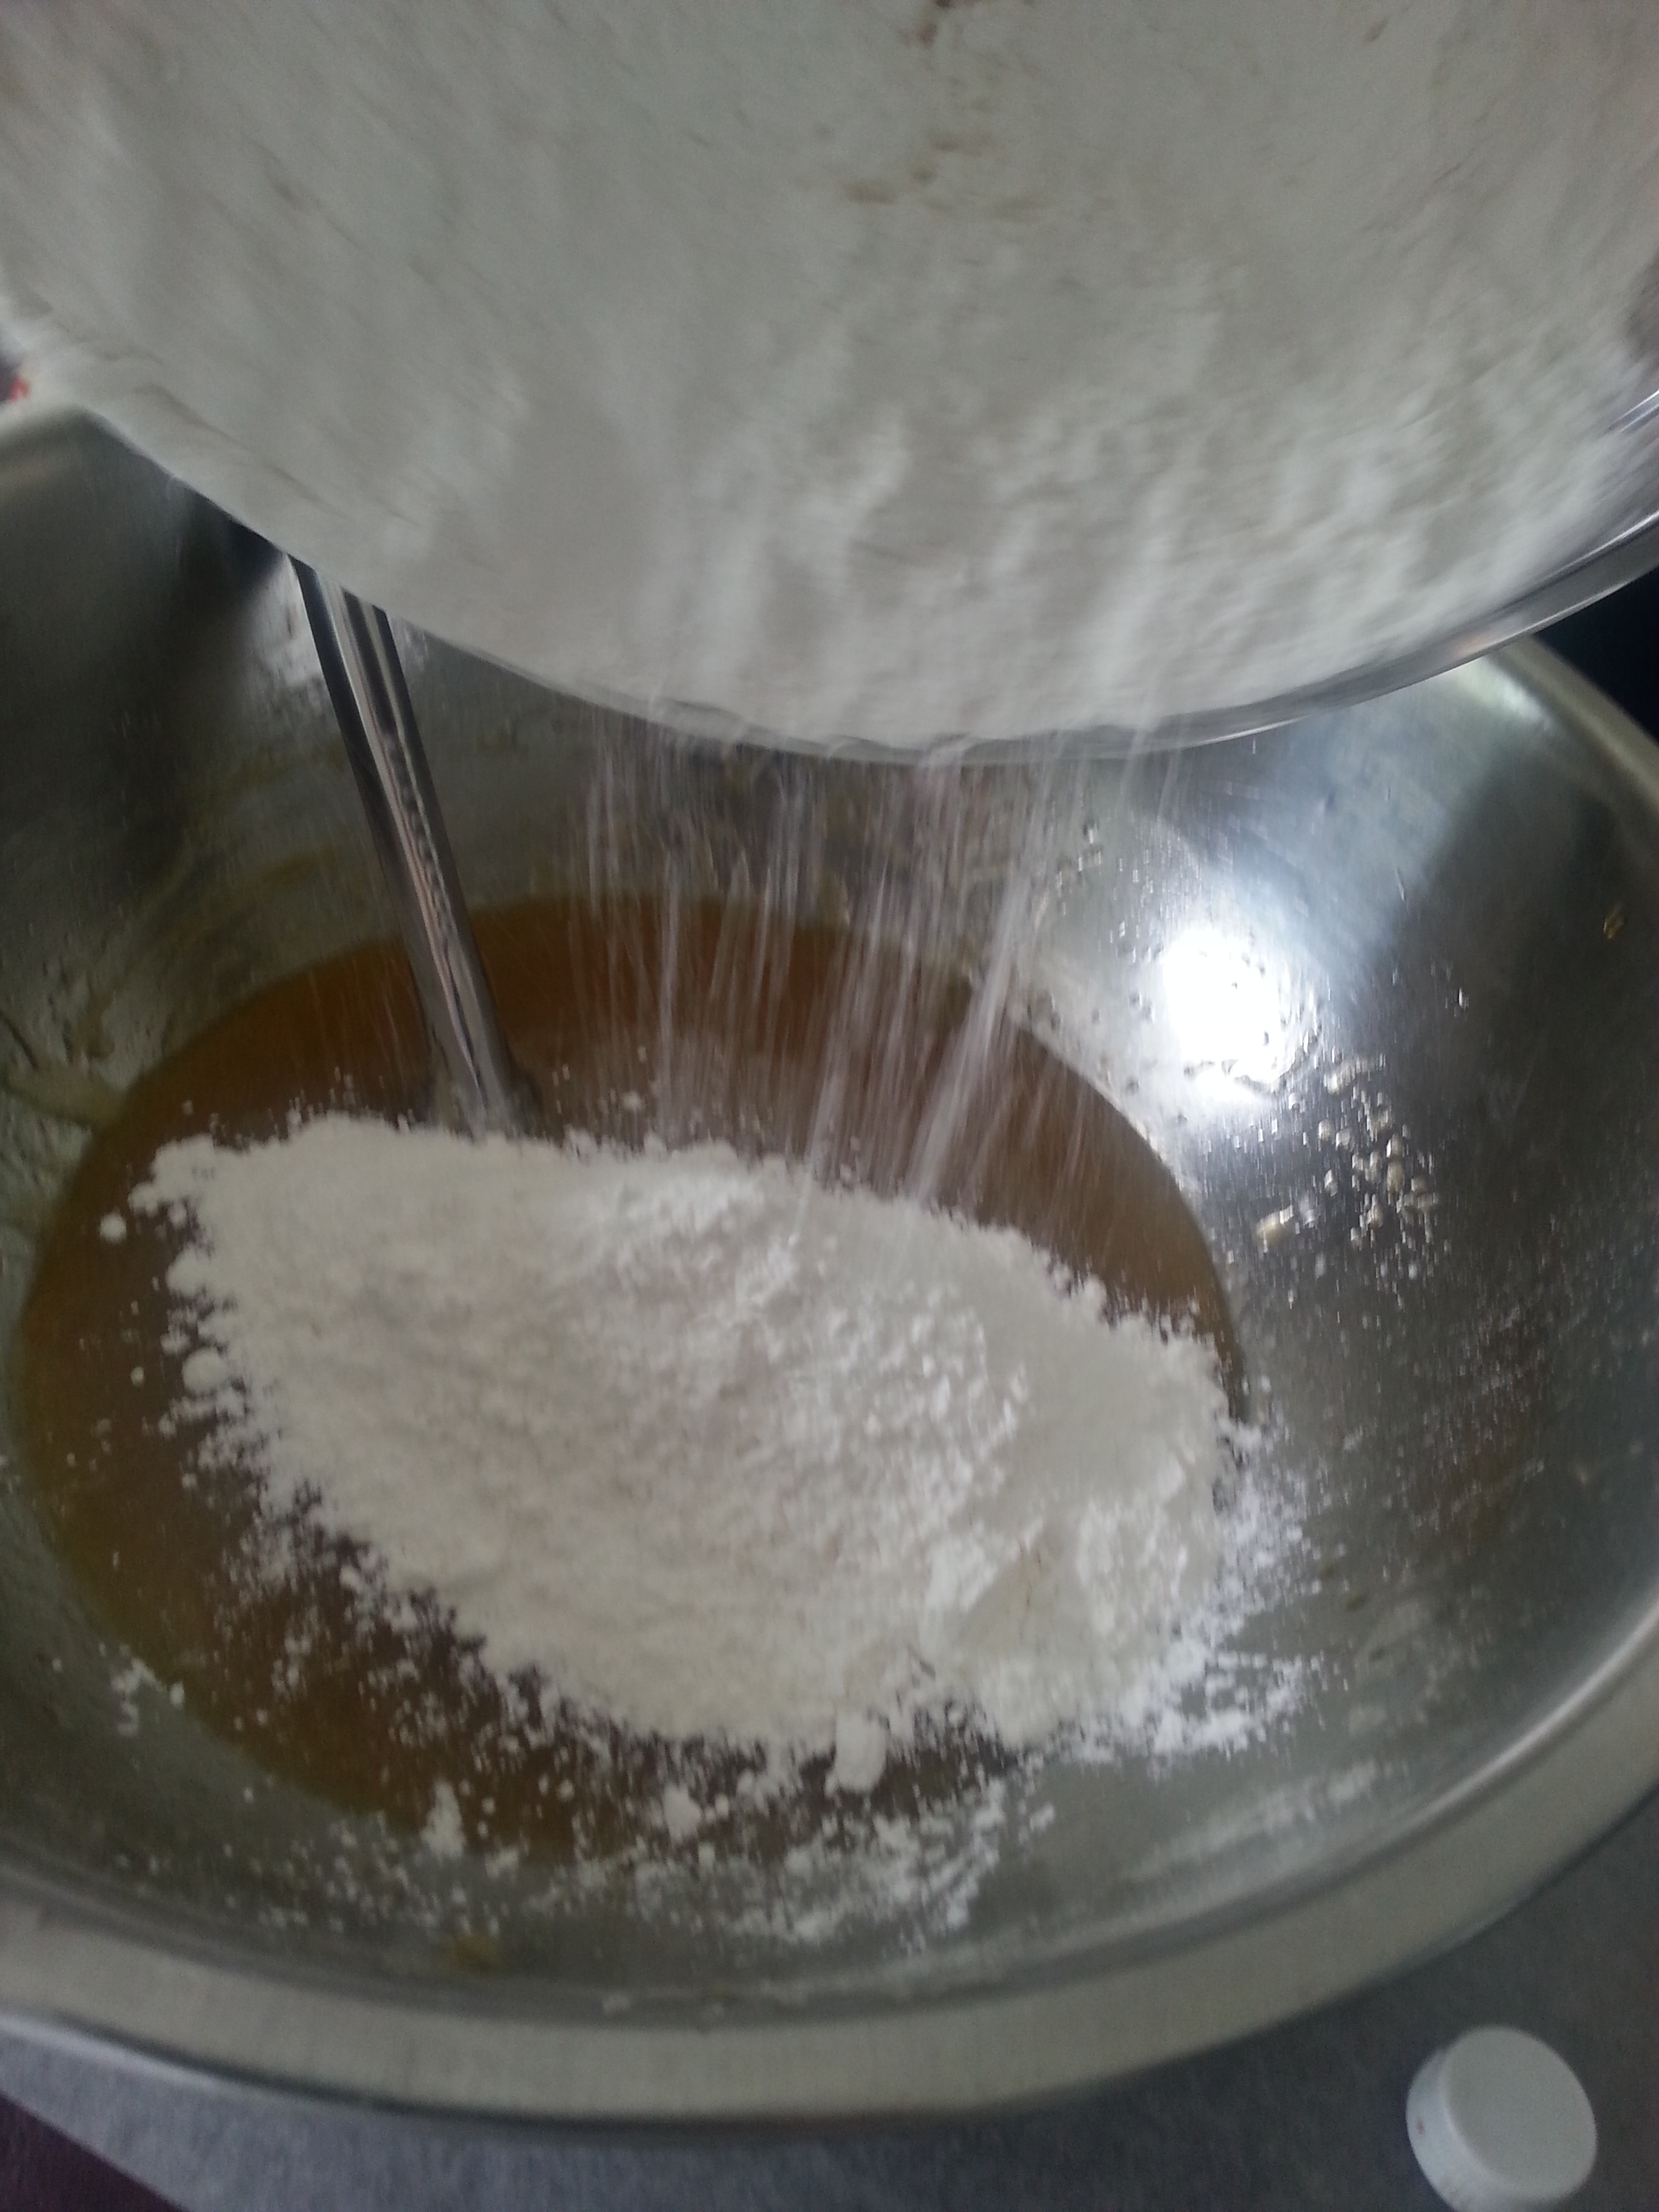
Toss together the flour, baking soda, cornstarch and salt in a large bowl. Set aside.
20140317_113847
In a medium size bowl, whisk the melted butter, brown sugar, and white sugar together until no brown sugar lumps remain.
20140317_114543
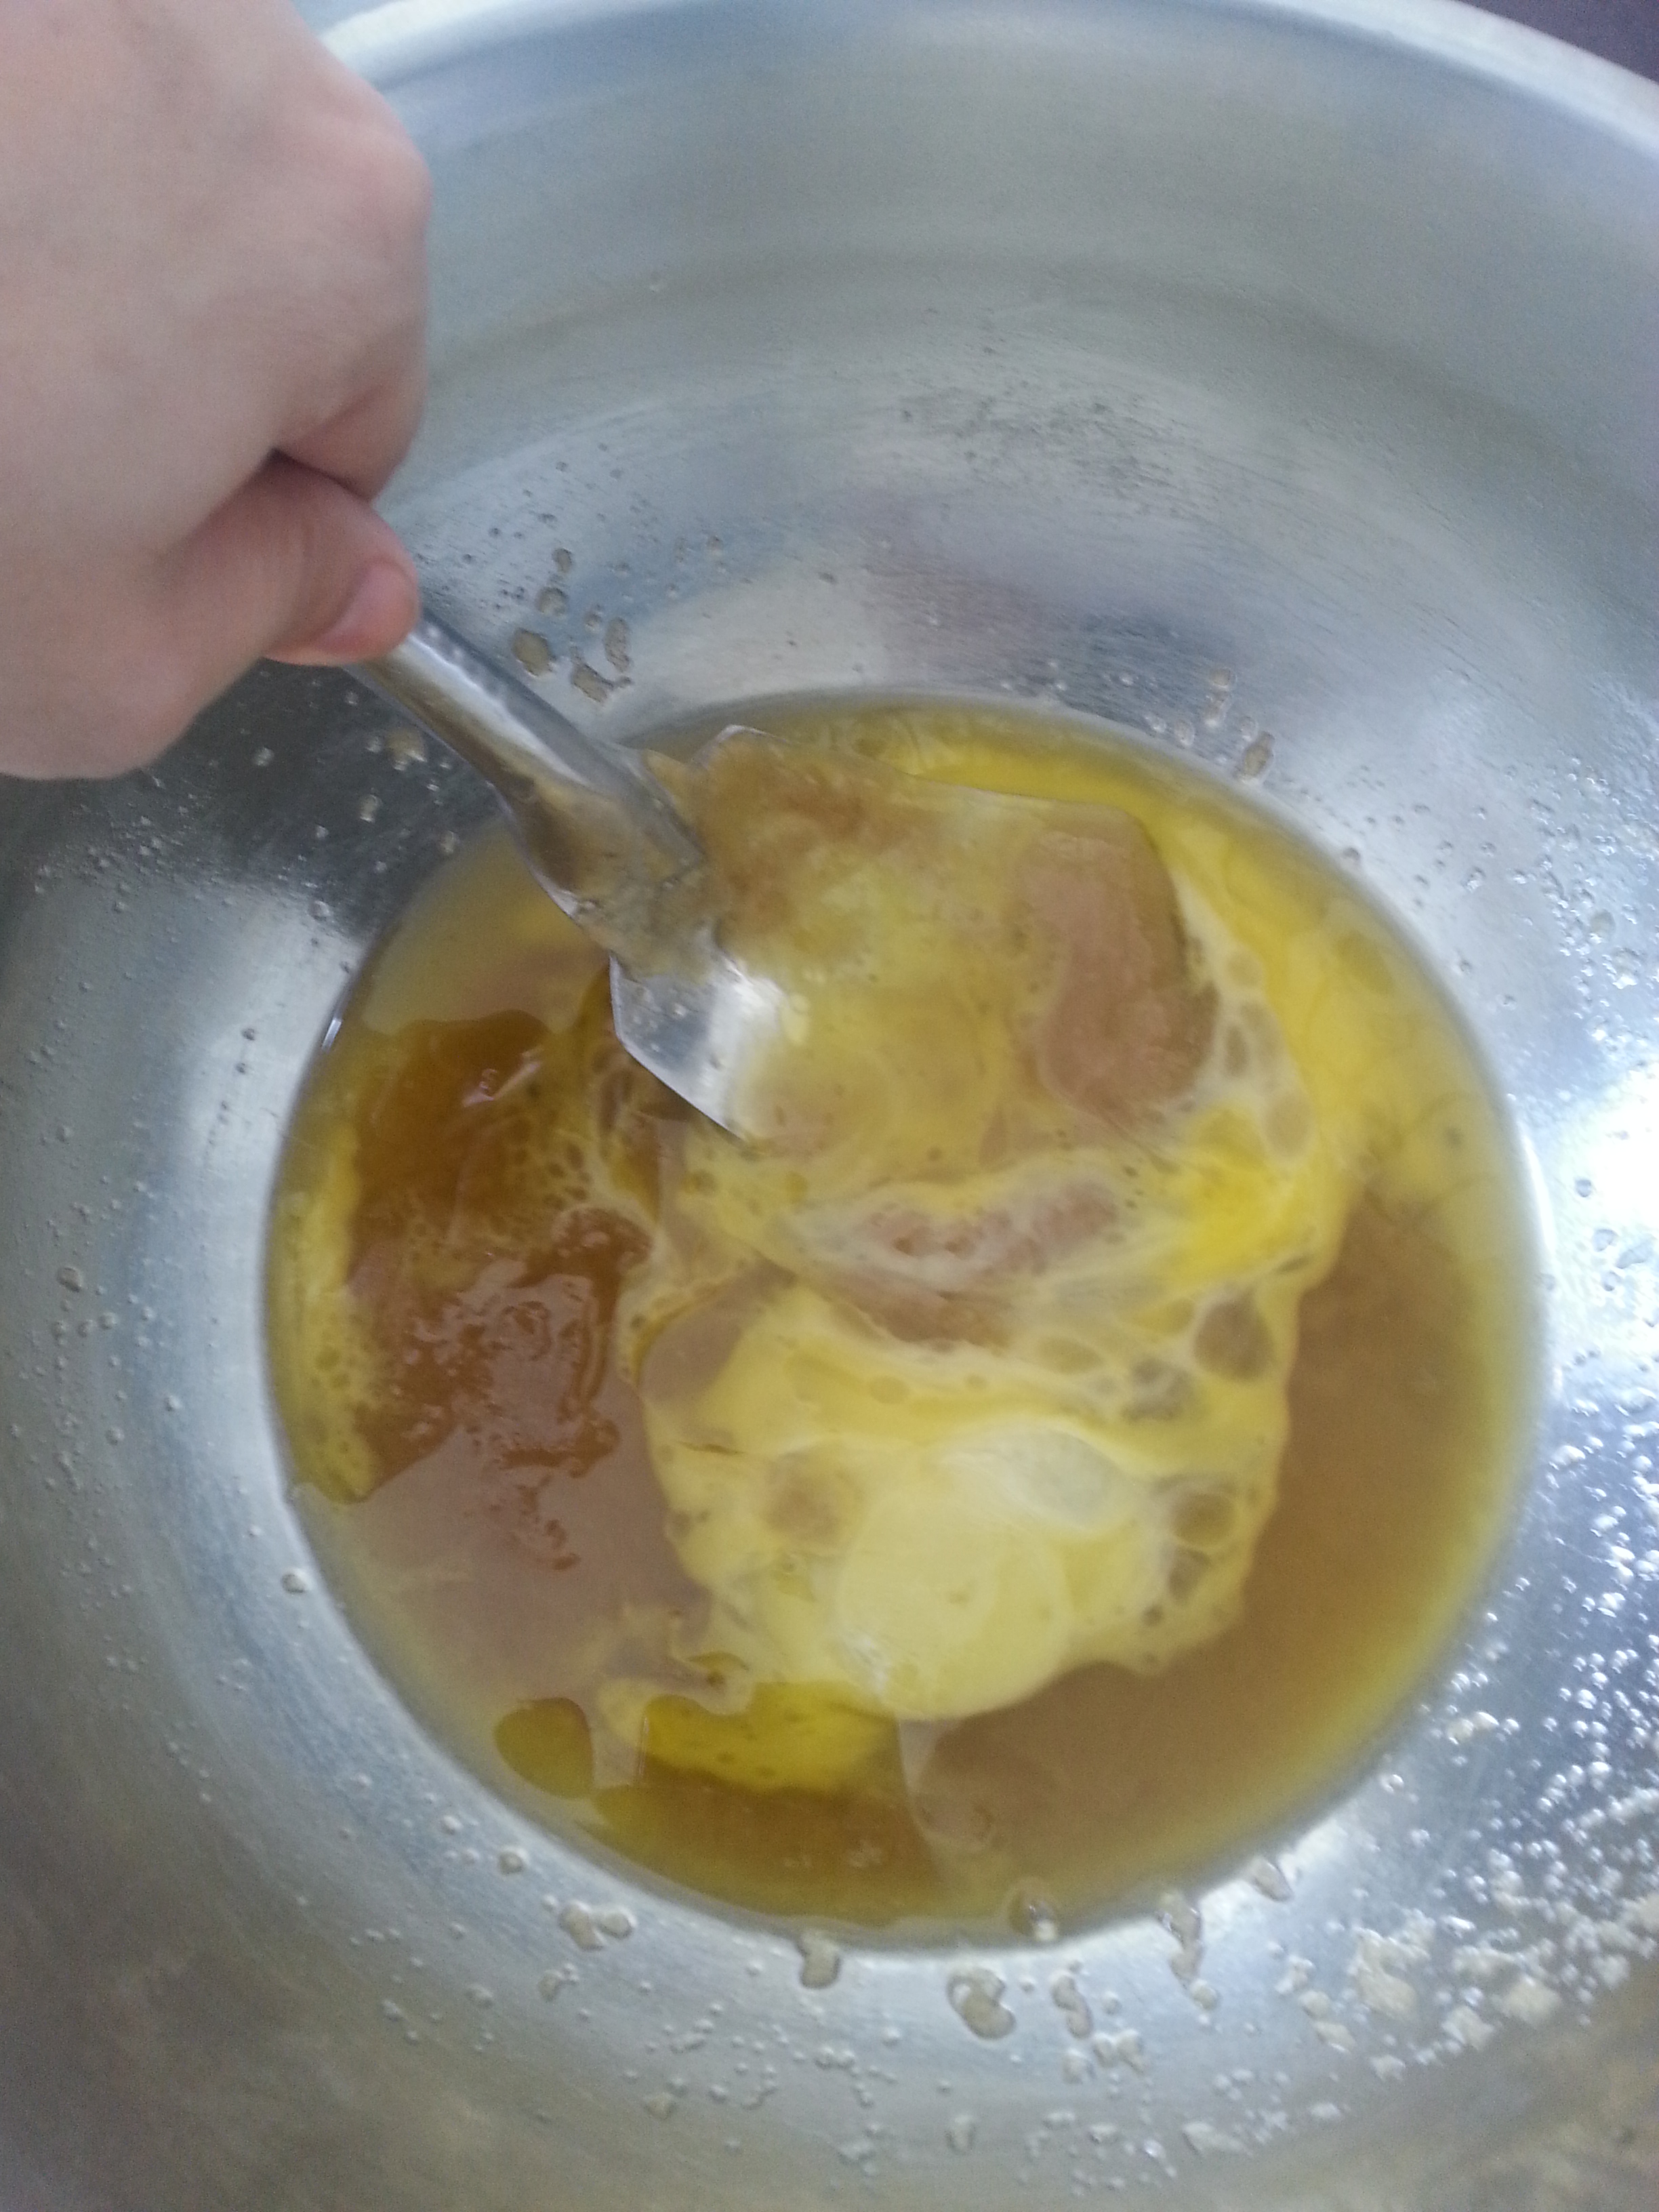
Whisk in the egg, then the egg yolk. Finally, whisk in the vanilla.
20140317_115141
Pour the wet ingredients into the dry ingredients and mix together with a large spoon or rubber spatula. The dough will be very soft, yet thick.
20140317_11560120140317_115849
Fold in the chocolate chips and the macadamia nuts. They may not stick to the dough because of the melted butter, but do your best to have them evenly dispersed among the dough.
20140317_12022420140317_12034220140317_121815
Cover the dough and chill for 2 hours, or up to 3 days. Chilling is mandatory – it makes the dough extra thick.
Take the dough out of the refrigerator and allow to slightly soften at room temperature for 10 minutes.
Preheat the oven to 325F degrees (150 deg C). Line two large baking sheets with parchment paper/wax paper/glassine/silicone baking mats. Set aside.
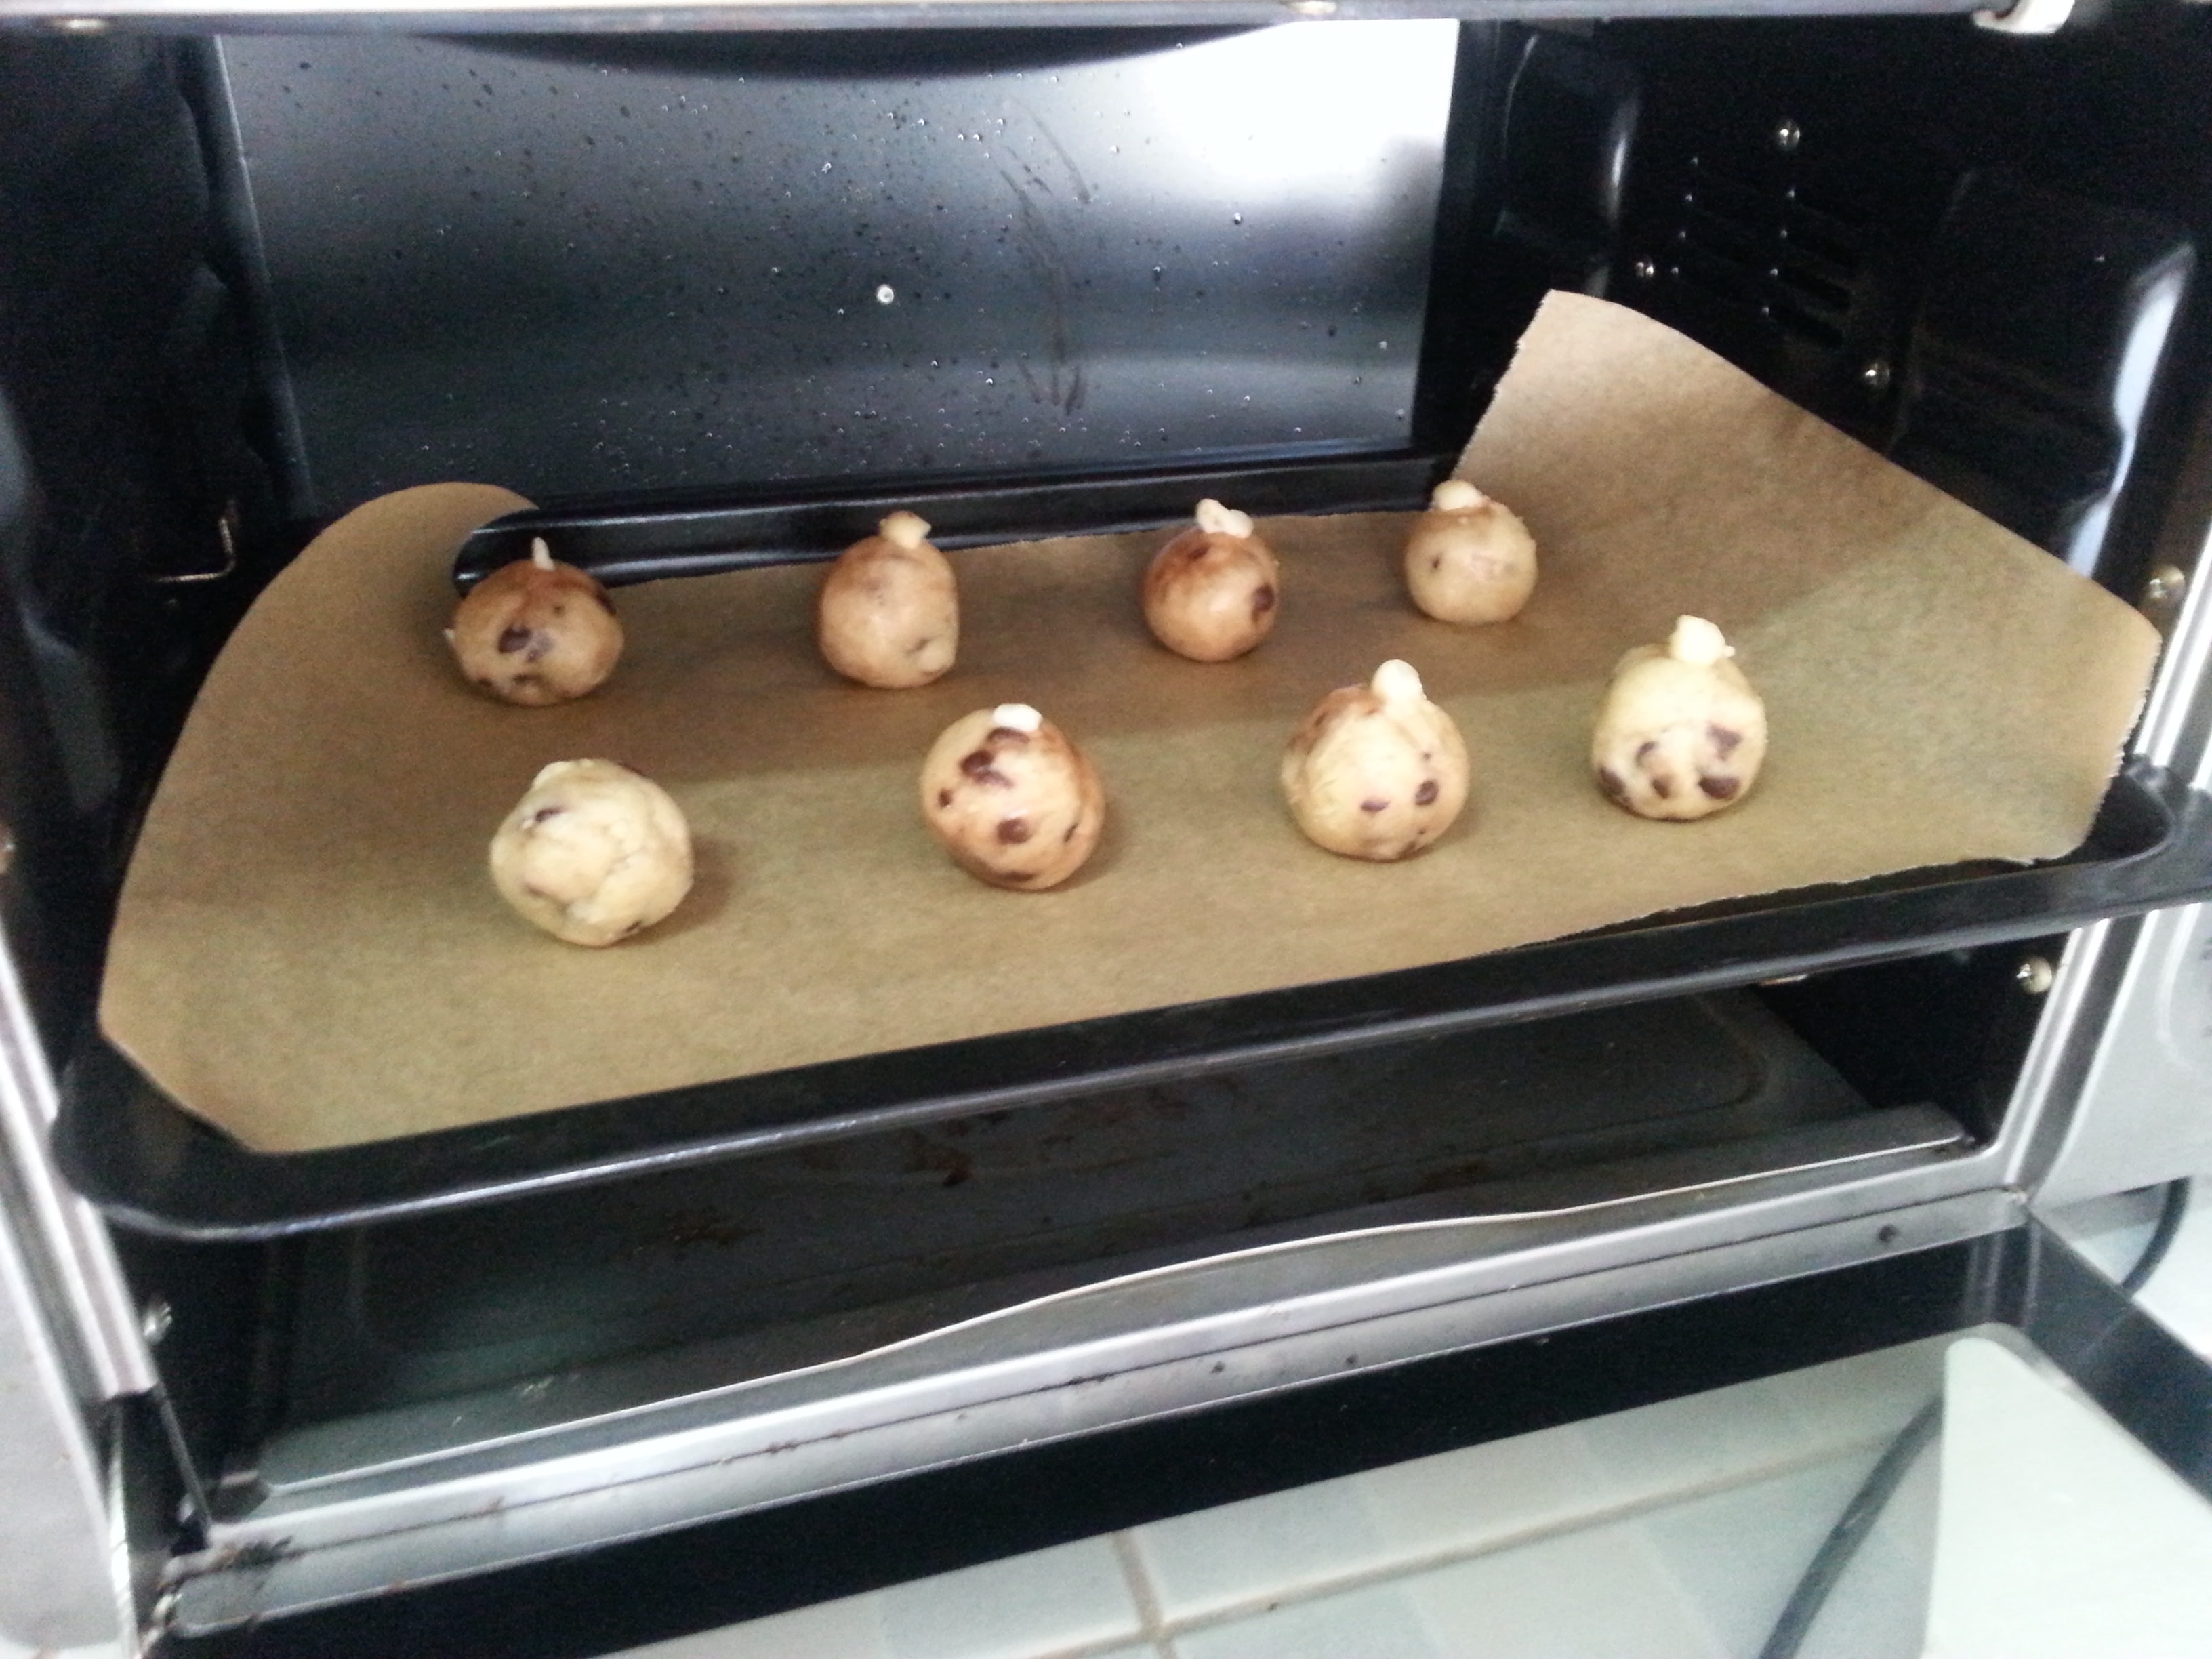
Roll the dough into balls, about 1-2 Tablespoons of dough each. The dough will be crumbly, but the warmth of your hands will allow the balls to stay intact.
20140318_133504
Roll the cookie dough balls to be taller rather than wide, to ensure the cookies will bake up to be thick. But balls of cookie dough can also work, depending on the texture of your cookie dough
(Sometimes, with less butter than what is required in the recipe, the dough will come out a bit harder and crumblier than desired– by rolling them tall, you might end up with literally tall, cylindrical cookies. To flatten, simply roll the dough into balls so that when they bake they will come out flat)
Put 8 balls of dough onto each cookie sheet. Press a few more chocolate chips/chunks on top of the dough balls for looks, if desired.
20140318_133954
Bake the cookies for 7-9 minutes. The cookies will look very soft and underbaked. They will continue to bake on the cookie sheet. Allow to cool on the cookie sheet for 10 minutes before moving to a wire rack to cool completely.
Cookies stay soft and fresh for 7 whole days at room temperature. Cookies may be frozen up to 3 months. Rolled cookie dough may be frozen up to three months and baked in their frozen state for 12 minutes.
*Room temperature egg + egg yolk are preferred for even disbursement.  Typically, if a recipe calls for room temperature or melted butter, it’s a good idea to use room temperature eggs as well.  To bring eggs to room temperature quickly, simply place the whole eggs into a glass of warm water for 5 minutes.