baking. juicing. cooking. food tripping.

baking. juicing. cooking. food tripping.

Wednesday, May 28, 2014

A Glimpse of Things to Come

I've been a little busy with the day job lately but I have a heap of recipes and food-related stuff that I intend to post here as soon as the job-related TTDs (things-to-do) are done.

I have always felt that, like baking and cooking, writing about baking and cooking is a happy vacation from what I really do for a living. So keeping this blog is like me taking brief mini-vacations every now and then.

So here's a glimpse of the "vacations" I have planned very soon:
Recipe for the most recent birthday cake I baked

This unusual cupcake recipe which I got from the back of a food package
Recipe for this addictive treat which I've had in my "cookbook" for ages!
This popular fudgy kid-pleaser
Looks like I'm going to go on many "mini-vacations" very soon. All the greater motivation to get the things-to-do done.  Keep posted to see recipes for these yummy creations!

Saturday, May 17, 2014

Pumpkin Soup Recipe

I don't like eating pumpkins. I can tolerate them, but I'm not a fan. But if we're talking about soups, well that's a different story. I LOVE pumpkin on my soup!


I like it paired with carrots, chicken, and a whole cast of spices. I like it swirling in cream and chicken stock. I like it thick and richly flavored, that appetizing natural orange color beckoning me to take a spoonful. And before I know it, I’m done with an entire bowl.


I got inspired to learn to make pumpkin soup when our daughter Audrey was about a year old. I discovered that she, too, loved soups, and not only is pumpkin soup yummy, it’s also very nutritious. It’s a complete meal in liquid form---perfect for babies.  True enough, Audrey loved her Mama’s pumpkin soup (but now that she’s 3, it’s taken a backseat to oat fudge bars).

I added a potato for extra soup thickness, and cheese for extra creaminess. But the real key to get the rich chicken flavor is in the chicken boiling process -- don't use too much water. The less the water, the more concentrated chicken flavor you get. The more flavorful your soup is. 

Let me brag a little: I have gotten compliments from my very picky husband and my amazing cook of a mother-in-law for this pumpkin soup! Even my very picky friend Joy seems to have liked it enough to want to ask for the recipe (being a vegan, though, she had wanted to omit the chicken). So I’m sharing this little crowd-pleaser, hoping that your family and friends would love them as much as mine did.  Happy cooking!

PUMPKIN SOUP

Ingredients:
16 oz (2 cups) squash or pumpkin, peeled
2 medium carrots, peeled
1 medium potato, peeled
1/2 stalk celery, finely chopped
1 large red onion, finely chopped
1 chicken breast
4 oz (½ cup) cooking cream or all purpose cream
1 chicken cube
4 oz (1/2 cup) chopped cooked ham or fried bacon bits (optional)
Parsley (optional)
Salt and pepper to taste

Instructions:

In a large pot, boil the squash/pumpkin, potatoes, carrots, and chicken breast in water. (You may boil the chicken breast separately, but to save time, I boil them together in one large pot). Make sure that the water is just enough that the ingredients are barely immersed in it (you will be using this water as chicken stock later, so the lesser the water, the better). 


Note the water level in this picture. Just enough to immerse the ingredients

Remove from heat when all the ingredients are well-cooked.  Set aside the water used to boil the chicken.

Voila! You just made chicken and vegetable stock!
2   When the boiled chicken has cooled, take the meat off the bone and shred into thin strips. (I use my fingers in this process; just make sure you have clean hands)


Pumpkin soup: boiled chicken shredded into thin strips

3.      Puree the boiled vegetables in a blender. You may add ½ cup of the chicken stock (the water you used to boil the chicken) and a dash of salt and pepper.

pumpkin soup: mashing the veggies with a blender
      If a blender is not available, you may manually mash the vegetables using a fork until there are practically no solid chunks remaining.

pumpkin soup: i know i said "fork", but...you can use whatever you want,
so long as the veggies get mashed well
4.      Place the pureed vegetables back into the pot containing the water you used for boiling.   


   Add the cheese, chicken cube, celery, onions, and ham/bacon.  Simmer under low heat for 5-10 minutes. Stir well.


5  
Add the cream and mix until the cream is well integrated into the soup. Season with salt and pepper. 


 Remove from heat. Garnish with pasley on top before serving. 

pumpkin soup: add parsley all over as a finishing touch


Thursday, May 15, 2014

Idiot's Guide to Buying a New Juicer Part 2

When buying a new juicer, there are always two questions:
1)      What kind of juicer do I need, and
2)      How much money do I need to shell out to get it?

There are basically two kinds of juicers to choose from:  the centrifugal juicer, which is cheaper, and the more expensive slow juicer. 

If you’re a beginner, or just an occasional juicer, the centrifugal juicer will probably suit your current juicing needs. Prices of centrifugal juicers in the Philippines range between PhP 1,000 and PhP 8,000. Some reputable brands of centrifugal juicers are Breville, Jack Lalanne, and Black & Decker. Lazada.com recommends local brands like Imarflex, Hanabishi, Caribbean (this I’m not familiar with), and Moulinex, describing them as “durable”.

As a beginner, I started with this centrifugal juicer, a hand-me-down from my mom.


My Fujitech is probably a decade old, but it’s still fully functional. A durable brand, probably because it’s made in Japan. It initiated me well into the healthy habit of juicing. I got so committed, actually, that I sent back this juicer to Mama to encourage her (and the rest of our family) to take up juicing.

My “sophomore” juicer is also a centrifugal one, a birthday gift from hubby lovey.


Bought on sale for around PhP 3,500, it seemed like a good buy at that time (See my initial review in Idiot’s Guide to Buying a New Juicer). All in all, not really bad. But I do have some thumbs-down notes:
  •     It’s a hassle to clean (like many centrifugal juicers, I suppose). Especially if you’re juicing leafy vegetables.
  •     And you will have to clean it at least once during in the middle of a juicing session, because the centrifugal blade (that thing which grinds up the fruit and veggie into juice) easily gets clogged.
  •     And when the centrifugal blade gets clogged, the entire juicer rattles.  Violently. Worst case scenario: the juice bin detaches from its hook and topples over, spilling all that precious juice you’ve worked so hard to extract! (This happened more than once! Curses!)

Despite its shortcomings, the Jumpstart Juicer is generally tolerable. But since I’ve made a commitment to juice for the rest of my life, I realized it would be wiser to get a juicer that would juice more efficiently so that I can cut down on weekly fruit-and-veggie shopping expenses. 

And that realization led me to this:

HUROM horizontal DA 1000 slow juicer

Say hello to my newest baby – the Hurom DA 1000 slow juicer.

If you’re a serious juicer like me, a slow juicer (or cold-press juicer / masticating juicer) is the best option. Compared to centrifugal juicers, slow juicer can squeeze more juice out of food by as much as 50% (I’ve proven that myself!). This minimizes expenses on fruits and veggies, and saves you money in the long run.

Now it’s just a matter of which brand of slow juicer to pick. The choice is between two reputable brands: Matstone and Hurom.  They are both good, so for me it really boils down to which is cheaper.

I got this Hurom juicer at Lazada.com at a discounted price of PhP 9,450 (regular price was PhP 11,000). When it finally arrived at my doorstep, I felt like a little kid opening a very big present on Christmas day!


I was only interested in juicing, but apparently my Hurom can do a little bit more—it’s equipped to make ice cream, sorbets, pasta (this one I will definitely have to try one of these days!), soups, salad dressings, and even baby food.  

There’s also a recipe book included, plus this pretty pitcher-and-glass set.  A nice surprise!


I’ve been using this baby for a week and so far…it’s stolen my heart. I’m just so in love with it, I want to take it to bed with me. Here are my notes:
  • -    The pulp is amazingly dry---amazing for me, who hasn’t experienced pulp this dry from my first two centrifugal juicers.

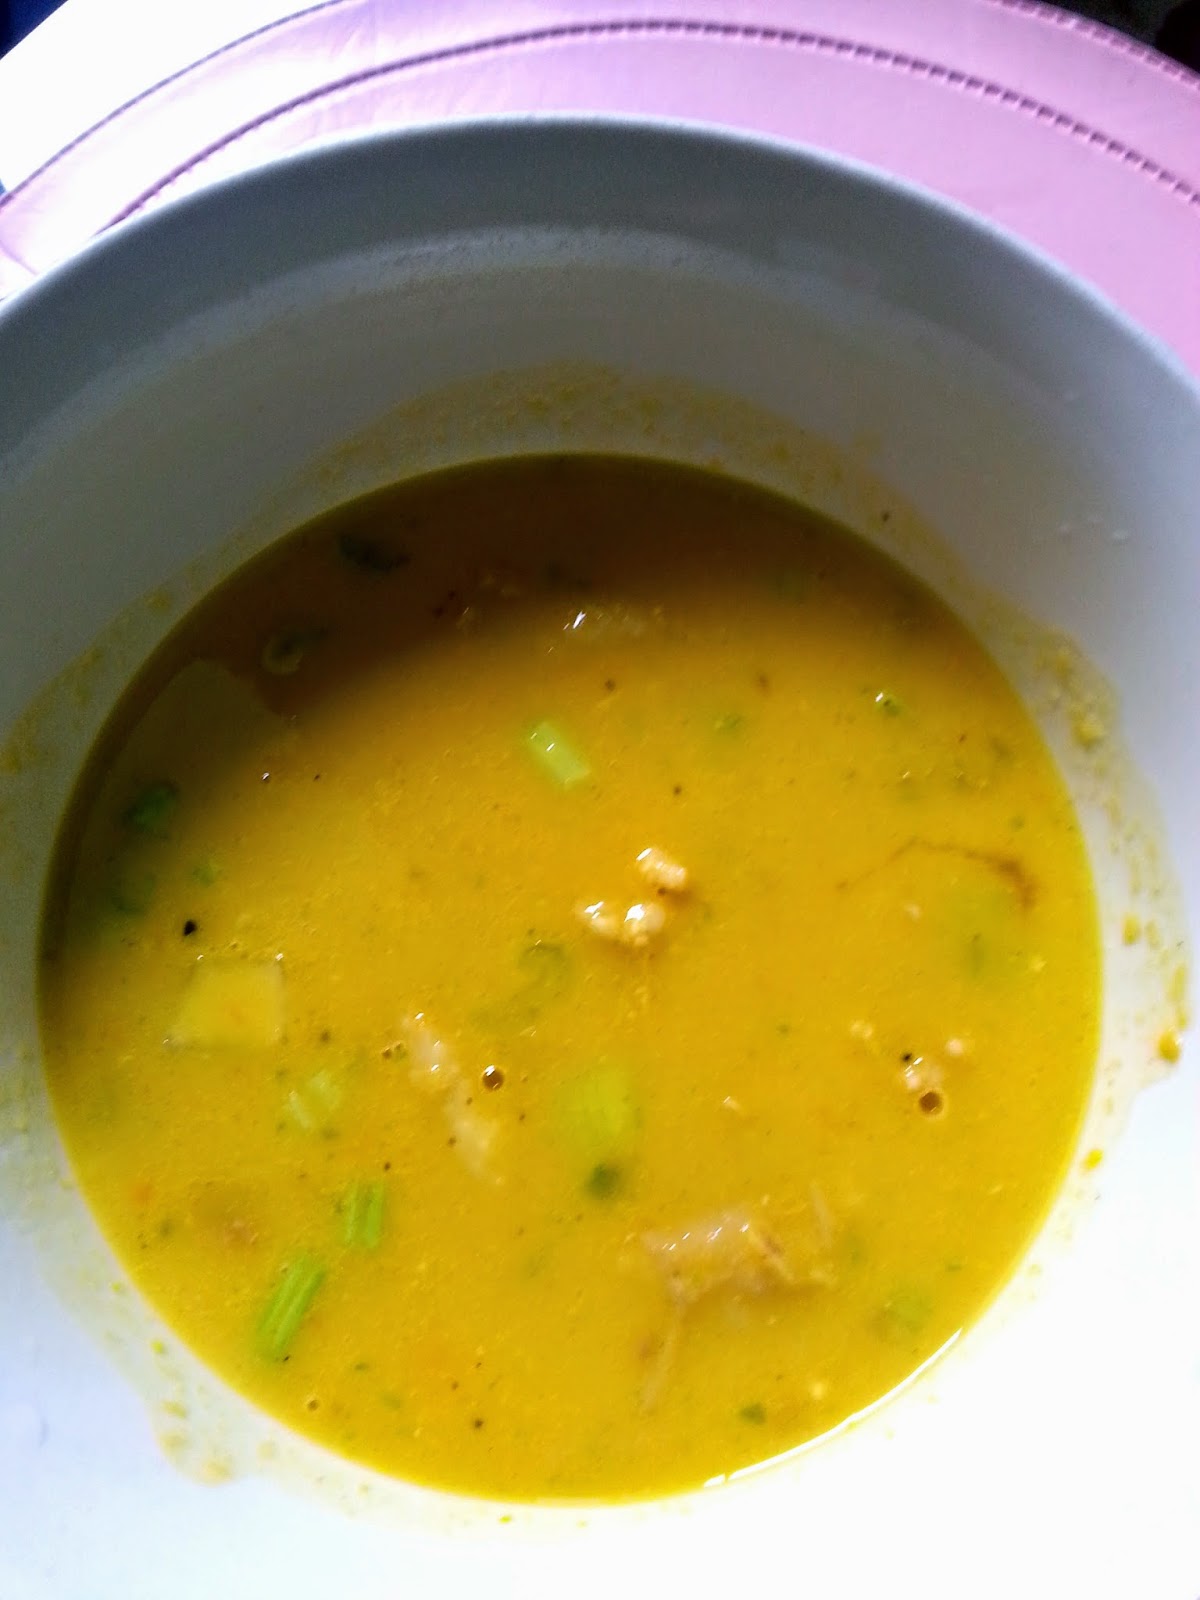
  • -        And because the pulp is squeezed dry, there’s more juice for me!  I tested this.  Using the same recipe, I compared the amount of juices extracted by the centrifugal juicer and the slow juicer. With the centrifugal juicer, I got 250ml of juice. With the slow juicer, I got almost 500ml. The slow juicer gave me almost 50% more juice than my old juicer. A saver!


  •     Easy to clean, compared to our centrifugal juicers.  It even comes with a cleaning brush!
  •         It just hums quietly while working. No whirring sounds. No violent rattling.  
  •         For a supposedly “slow” juicer, I was surprised that it juices quite quickly. It uses the same amount of time as my centrifugal does (maybe even less, because with the slow juicer I don’t need to stop midway to do some “unclogging”). It’s a lot like feeding a pet—you put food into its mouth and it just keeps chewing.


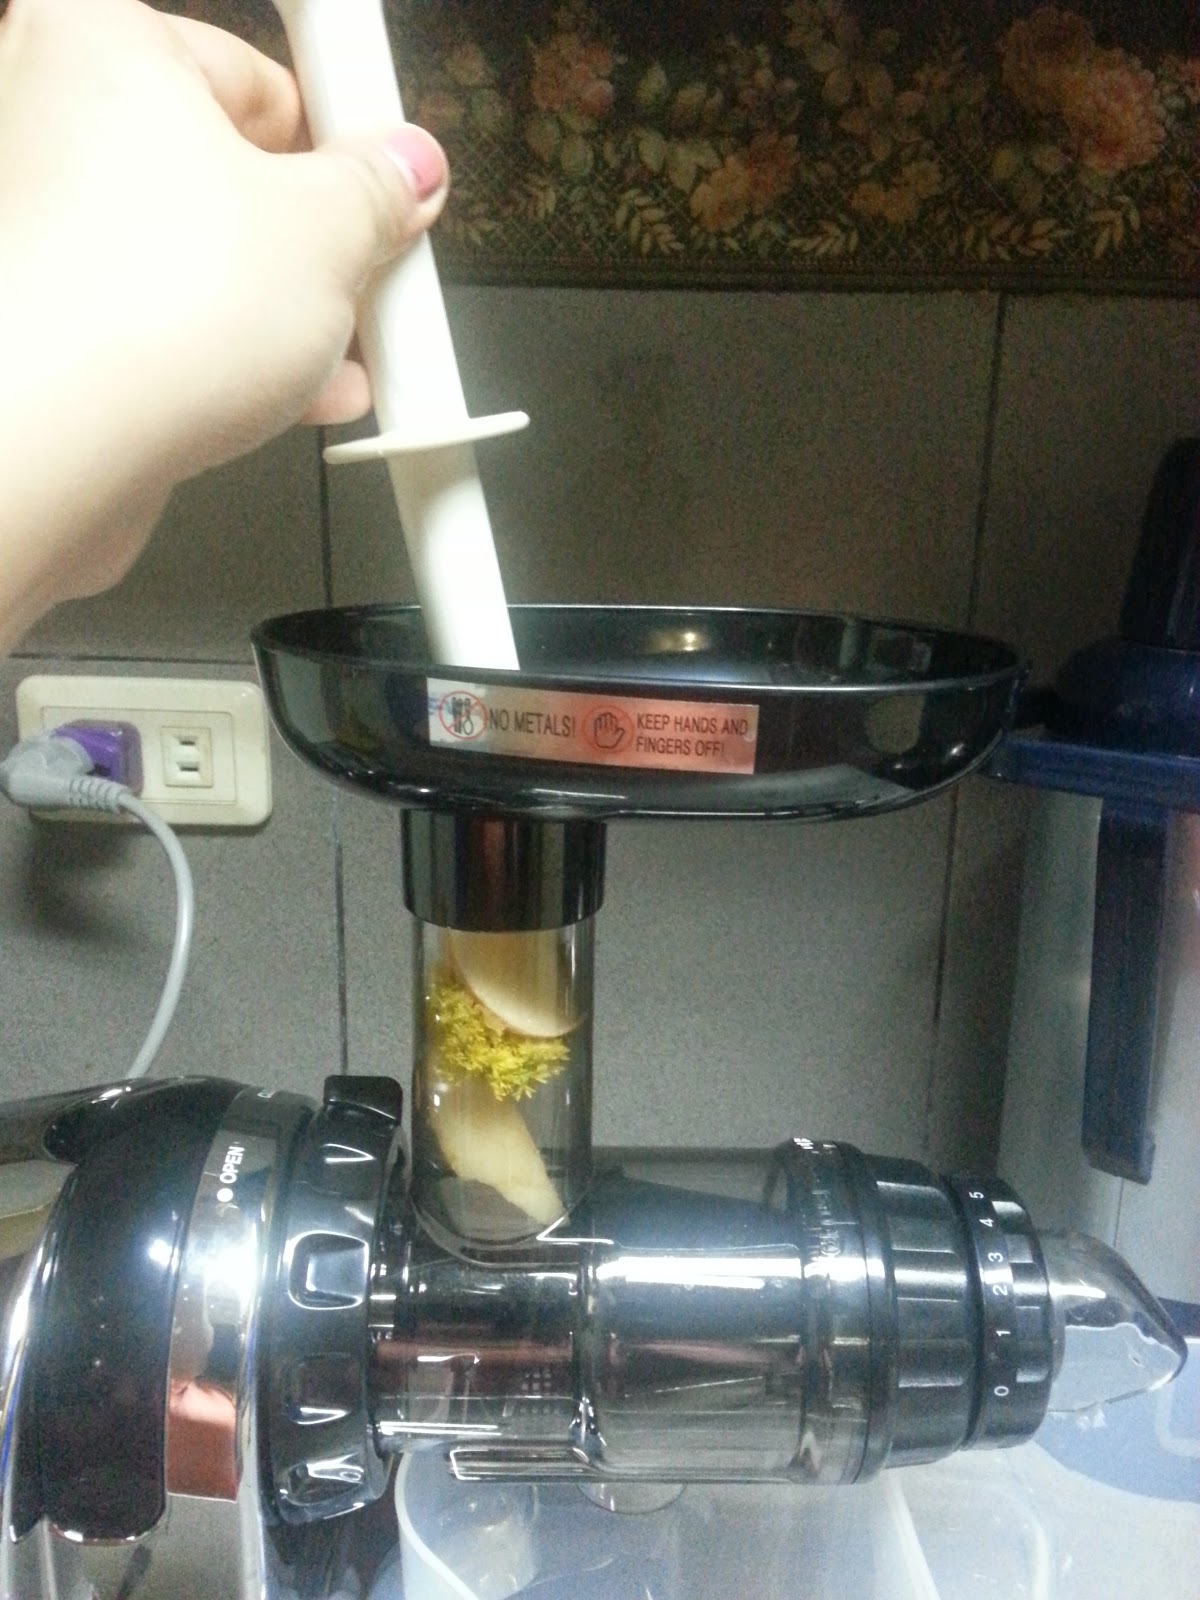
  •    On the downside, you will have to chop the food into small slices before you feed it to the juicer.Otherwise the big chunk might get stuck in the juicer’s narrow “throat”.
  •    I noticed, too, that this model of Hurom does better at juicing leafy veggies. But when it comes to really soft fruit (like mangoes, papaya or apples), the juicing mechanism (is that what they call the augur?) seems to have a hard time transporting it from the chewing room to the juice hole. 

 I talked with a customer rep at Hurom and they said that horizontal slow juicers (like my Hurom DA 1000) have this common problem. But the vertical juicers do well at juicing both leafy greens and soft fruit.  (But of course, vertical juicers are a lot more expensive, ranging from Php 13,000 to as high as PhP 25,000). When I juice soft fruit, I partner it with a leafy green or a harder fruit/veggie. I found that this solves the juicer’s “transporting” problem.  


     But all in all, I am very satisfied with my Hurom slow juicer.  Like what Hurom said, it’s “the last juicer you’ll ever want to own”. I’m thinking that maybe that’s true. But I wouldn’t want to limit myself with just Hurom---maybe in 10 years or so, and I’d still be juicing, I would check out the vertical slow juicers of Matstone, too.  

      P.S. I've heard of Green Star, and they say it's the cream of the crop of good juicers, but I don't know if they sell it here in the Philippines. Anyone in the Philippines who owns a Green Star? Where did your buy it? 


Sunday, May 11, 2014

Just Would Like to Say...


Indeed, life is so much sweeter with us around! 

I love you Mama Flory and Mommy Annie! If my husband and daughter are the salt of my life, you ladies are the sugar in it! Have a sweet, special Mother's Day! 

Tuesday, May 6, 2014

Chocolate Fudge Cupcake Recipe

Chocolate Fudge Cupcakes

As far as desserts are concerned, my husband lives by this simple equation: Chocolate + Coffee = Happy Tummy.
So one time as a homecoming surprise for him (something I rarely do, by the way), I refashioned a fave recipe and, instead of using dark chocolate for frosting (which is yummy too, by the way!) used coffee, instead. But the cupcake itself is made of rich, dark, sinfully fudgy chocolate. 
The dough of this chocolate fudge cupcake is very thick and dense--- taste it and you’ll know it’s purely heavenly chocolate fudge.


Chocolate Fudge Cupcakes with Coffee Frosting

I wasn’t sure if I could feed the kids frosting with so much coffee in it. So I made another batch for them and used the conventional dark chocolate frosting, topping them with different colors and flavors that would surely attract the little ones.


It so happened that the following day was my good friend Raymond’s birthday, good thing I still had a half-dozen of those devilishly fudgy chocolate cupcakes (hastily decorated, though!).

He’s 100 years old, but he loved the kiddie toppings—he said it made him feel young. Haha!
A lot of love always goes into making these cupcakes every single time (because I usually make them for family and friends!), and I’m sharing the recipe (and the love!) with you. Enjoy!

Rich dark chocolate fudge cupcakes


CHOCOLATE FUDGE CUPCAKES WITH COFFEE (OR DARK CHOCOLATE) FROSTING

Ingredients:
DARK CHOCOLATE CUPCAKES
·         1/2 cup (1 stick or 115g) unsalted butter
·         2 ounces semi-sweet baking chocolate
·         1/2 cup (64g) unsweetened cocoa powder (not Dutch processed)
·         3/4 cup (95g) all-purpose flour*
·         1/2 teaspoon baking soda
·         3/4 teaspoon baking powder
·         1/4 teaspoon salt
·         2 large eggs, at room temperature*
·         1/2 cup (100g) granulated sugar
·         1/4 cup (50g) light brown sugar
·         1 teaspoon vanilla extract
·         1/2 cup (120ml) buttermilk*

DARK CHOCOLATE FROSTING
·         2 and 3/4 cup (270g) confectioners' sugar
·         2/3 cup (80g) unsweetened cocoa powder
·         6 Tablespoons (90g) unsalted butter, softened to room temperature
·         6 Tablespoons (95ml) heavy cream
·         1 teaspoon vanilla extract
·         1/3 cup (60g) semi-sweet chocolate chips for decoration, optional


OR:
COFFEE FROSTING
·         2 and 3/4 cup confectioners' sugar
·         1/2 cup instant coffee granules, melted  in 1/8 cup of hot water
          1-2 Tablespoons coffee liqueur (I used Kahlua)
·         6 Tablespoons (90g) unsalted butter, softened to room temperature
·         6 Tablespoons (95ml) heavy cream (or you can used instant whipped cream – if you do so, omit the confectioners’ sugar and unsalted butter)
·         1 teaspoon vanilla extract
·         1/3 cup (60g) semi-sweet chocolate chips for decoration (or candy sprinkles, cashew nuts, M-and-M's, feel free to experiment) -- optional

Directions:
For the cupcakes: Preheat the oven to 350F degrees. Line a 12-cup cupcake/muffin pan with cupcake liners. Set aside.
Melt the butter and chocolate together in the microwave. Microwave in 30 second increments, stirring between each time. You may also melt the butter and chocolate over low heat on the stovetop. Stir until smooth and set aside to slightly cool.


In a medium sized bowl, toss the cocoa powder, flour, baking soda, baking powder, and salt together until thoroughly combined. Set aside. 

In a large bowl, whisk the eggs, sugar, brown sugar, and vanilla together until smooth. Add the cooled butter/chocolate and whisk until smooth. Add half of the flour mixture, then half of the buttermilk. Repeat until everything is added. Stir until *just* combined; do not overmix. The batter will be very thick like pudding.


Divide the batter between 12 liners in your cupcake pan. Bake for 18 minutes, or until a toothpick inserted in the center comes out clean. Allow to cool completely before frosting.


For the frosting: 

COFFEE FROSTING

Mix together the instant coffee solution (coffee granules+warm water) and coffee liqueur. 

With a handheld of stand mixer, beat the butter at medium speed until fluffy - about 2 minutes. 

Gradually add the sifted sugar and coffee liqueur alternately with the heavy cream and vanilla. Beat on low speed after each addition. Add more powdered sugar if frosting is too dark. Add a pinch of salt if frosting is too sweet.


DARK CHOCOLATE FROSTING


Sift together the confectioners' sugar and cocoa powder to assure there are no lumps. Set aside.

With a handheld of stand mixer, beat the butter at medium speed until fluffy - about 2 minutes. 
Gradually add the sifted sugar/cocoa powder alternately with the heavy cream and vanilla. Beat on low speed after each addition. Add more powdered sugar if frosting is too dark. Add a pinch of salt if frosting is too sweet.

*If you are using instant whipped cream, just mix the coffee mixture and coffee liqueur (or cocoa powder) with the whipped cream and vanilla. 

FROSTING THE CUPCAKES
Frost cooled cupcakes and top with chocolate chips as desired. Cupcakes stay fresh at room temperature in an airtight container for up to 4 days.  Store covered in the refrigerator is desired for up to 1 week.

*Using cake flour instead of all-purpose flour is OK. I find the cupcakes to be slightly softer using cake flour.
*Room temperature eggs are required for this recipe. To bring eggs to room temperature quickly, put them in a glass of warm water for 5-10 minutes.
*Buttermilk is required for this recipe. If you do not have buttermilk, make your own by mixing 2 teaspoons white vinegar or lemon juice with 1/2 cup milk. Stir and let sit for 5 minutes.